Last Updated on August 27, 2023 by Pro Handyman Australia – Editorial Team
Evaluating Your Starting Point: The Wallpaper Condition
Before embarking on your painting journey, it’s crucial to assess the current state of your wallpaper. Unlike what most people say, you’re not always required to remove wallpaper before painting over it. However, if your wallpaper is peeling, bubbling, or in disrepair, it would be wise to remove it to ensure a flawless paint application. On the other hand, if the wallpaper is in good condition and adheres well to the wall, you can proceed to paint over it.
Priming: The Preparatory Step You Shouldn’t Skip
After determining that your wallpaper is a suitable candidate for painting, your next step is priming. A high-quality primer will serve as an intermediate layer that helps the paint adhere to the wallpaper effectively. Furthermore, opting for a stain-blocking primer can prevent any existing wallpaper patterns from showing through your fresh coat of paint.
Paint Selection: More Than Just Color
Picking out the right paint is paramount when painting over wallpaper. Opt for a premium-quality paint that offers excellent coverage and long-lasting durability. Also consider the finish of the paint; while a matte finish might offer a chic, modern aesthetic, a satin or semi-gloss finish is generally easier to clean and might be more suitable for high-traffic areas.
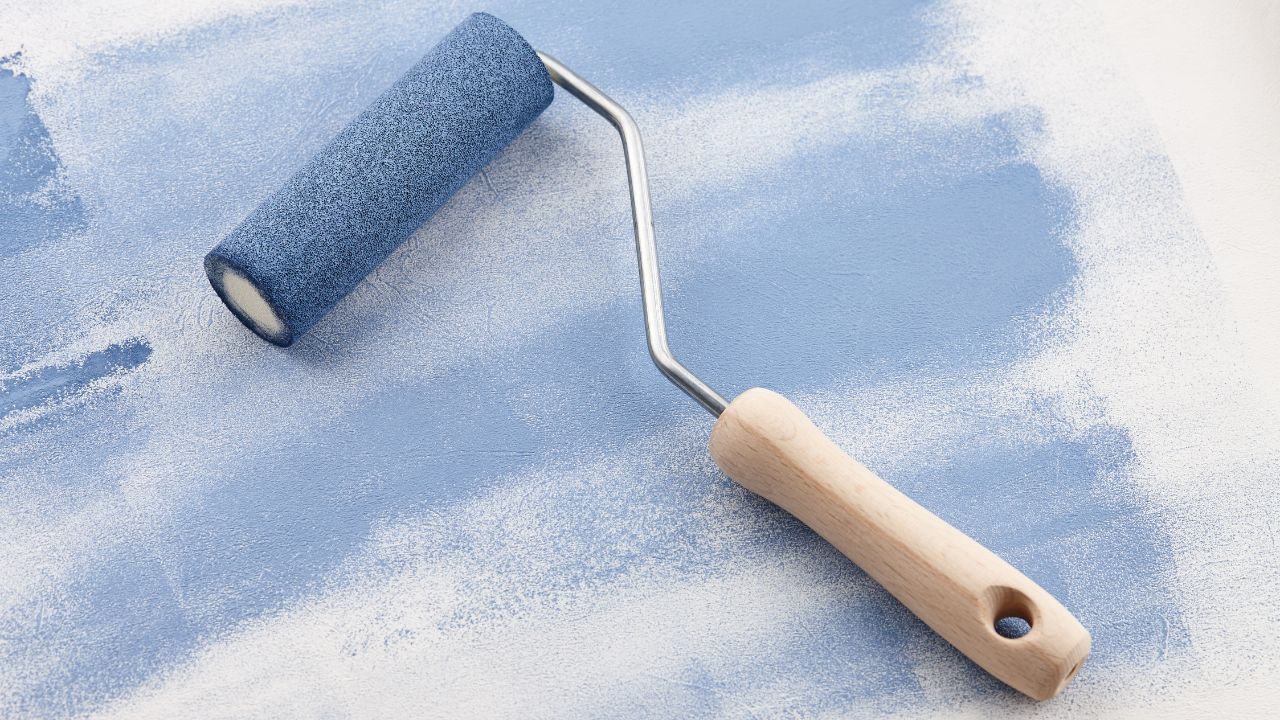
The Tools of the Trade: Brush or Roller?
The tools you use for painting can make or break the end result. For intricate corners and edges, a paintbrush is your best friend. However, for larger surfaces, a paint roller will deliver a more uniform finish. Make sure to employ a consistent technique, painting in a single direction for a smooth and professional look.
Perfecting the Finish: The Multi-Coat Approach
A single coat of paint might leave you with an uneven or translucent finish. To ensure that your new color shines in all its glory, applying multiple coats is often recommended. Always follow the manufacturer’s guidelines for drying time between coats to avoid any unpleasant surprises.
This guide aims to arm you with the knowledge and techniques needed to effectively paint over wallpaper, thereby transforming your living space without the added hassle of wallpaper removal. Remember, the success of your project lies in the details—meticulous preparation, the right tools, and multiple layers of paint can elevate your room from dated to dazzling.
Assessing the Feasibility: When Can You Paint Over Wallpaper?
It’s a common misconception that wallpaper must always be removed before painting. Although many painting experts and paint manufacturers recommend taking down wallpaper for the best results, there are scenarios where removing it could actually damage the underlying wall. For instance, wallpaper that was applied directly to unfinished drywall or plaster may not come off easily without causing harm.
Identifying Exceptions: Types of Wallpaper to Avoid Painting
Not all wallpaper is suitable for painting over. Wallpapers that are peeling at the edges or in multiple locations should be excluded from this approach. Likewise, certain specialty wallpapers, like fabric-backed vinyl, are also not ideal candidates for painting. The silver lining is that these less-than-ideal types of wallpaper are usually easier to remove.
Removal Versus Painting: Weighing the Pros and Cons
Before you decide to paint over wallpaper, make an attempt to remove it. The ease or difficulty of this task can serve as a helpful guide. Generally speaking, wallpapers that are hard to remove are good candidates for painting, while those that come off easily should be removed before painting. It’s worth noting that although removing wallpaper can be a cumbersome process, attempting to remove wallpaper that has already been painted over can be even more challenging.
Preparation Is Key
If you determine that your wallpaper is a suitable candidate for painting, thorough preparation is crucial. The quality of your final paint job hinges largely on this stage. Take necessary measures to ensure that the wallpaper is well-adhered to the wall and that any imperfections are adequately addressed before you proceed.
By carefully assessing your specific situation and diligently preparing the surface, you can successfully paint over wallpaper, breathing new life into your living space while sidestepping the complications that can come with wallpaper removal.
Preparing the Wall: The Importance of a Clean Surface
Initiating a painting project begins with a clean slate, or in this case, a clean wall. Dust and grime can interfere with primer adhesion, so begin by wiping down the walls using a slightly damp cloth. If the room has been frequently used, like a kitchen, a diluted solution of trisodium phosphate (TSP) can provide a more thorough cleaning. However, caution is advised: do not saturate the wall as it might weaken the adhesive holding the wallpaper in place. Allow sufficient time for the walls to dry before moving on to the next step.
Repairing Imperfections: A Smooth Canvas Is Essential
Inspect the wallpaper closely for signs of peeling or weak seams. These areas are notorious for poor adhesion, and remedying them is crucial for a smooth paint job. A thin layer of wallpaper seam adhesive is effective for reattaching these loose areas. Alternatively, you could carefully lift the affected areas with a putty knife, trim away the loose bits, and fill in the gaps with spackle. After the spackle has dried, a light sanding ensures a level surface. If you aim to eliminate the existing texture of the wallpaper, sand the entire wall until smooth, and use a damp cloth to wipe away any residual dust.
Protecting the Trim: Precision Matters
Details are crucial in achieving a polished look. Utilize painter’s tape to isolate any molding, trim, wainscot, or baseboard that you wish to protect from paint. This step ensures that your painting efforts will be both tidy and precise.
Priming the Wall: Setting the Stage for the Topcoat
Regardless of your topcoat preferences—be it oil-based or water-based—a universal rule is to opt for an oil-based primer. This prevents any water content from seeping into the wallpaper and compromising the adhesive. Use a brush to address corners and edges and rely on a roller for the larger wall areas. Adhering to the manufacturer’s drying guidelines is imperative, as is ensuring adequate ventilation throughout the process.
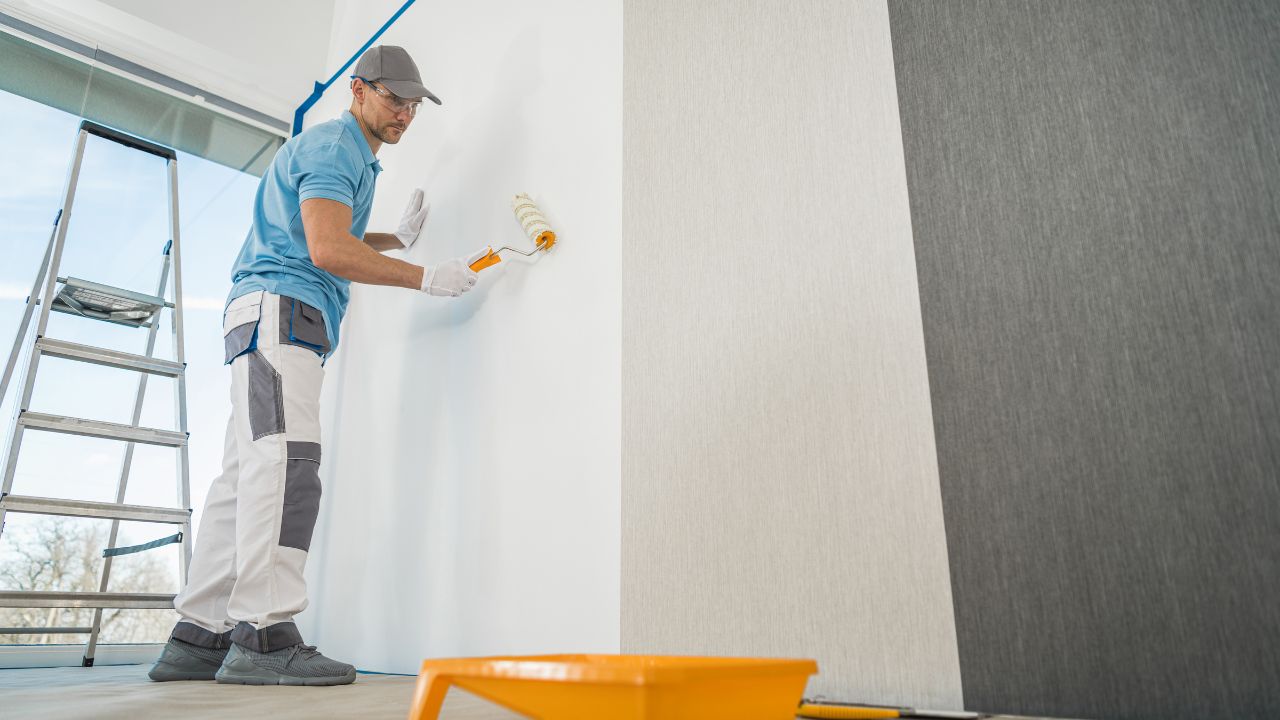
The Finishing Touches: Applying the Paint
Once the wall is clean, repaired, and primed, you’re ready to paint. The nature of the wallpaper’s pattern or its original color may dictate the need for multiple coats, especially when light-colored paint is being applied over dark wallpaper. Make sure the previous coat is dry before applying a new one.
Essential Painting Supplies and Equipment
Safety Gear: Prioritize Protection Before You Begin
Starting a painting project involves handling a variety of chemicals and materials, so prioritizing safety is crucial. Prepare by equipping yourself with goggles, gloves, and either a mask or a respirator. Long-sleeve clothing is also recommended to protect your skin from any splashes or spills.
Cleaning Supplies: Prepare the Surface for Best Results
A bucket of warm water and trisodium phosphate (TSP) will serve you well in cleaning the wall thoroughly. You might want to use a soft cloth to wipe down surfaces to avoid any abrasions.
Repair Tools: Ensure a Smooth Canvas
For handling peeling or damaged areas in the wallpaper, a putty knife is essential. Depending on the state of the wallpaper, you may also need either wallpaper seam adhesive or spackle to mend imperfections.
Sanding Essentials: Achieve a Uniform Texture
If you’re aiming to eliminate the existing texture of the wallpaper or to smooth over repaired areas, sandpaper in the range of 150- to 180-grit is recommended.
Masking Requirements: Precision in Every Detail
Painter’s tape is indispensable when it comes to isolating areas that should be protected from the paint, such as molding, trim, or baseboards.
Priming Necessities: Create the Ideal Base
An oil-based primer is pivotal for sealing the wallpaper and preparing it for the topcoat. Both brushes and rollers will be needed for the application—brushes for the corners and edges, and rollers for the larger surfaces.
Cleanup Supplies: An Often Overlooked Aspect
Mineral spirits will come in handy for cleaning your brushes and rollers after you’ve finished applying the oil-based primer.
Final Coating: The Choice is Yours
For the topcoat paint, the choice is yours, but make sure it is of high quality to ensure durability and a beautiful finish.
A Guide to Effective Wallpaper Removal: Unveiling Your Wall’s True Potential
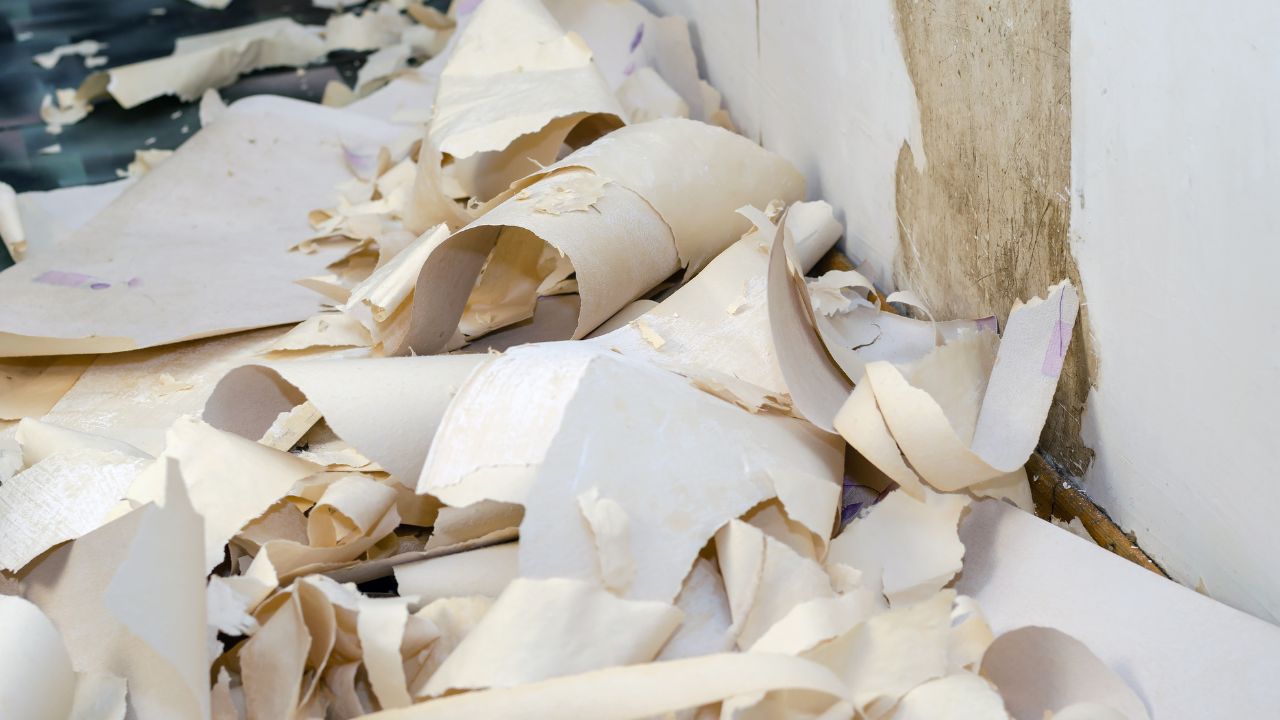
Perhaps you’ve previously chosen to paint over your wallpaper, only to now desire a change that involves its complete removal. Whether you’re preparing your wall for a new coat of paint or a different type of wallpaper, our curated methods will guide you through the process efficiently.
The Fabric Softener Approach: Gentle Yet Effective
Utilizing a fabric softener solution presents a straightforward and effective way to remove painted wallpaper. Mix one part of fabric softener to three parts warm water and decant it into a spray bottle. Liberally apply this solution to the surface of your wallpapered walls. Allow it to sit and permeate the paper for approximately 15 minutes. Armed with a scraper, proceed to delicately lift off the wallpaper.
The White Vinegar Technique: Natural Power Against Stubborn Layers
For a more natural alternative, white vinegar offers a potent solution to stubborn wallpaper removal challenges. Combine equal parts of white vinegar and warm water in a spray bottle, and give the mixture a vigorous shake. Spray this solution onto the wallpapered surface and allow it to soak for about 15 minutes. Utilize a scoring tool to gently remove the wallpaper, taking advantage of vinegar’s adhesive-dissolving properties.
Employing a Wallpaper Steamer: For a Deep and Thorough Removal
If you have access to a wallpaper steamer, this tool can offer a highly effective way to rid your walls of stubborn, painted wallpaper. The steamer operates by heating water to produce steam, which is then applied to the wallpaper, loosening the underlying adhesive. When employing a steamer, it’s advisable to initiate the process at the top of the wall and gradually move downwards. Place a dust sheet on the floor to catch any falling debris, making cleanup easier.
Exploring Other Options: Beyond Paint and Wallpaper
Painting over wallpaper can breathe new life into your walls, but there are other options as well, such as hanging new wallpaper. Various guides are available to help you with these alternative methods, opening up a world of design possibilities for your living space.
Factors to Evaluate Before Painting Over Wallpaper
Assessing Longevity: Painting as a Temporary Fix
Before embarking on the task of painting over wallpaper, ponder the duration you expect the solution to last. If you anticipate removing the wallpaper in the future, it may be more pragmatic to do so now. Although you can take down painted wallpaper, the process is notably more challenging. Thus, if your ultimate aim is to strip the wallpaper, it might be advisable to avoid adding an extra layer of complexity to a future project.
Evaluating the Condition of the Wallpaper
While time and cost efficiency are essential, it’s crucial to consider the state of the wallpaper you intend to paint over. Aging wallpaper that is peeling or chipping can substantially complicate the preparation stage. Such deteriorated wallpaper is susceptible to bubbling and may result in an uneven painting surface, thereby demanding additional corrective work.
Uncovering Hidden Wall Conditions
Another significant factor is what lies beneath your wallpaper. Wallpaper can easily mask wall conditions that may necessitate attention or repair, such as excessive moisture, mold formation, or compromised drywall. Ignorance in this aspect could lead to future headaches, so it’s wise to evaluate the actual state of your walls prior to painting.
Identifying the Wallpaper Type for an Effective Approach
Different types of wallpaper necessitate distinct painting techniques for a successful result. Among the various kinds, vinyl and previously painted wallpapers are most commonly encountered. It’s vital to understand their specific requirements and limitations before proceeding with your painting project.
The Decision to Paint Over Wallpaper: Evaluating the Options

Choosing to paint over wallpaper can sometimes be the most practical decision, especially when removing it poses risks to the underlying wall structure. However, the ultimate success of such a project relies heavily on the preparatory work carried out before the painting begins.
The Cornerstone of Success: Preparation is Key
The success of any home improvement project often hinges on the attention and effort dedicated to the initial stages. Painting over wallpaper is no exception; meticulous preparation is indispensable for ensuring a high-quality result. This involves cleaning, priming, and potentially repairing the wallpapered surface to create an optimal base for your paint.
In conclusion, while painting over wallpaper can be a convenient alternative to its removal, the outcome will only be as satisfactory as the effort invested in preparing the surface. Thorough cleaning and priming are non-negotiable steps for achieving a smooth, long-lasting finish.