
Last Updated on October 21, 2023 by Pro Handyman Australia – Editorial Team
Embarking on an electrical project necessitates a solid grasp of the fundamental concepts. A deep understanding of wiring materials and their installation serves as a pivotal starting point for both novices and seasoned enthusiasts.
Importance of Familiarity with Wiring Terms
Grasping the essential wiring terminology is crucial. It not only facilitates smoother communication with professionals but also aids individuals in deciphering the nuances of their projects.
Identifying Popular Wires and Cables
To effectively tackle any electrical maintenance or renovation task, one must be adept at recognizing the most commonly used types of wires and cables. This knowledge can prove instrumental when diagnosing wiring issues or when deliberating over choices for new setups or revamps.
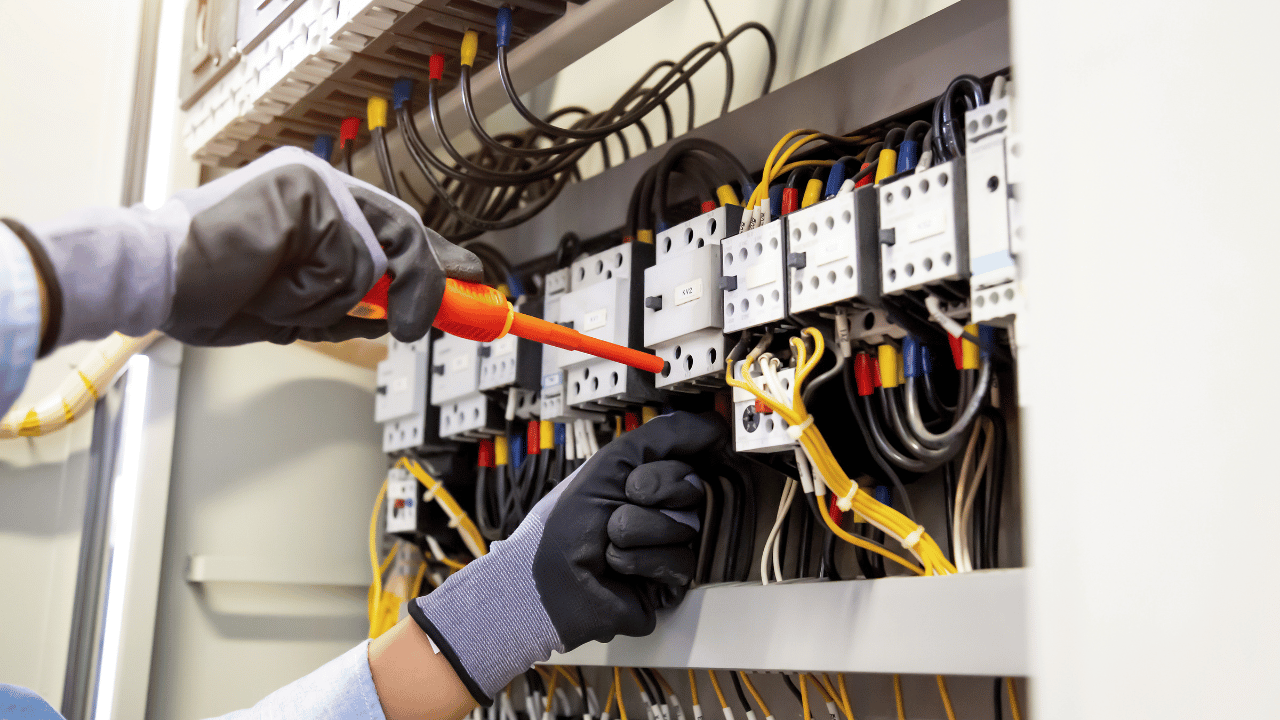
The Journey of Electricity in a Home
Electricity begins its journey into our homes after passing through a power meter supplied by the regional utility provider. In the majority of households, it travels through a master 200-amp circuit breaker before reaching the home’s breaker box, often colloquially known as a fuse box. From this point, electricity disperses across numerous circuits, flowing to various sections of the residence. As it journeys, each circuit has its dedicated circuit breaker, safeguarding the system from potential overloads. Notably, while most domestic electrical systems operate on 120 volts, specific larger appliances, such as electric clothes dryers, utilize 240 volts.
Basic Electrical Wiring Tips
- A Glimpse into Household Wire Gauges
Wire gauges essentially refer to the size or thickness of the electrical wire. The fundamental principle is straightforward: the thicker the wire (or the heavier the gauge), the more electrical current it can ferry without getting excessively hot. It’s crucial to note that electrical wires and circuit breakers are inherently designed to complement each other, demanding a perfect size match.
For instance, a 14/2 gauge wire can handle up to 15 amps and should not be paired with a circuit breaker exceeding that limit. Conversely, 12/2 gauge wires are rated for up to 20 amps. Typically, these two wire sizes dominate modern household lighting and wall outlets. However, for certain power-intensive appliances, heftier wire gauges combined with higher amp circuit breakers become necessary, abiding by regional and state building regulations.
Interestingly, the gauge system for electrical wires mirrors that of shotgun pellets: a lower number indicates a thicker wire. Therefore, a 12-gauge wire, being thicker than a 14-gauge, can handle a greater electrical load but falls short when compared to a 10-gauge wire.
The repercussions of mismatching wire gauges with inappropriate circuit breakers are grave. Underestimating the wire gauge for a high amp breaker can cause the wire to dangerously overheat, posing a fire risk, often before the circuit breaker intervenes. Conversely, overestimating the wire gauge for a lower amp breaker might result in recurrent breaker trips, interrupting the circuit prematurely.
- Household Wire Varieties
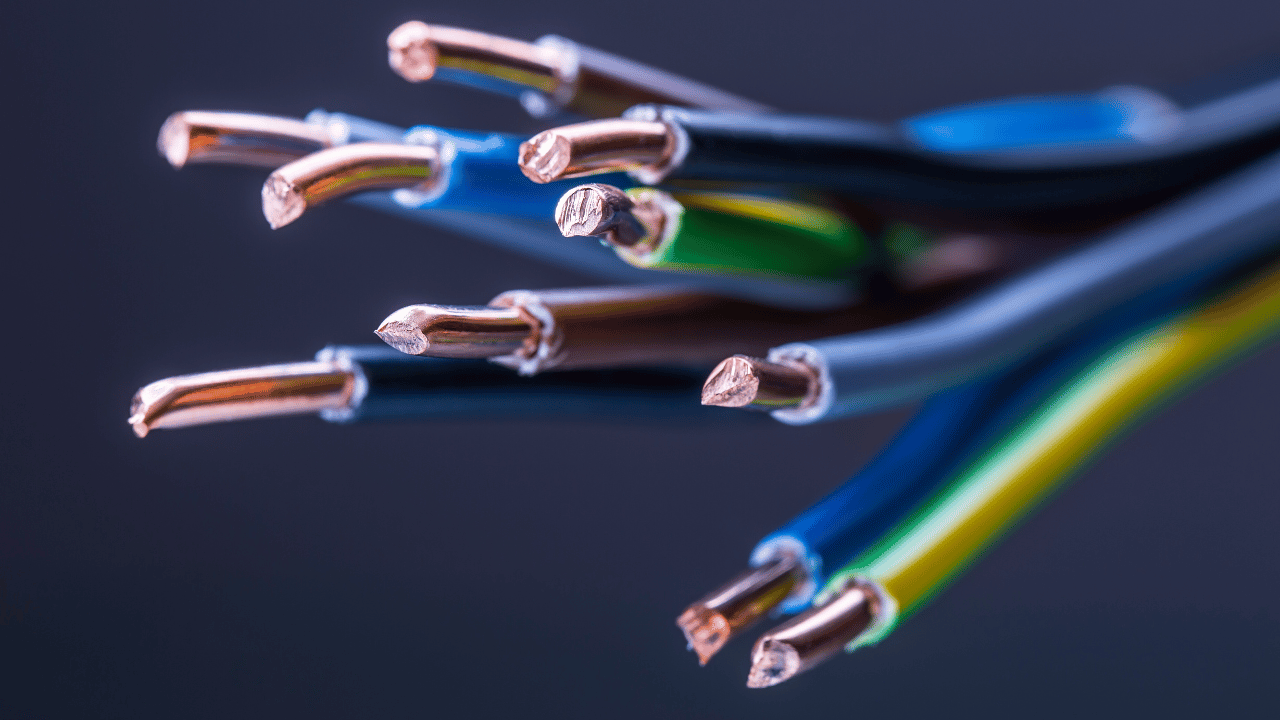
Standard household electrical wires come enveloped in insulation, containing three distinct wires. The black wire, often dubbed the “hot” wire, transmits the electrical current. Then we have the white “neutral” wire and a bare copper ground wire. When interconnecting these wires, ensure the black wires intertwine, the white wires combine, and the ground wires connect. Failing to do so could lead to an electrical short.
For more complex requirements, such as three-way switches, there’s a three-conductor wire variant. This wire houses a white neutral wire, a bare copper ground wire, a black “hot” wire, and an additional red wire to serve as a secondary “hot” wire.
- Mastering Basic Connections
Safety first: always ensure the power supply is disconnected before commencing any electrical work.
Typically, wire nuts, segmented by gauge sizes, are employed to connect wires. For example, when wiring a light fixture, the fixture’s wires and the power supply wires are conjoined using wire nuts. Connection entails stripping the wire ends, twisting them collectively, and securing them with the appropriately sized wire nut.
While connecting electrical fixtures, it’s pivotal to align the color-coded wires appropriately. Often, light fixtures might lack the standard black and white wires; in such cases, a rib on the wire’s sheath can help identify the neutral counterpart.
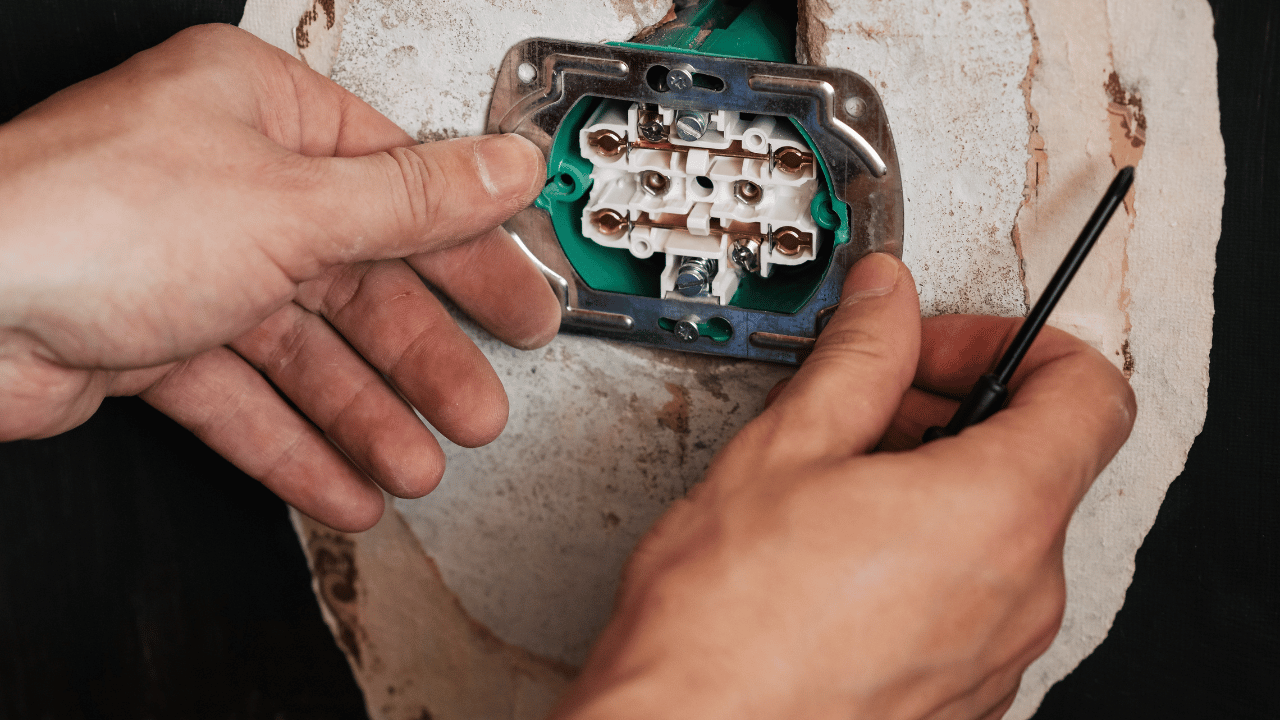
Light switches and wall outlets possess screws on both sides for wire connection. Green screws anchor the ground wires, silver or stainless-colored screws hold the white neutral wires, and brass-colored screws accommodate the black “hot” wires.
Many homeowners frequently embark on tasks like swapping out light switches or wall outlets. Sometimes, extensive renovations could necessitate the addition of more wall outlets. Consequently, this guide primarily revolves around fundamental electrical endeavors, focusing on single-pole switches and end-of-run receptacles.
- Understanding Light Switches and Electrical Flow
In the realm of electrical configurations, light switches have a simple yet vital role: they interrupt or facilitate the flow of electricity to a light fixture. Envision a wire originating from a “hot” junction point leading to the box destined for the light switch. A second wire then proceeds from the light switch box to the junction box of the light fixture. The switch acts as the connector for these two sets of wires, controlling the electrical current flow.
To effectively set up a light switch:
- Route the two wires within the switch box.
- Strip the ends of these wires.
- Secure the white wires using a wire nut, while the ground wires should be attached around the green screw at the base of the switch.
- Finally, each black wire is affixed to the switch – one wire to each brass screw situated on its side.
- Wall Outlets: The Constant Current Carriers
Unlike light fixtures, which can be turned off, wall outlets are perpetually “hot.” This means they consistently hold an active electrical current. This constant flow is possible because outlets are sequentially connected, akin to how Christmas lights are linked. A “hot” wire, emerging from a circuit breaker or another “hot” junction box, directs the current to the primary wall outlet. Subsequently, another wire connects this first outlet to the next in line. This sequence persists until every outlet in the room is connected or the circuit’s fixture limit is reached.
Receptacles, interchangeably called outlets or plugs, adhere to a connection pattern. The black wires are attached to the brass screws, while the white ones connect to the silver or stainless steel screws. Ground wires are secured to the green screw situated at the base. Modernly designed receptacles, labeled as “duplex receptacles,” feature two screws on both sides. As suggested by their name, they can introduce electrical current via one set of screws and then transmit it using the other “duplex” set to an additional fixture.
To ensure sturdy connections to receptacles and switches:
- Transform the wire’s end into a hook shape. Typically, this is achieved by clamping the exposed wire with needle-nose pliers and twisting the wrist to create the hook.
- This newly formed hook effortlessly wraps around the screws on the outlet or switch, establishing a firm connection when tightened.
- Navigating Electrical Work Regulations
Embarking on electrical work in a household isn’t a task to be undertaken lightly. Regulations and guidelines predominantly align with the standards outlined in the National Electrical Code. However, modifications are not uncommon in local and state building codes. While many regions allow homeowners to conduct their electrical assignments, some jurisdictions oppose this.
It’s paramount to consult local laws, ordinances, and building codes before initiating any electrical endeavor. Familiarity and understanding are crucial. For instance, while imperfectly hung drywall might just be a visual nuisance, incorrectly executed electrical work can lead to catastrophic outcomes like house fires or electrocution. If you’re ever uncertain about an electrical task, it’s always better to refrain and seek professional guidance.
- Mastering Cable Management: How to Uncoil Cable Effectively
When handling plastic-sheathed cable, the process becomes far more manageable if the cable is straightened beforehand. One effective method entails lifting several coils—about four loops should suffice for a 12-foot reach—from the center of the roll and tossing them across the floor, much like one would throw a rope. Following this, walk along the length of the cable to straighten it. This approach has gained favor because it allows for the cable to remain in its plastic wrapper, which not only simplifies handling but also ensures neater storage.
- Efficient Electrical Box Organization: A Guide to Neat Packing
An overstuffed electrical box can be a hindrance, especially if you need to make future adjustments. To maintain a neat and compact box, start by gathering all the bare ground wires, connect them with a long pigtail, and fold them into the back of the box, leaving the pigtail extended. Repeat this process for the neutral wires. If you’re connecting switches, you can skip the neutral pigtail. Arrange the hot wire in a zigzag pattern across the bottom of the box and cap it with a wire connector for easy identification. This method will leave ample room for switches and make wire identification easier.
- Unlocking the Secret: Removing Sheathing from Underground Feeder Cable
Underground feeder (UF) cable comes with a durable plastic sheathing that’s tough to remove. A useful technique to facilitate this task involves separating the black and white wires from the bare copper wire. This is achieved by gripping each wire with pliers and twisting them apart until approximately a foot of wire is separated. Once that is done, grab the end of the wire with one set of pliers and the sheathing with another set, and work them apart. After separation, simply peel off the sheathing and trim the excess using scissors or a knife.
- Ensuring Smooth Operations: Crafting No-Snag Fish Tape Connections
After maneuvering your fish tape to its intended location, the last thing you want is to lose the cable or get stuck. To avoid such issues, strip about eight inches off the cable and use side cutters to leave only one wire. Cut this remaining wire at a steep angle to prevent it from catching on anything. Bend this wire around the loop at the end of the fish tape and secure it tightly with electrical tape. This ensures a smooth bundle that can be easily pushed or pulled without getting caught.
- Comprehensive Wall Scanning: Don’t Just Find Studs
A reliable stud finder is indispensable for electrical work, serving purposes beyond just locating studs. Once you’ve identified the wall cavity between two studs, run your stud finder vertically along it. This will help you detect any potential obstacles like blocking or abandoned headers, saving you from learning the hard way that your wire can’t reach its intended destination.
- Tool Essentials for Electrical Work: Flex Bits and Glow Rods
If you intend to engage in any electrical projects, owning flex bits and glow rods is non-negotiable. Flex bits excel in drilling holes in confined spaces and come in standard lengths of 5 and 6 feet, although extensions are available. Once a hole is drilled, a glow rod can be inserted to fish wire through it. Attach the wire to the eyelet at the end of the rod and pull it back through. The glow-in-the-dark feature of these rods makes them easy to locate when working in poorly lit conditions.
- Ensuring Effective Wire Fishing: The Importance of Extra Wire
When undertaking the task of fishing wire, it’s crucial to ensure you have an ample amount of wire to latch onto. There are instances when grasping a wire becomes a challenging endeavor. Once you manage to secure it, it’s imperative not to let go. Therefore, always maintain an additional five to six feet of wire. This extra length provides the necessary tension on the hook, facilitating its smooth passage through.
- Streamlining Wiring Processes: The Significance of Wire Identification

One of the cornerstones of effective wiring is clear wire identification during installation. There are numerous ways electricians mark their wires, and adopting a coding system can be particularly beneficial. Some prefer using labels, but these might become obscured or dislodged due to activities of drywall installers, tapers, or painters. To circumvent this, it’s advisable to utilize a non-label coding method. Establishing a consistent system and documenting it ensures clarity, negating the need to guess wire functions such as “line,” “load,” or identifying travelers for three-way switches.
- Prioritizing Safety: Always Test Before Touch
No matter how seasoned you are in wiring tasks, never become complacent about the power status. Employ a noncontact voltage detector to scrutinize every wire in the targeted work area. Before relying on this tool, always ascertain its functionality by testing it on a known live wire.
- Maintaining Safety with GFCI Outlets
Ground fault circuit interrupters (GFCIs) are paramount for safety, preventing hazardous current flow by instantly cutting off power. Despite their efficiency, GFCIs can wear out over a decade, rendering their built-in test buttons unreliable. The most dependable method for evaluating an aging GFCI’s functionality involves using a circuit tester equipped with its own GFCI test button. Should the GFCI function correctly, it will cut off power when tested. If it remains powered, it necessitates replacement. The upside is that GFCIs manufactured post-mid-2006 inherently notify users of failures, primarily by permanently cutting off power.
- Simplifying Multiple Switch Installations
In situations involving a wire box housing three switches, conserving space and reducing unnecessary connections becomes crucial. Instead of allocating a distinct pigtail for each switch from the hot wire, allow the hot wire to remain extended. Expose about 3/4 inch of the bare wire, wrapping it around the screw terminal of the initial switch. Implement the same technique for the subsequent switches, attaching the final switch in the conventional manner.
- Optimal Sheathing Techniques: Why It’s Best to Strip Early
While there might be a temptation to thrust the roughed-in cable through box knockouts and defer sheathing stripping, it’s more judicious to strip the sheathing prior to wire insertion. The pivotal aspect is ensuring cable positioning accuracy before marking and stripping. Assuming the cable isn’t taut, adequate adjustment leeway remains post conductor insertion into the box. Adhering to the electrical code is essential, which mandates a minimum of 1/4 inch of sheathing visibility within the box.
Conclusion

In the ever-evolving realm of home improvement and DIY projects, understanding the basics of electrical wiring stands out as an indispensable skill. Not only does it empower homeowners with the knowledge to undertake minor repairs or enhancements, but it also underscores the importance of safety when dealing with electrical components. From the meticulous task of wire fishing to the nuanced art of wire identification, each tip provided in this blog emphasizes precision, clarity, and utmost caution. By mastering these foundational practices, individuals can navigate the intricate maze of electrical wiring with confidence and competence. However, always remember that while these basic tips serve as a starting point, electrical work’s complexity often necessitates seeking professionals for larger projects. Ensuring safety and accuracy in all electrical endeavors is paramount, and a solid grasp of the basics is the first step in that journey.