Last Updated on October 21, 2023 by Pro Handyman Australia – Editorial Team
When faced with a damaged, burnt, or overheating electrical outlet, the need to replace it becomes paramount. Even if you decide to enlist the services of a qualified electrician, understanding the process of changing an outlet is a valuable skill. Malfunctioning electrical outlets not only hinder the functionality of household devices and appliances but can also pose risks to your home and personal safety. This guide equips you with the knowledge to safely replace outlets while also outlining indications that suggest the involvement of a professional is necessary.
Electrical outlets are among the most commonly used fixtures in our homes. Over time, like all frequently used things, they can wear out or become outdated. Luckily, with the right tools and know-how, replacing an outlet can be a straightforward DIY project. In this guide, we’ll dive deep into the steps, safety measures, and best practices to ensure you successfully replace your outlet like a pro.
Understanding the Basics
1. Outlet Types: Before embarking on the DIY journey, it’s crucial to understand the different outlet types:
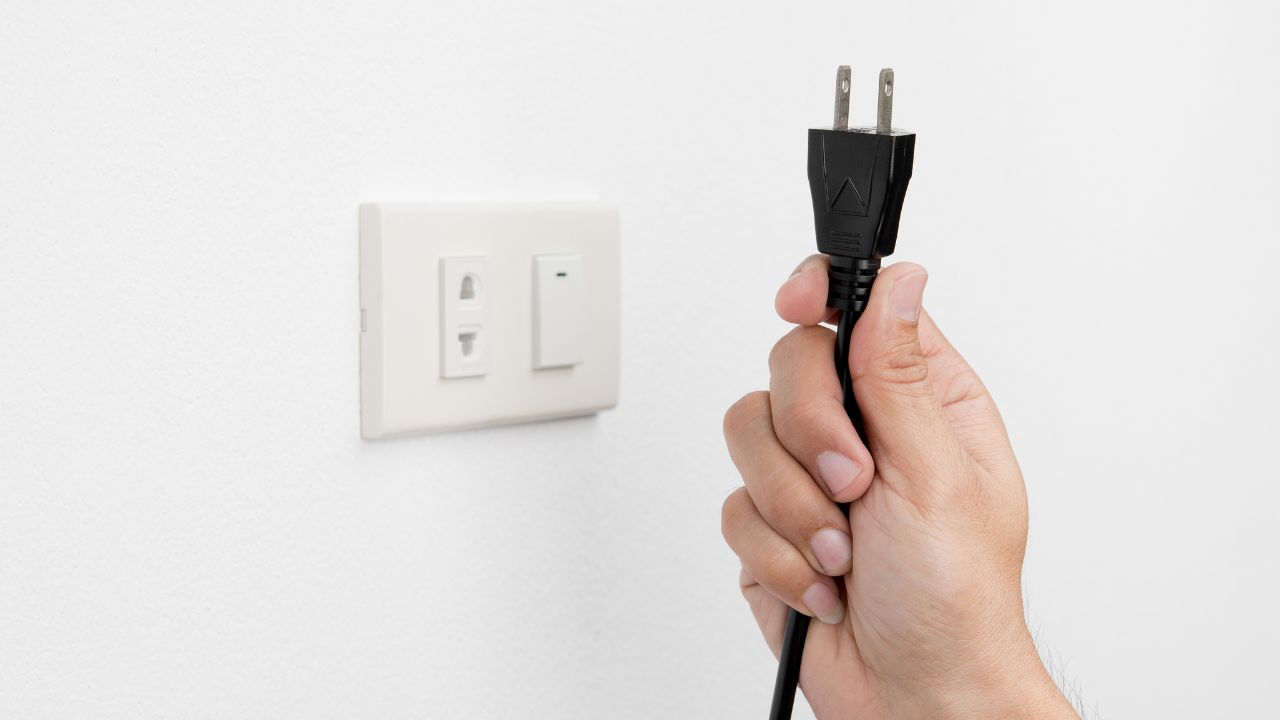
- Standard Outlets: Most common, with two vertical slots and a round hole for grounding.
- Ground Fault Circuit Interrupter (GFCI): These have built-in circuit breakers and are primarily used in areas prone to moisture, like bathrooms and kitchens.
- 20A Outlets: These look similar to standard outlets but one slot is T-shaped. They handle more current and are found in areas with high-demand appliances.
2. Safety First: Working with electricity poses inherent risks. Always turn off power at the circuit breaker and use a voltage tester to ensure the outlet has no power before starting.
Tools and Materials You’ll Need
- Screwdrivers (Phillips and flathead)
- Voltage tester
- Needle-nose pliers
- Replacement outlet
- Wire stripper
- Wire connectors
- Electrician’s tape
Recognizing the Need for Outlet Replacement
Identifying Signs that Indicate Outlet Replacement is Necessary
If any of the following warning signs become apparent from your electrical outlets, it’s a clear indicator that a change is in order:
Age: Electrical outlets that have been in service for over two decades might be outdated and could fail to meet contemporary electrical safety norms. Seeking an assessment by a licensed electrician to determine the need for replacement is advisable. Outlets have a lifespan, and if yours have been serving for over two decades, they might be obsolete and not in alignment with present-day safety protocols. Engaging a certified electrician to assess their condition can be invaluable in deciding if a replacement is necessary.
Damage: Outlets displaying signs of damage such as cracks or breakage should be promptly replaced. Damaged outlets pose a fire risk and may exhibit reduced functionality. Outlets that display evident signs of wear, such as cracks or breaks, are candidates for immediate replacement. Such compromised outlets not only hinder their function but can also pose severe fire risks.
Overheating: Outlets that radiate excessive heat, emit burning odors, or produce sparks during device connection indicate underlying problems within the outlet or wiring. An outlet that feels unusually warm, releases a distinct burning odor, or produces sparks during the insertion or removal of plugs is signaling a potential issue. These symptoms could stem from problems with the outlet itself or the underlying wiring, necessitating swift attention.
Loose or Worn Connections: If plugs fit loosely into the outlet or if the outlet feels unstable during device connection, replacing it is vital due to the associated safety concerns.An outlet should ensure a firm grip on the prongs of any plug. If you notice a slack fit or if the outlet seems unstable during routine use, it’s indicative of wear and a consequent safety risk, suggesting a prompt replacement.
Outdated or Unsafe Design: Outlets lacking grounding or the essential GFCI protection Safety standards evolve, and if your outlets aren’t grounded or are missing Ground Fault Circuit Interrupter (GFCI) protection, especially in moisture-prone zones like kitchens or bathrooms, it’s wise to consider an upgrade to guarantee your safety.in moisture-prone spaces like bathrooms and kitchens should be upgraded to ensure your safety.
Making the Choice – DIY or Professional Assistance
Understanding the Pros and Cons of DIY Outlet Replacement vs. Hiring an Expert
When considering outlet replacement, the choice between DIY and professional assistance requires careful consideration:
Professional Expertise: Handling electrical outlets demands care and experience. If you encounter sparking, smoking, or burning smells, it’s crucial to engage a local electrician promptly.
Cost Implications: Electricians typically charge between $9 to $35 per switch or outlet, excluding material costs. Bulk replacement of outlets may warrant a cost reduction.
DIY Suitability: You might opt for a DIY approach if:
- The outlet exhibits overheating during use.
- An upgrade to a three-prong grounded setup is desired.
- The outlet fails to function.
Guidelines for DIY: While the subsequent steps offer DIY guidelines, if you lack prior experience, enlisting a professional electrician is recommended.
Note: It’s essential to prioritize safety and adhere to local electrical codes. If in doubt, always seek professional guidance for your outlet replacement needs.
Step-by-step Guide on How You Can DIY an Electric Outlet
- Prioritizing Safety – Power Off First
Ensuring Personal Safety by Switching Off Power
Prior to embarking on any electrical work, it is imperative to deactivate the power supply to the outlets you intend to work on. This precautionary measure is vital to safeguard yourself from the risks of electrical shock or even more severe consequences. The dangers of working with live electrical circuits cannot be overstated, and neglecting to cut off power can result in grave injury or even fatal electrocution.
By identifying and shutting off the corresponding circuit breaker at the electrical panel, you significantly minimize the likelihood of encountering electrical shock or electrocution. Additionally, disconnecting the power serves to shield your electrical system from potential damage and averts any harm that may befall devices or appliances connected to it. In cases where wires are inadvertently shorted or sparks are generated during live circuit manipulation, the risk of fire hazards and system malfunctions can be averted. In light of these considerations, it is advisable to always turn off the power before commencing any work and seek professional assistance when necessary.
- Voltage Verification – A Crucial Step
Ensuring Power Deactivation Through Voltage Testing
Upon deactivating the power supply to the outlet, it remains crucial to confirm its inactivity. Employing a voltage testing tool is paramount in ensuring the absence of electrical current flowing through the outlet. The voltage tester’s indications determine the presence or absence of current, verifying the effectiveness of the power cut-off. If the tester detects electrical activity within the outlet, it serves as an indicator that the power remains active and further investigation is required. Continuing to assess and troubleshoot the situation guarantees a secure work environment.
- Dismantling the Setup – Step by Step
Methodical Disassembly of the Outlet Configuration
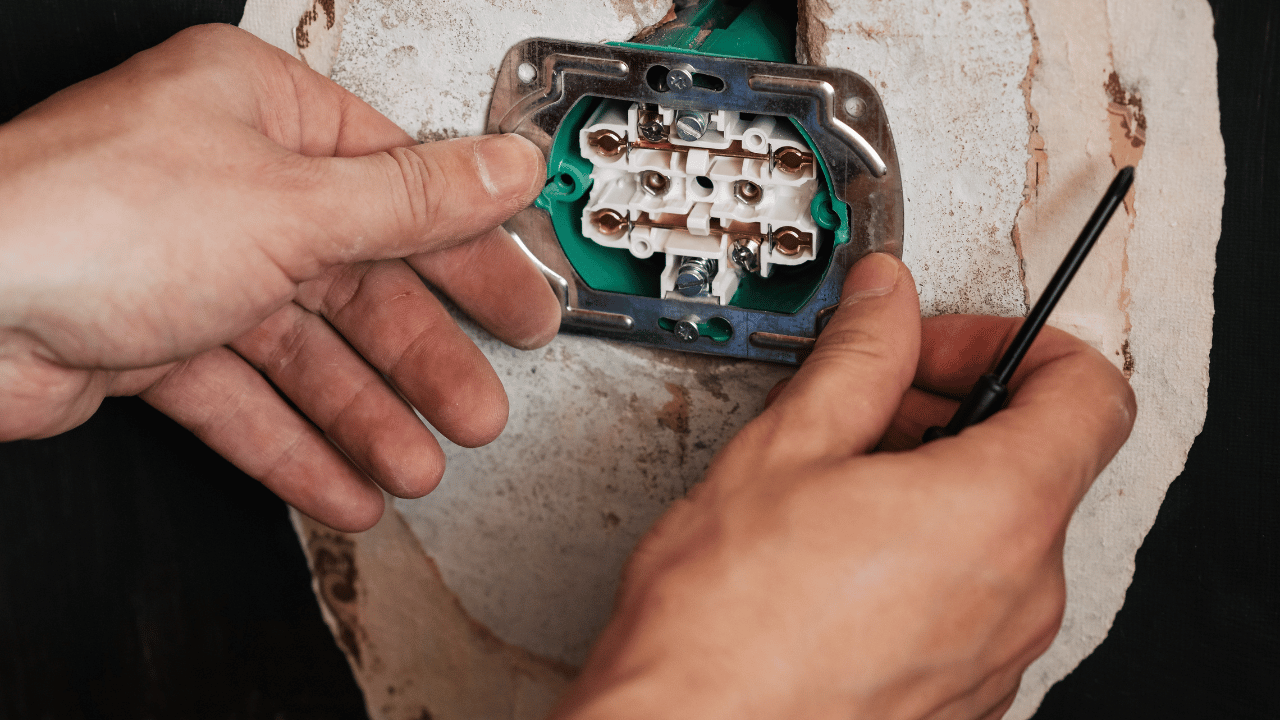
- Removal of Faceplate: Utilizing a flathead screwdriver, meticulously unscrew and detach the faceplate from the outlet. Safely store the faceplate screws to prevent loss.
- Extracting the Outlet Receptacle: While this step demands expertise best handled by a professional electrician, delicately unscrew and remove the upper and lower parts of the outlet receptacle. Thoroughly inspect for visible damage and assess whether replacement is warranted.
- Assessment of Wiring Configuration: The outlet receptacle usually exhibits three wires – black, white, and green (or bare copper in older systems). Capture a visual reference or video to document the wiring configuration before proceeding.
- Verifying Amps and Wire Gauge: Determine the amp rating of the outlet by checking the markings on it or on the circuit breaker controlling it. Ensure that the amp rating corresponds to the wire gauge or size to avoid potential safety hazards.
- The Professional Touch
Indispensable Role of a Local Electrician
At this stage, if any inconsistencies arise, particularly regarding the amp rating and wire gauge, engaging the services of a local electrician is strongly advised. Professionals possess the expertise to navigate intricate electrical situations, ensuring safety and compliance with standards.
- Reinstallation and Power Restoration
Precise Reassembly and Testing for a Successful Replacement
- Disconnection of Receptacle: Skillfully disconnect the receptacle by loosening screws or unwiring the attached cables.
- Trimming and Stripping Damaged Wires: If necessary, trim frayed or damaged wire ends, ensuring a clean and secure connection for the replacement process.
- Installation of New Receptacle: Following the earlier steps in reverse, install the new outlet receptacle. Utilize reference materials to guide the rewiring process, securing the new outlet in place.
- Power Activation and Verification: Upon completing the installation, restore power to the worked-on outlets and employ a voltage tester to ensure the successful replacement. Should any issues arise, investigate and address them promptly.
- Power Down for Safety
Prioritize Safety by Disabling the Power Supply
Initiating any electrical work demands a paramount step: deactivating the power supply to the outlets in question. The rationale behind this is to insulate oneself from the grave risks of electrical shock or even worse, electrocution. Working on live electrical circuits is a perilous endeavor that can lead to severe injuries or even fatalities. Locate your circuit breaker box and diligently power down the circuit that feeds into the designated area, significantly mitigating the possibility of electrical shock or electrocution.
The benefits of this measure are twofold: not only does it shield you from harm, but it also safeguards your electrical system and the devices and appliances connected to it. A minor misstep on a live circuit, such as a shorted wire or an inadvertent spark, can precipitate wiring damage, device malfunction, or even a hazardous fire. By preemptively switching off the power and enlisting an electrician for replacements, you proactively circumvent these potential hazards.
- Voltage Testing – Ensuring Deactivation
Confirming Power Deactivation through Voltage Testing
After successfully turning off the power supply to the outlet, a crucial validation step follows. It entails ascertaining that the power has indeed been deactivated. Employing a voltage testing tool becomes instrumental in verifying the absence of electric current coursing through the outlet. If the voltage tester registers any current activity within the outlet, it becomes evident that the power remains active, and further investigation is imperative. Continue the testing process, troubleshooting until the absence of power is unequivocally confirmed.
- Disassembling the Setup – Methodical Approach
A Step-by-Step Guide to Systematic Disassembly
- Faceplate Removal: Employ a flathead screwdriver to skillfully remove the faceplate screws securing the outlet. Preserve these screws in a secure location to prevent misplacement. Gently detach the faceplate, and if necessary, give it a swift cleaning before setting it aside.
- Extracting the Outlet Receptacle: An important caveat is that this step necessitates electrical expertise best left to a professional electrician. To extract the outlet receptacle, carefully unscrew the upper and lower sections and lift it out gently. Thoroughly scrutinize for visible damage and assess whether replacement is warranted.
- Assessing for Replacement: While removing the outlet receptacle, it’s an opportune time to evaluate whether it requires replacement. Cracked, chipped, or otherwise compromised receptacles warrant immediate replacement. This assessment is particularly pertinent if you’re upgrading to a new outlet type, such as a grounded three-prong variant.
- Analyzing Wiring Configuration
Decoding the Intricacies of Wire Arrangement
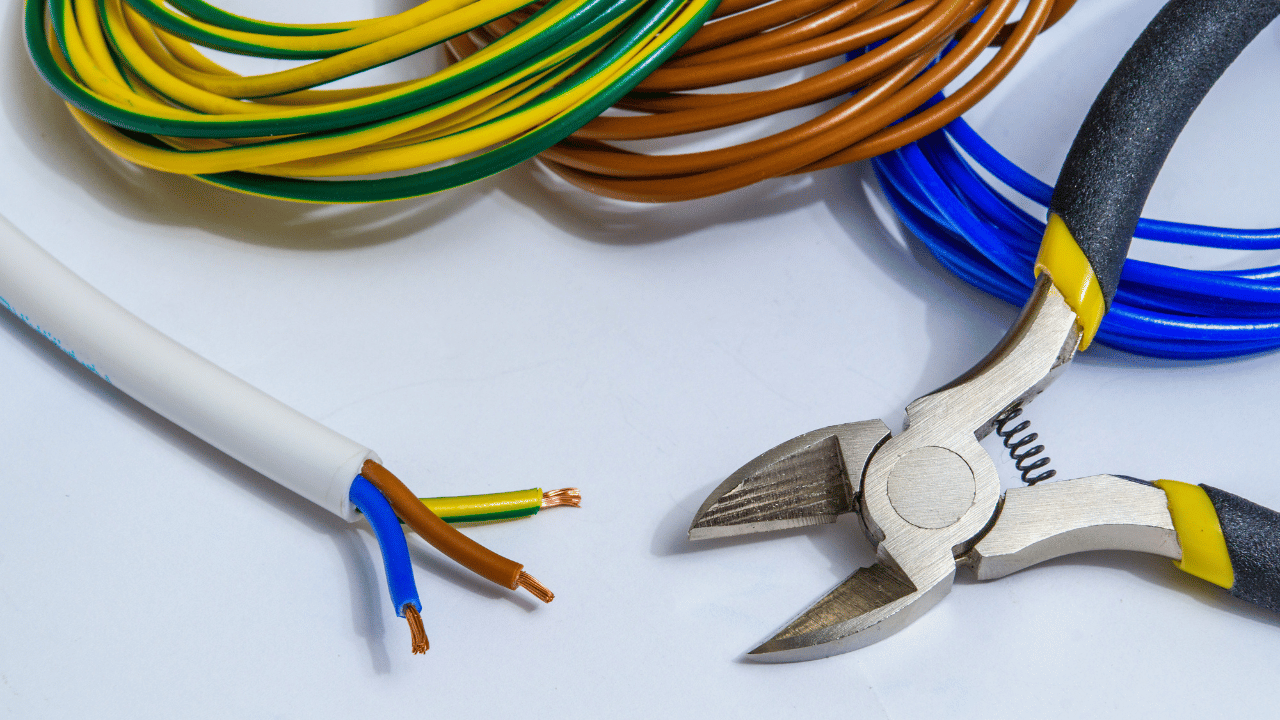
Moving forward, attention turns to the configuration of wires. Typically, the receptacle reveals three wires – black, white, and green (or occasionally bare copper in older wiring setups). These wires serve distinct roles: black for voltage, white for neutrality, and green or copper for grounding. To ensure accuracy, document the wiring arrangement through photographs or videos, facilitating seamless rewiring and safeguarding your progress.
- The Amperage Quandary
Evaluating Amp Ratings and Implications

- Determining Amperage: Assess the amp rating of the outlet by examining the markings on it or consulting the corresponding circuit breaker. Most U.S. household outlets possess ratings of either 15 amps or 20 amps.
- Wire Gauge Compatibility: A crucial consideration at this juncture is the compatibility of amp ratings with wire gauge, also known as wire size. Mismatched ratings can pose serious safety risks. For instance, a 15-amp outlet necessitates a 14-gauge wire, while a 20-amp circuit mandates a 12-gauge or 10-gauge wire.
- Expert Involvement
Leveraging Professional Expertise for Complex Situations
In scenarios where the intricacies of wire gauge and amp ratings pose challenges, it’s prudent to engage the services of a local electrician. Their proficiency ensures that complex electrical considerations are managed adeptly, assuring safety and adherence to standards.
- Reassembly and Power Restoration
Skillful Reconstruction for Optimal Functionality
- Receptacle Disconnection: Disengage the receptacle, ensuring secure detachment of connected wires by unscrewing or unwiring them.
- Addressing Damaged Wires: Trim frayed or damaged wire ends, preparing them for the introduction of newer, reliable cables.
- Installing the New Receptacle: Execute the reverse steps of removal to attach the new outlet receptacle. Leverage reference materials, such as photos or videos, to guide the rewiring process. Secure the new receptacle in place and restore the wall plate.
- Power Activation and Verification: Once satisfied with the installation, reactivate power to the worked-on outlets. Employ a voltage tester to confirm the success of the replacement. In the event of any anomalies, investigate and address them promptly.
Tips for a Successful Outlet Replacement
- Choose the Right Outlet: Ensure the replacement outlet matches the amperage rating of the old one.
- Secure Connections: Wires should wrap three-quarters of the way around the screws in a clockwise direction.
- Use Pigtails: If an outlet has multiple sets of wires, connect them with a pigtail. This ensures a more stable connection and lessens the load on the outlet.
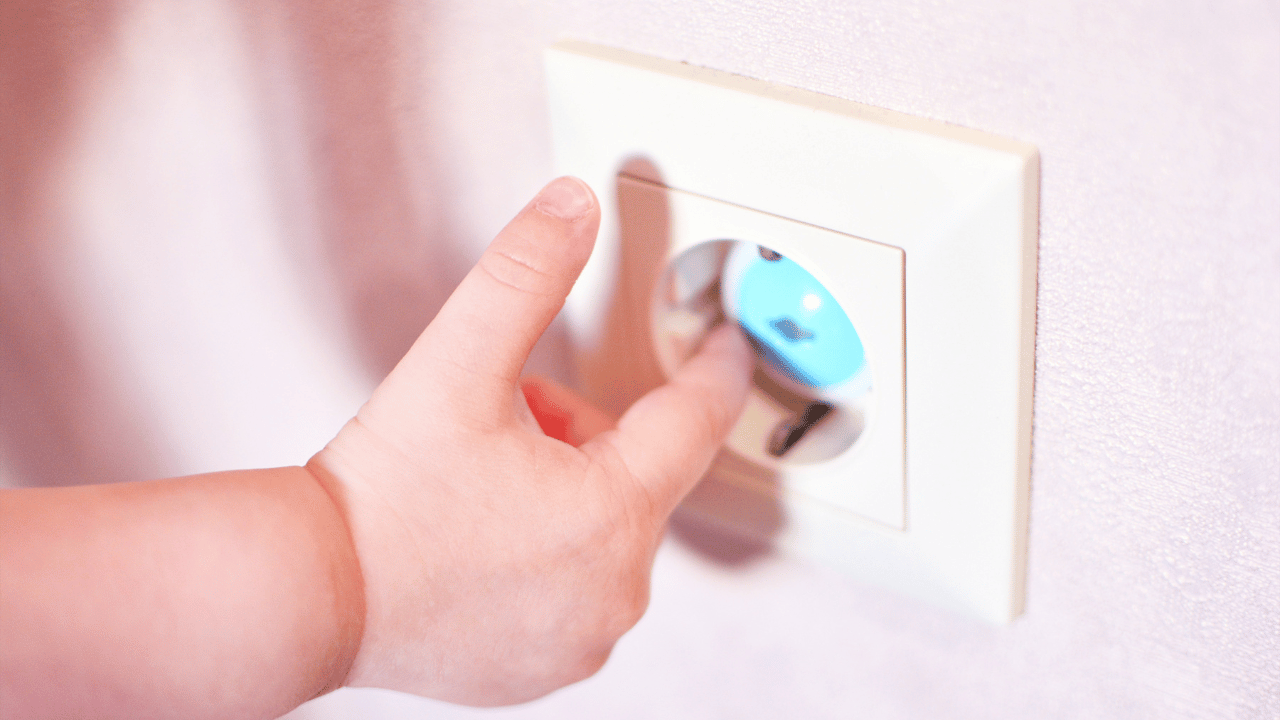
- Upgrade to Tamper-Resistant Outlets: Especially if you have children, these outlets have shutters that prevent the insertion of foreign objects.
While replacing an outlet might seem like a minor task, it can significantly improve the safety and efficiency of your home’s electrical system. By following this guide and prioritizing safety, you’ll equip yourself to tackle this DIY project confidently and effectively. Remember, if at any point you feel unsure or uncomfortable, there’s no harm in calling a professional electrician to handle the job.
Conclusion
In conclusion, the journey through this DIY Outlet Replacement Guide equips you with essential knowledge and practical insights to navigate the realm of electrical outlet replacement with confidence. Taking charge of such tasks not only empowers you to enhance the functionality of your living space but also underscores the importance of safety in every step of the process.
As we’ve explored, recognizing the signs that necessitate outlet replacement is the crucial first step. From identifying aged outlets that no longer meet safety standards to addressing damages, overheating, and outdated designs, your ability to pinpoint these indications serves as a proactive measure towards maintaining a secure electrical environment.
Moreover, we delved into the imperative of prioritizing safety throughout the replacement process. The significance of turning off the power, confirming its deactivation through voltage testing, and handling each step with precision cannot be overstated. It’s a testament to the commitment we share to ensure not just efficient outcomes, but also a risk-free environment for ourselves and our living spaces.

Our journey took us through the intricacies of dismantling, inspecting, and assessing wiring configurations. With every detail meticulously examined, we found the critical intersection of competence and caution that defines successful DIY outlet replacement. Remember, for tasks that require a professional touch, seeking the guidance of a skilled electrician is a testament to your commitment to safety and precision.
As we conclude this guide, it’s worth noting that while this comprehensive resource empowers you to embrace DIY outlet replacement, your safety and peace of mind are of paramount importance. In cases of uncertainty, intricate setups, or the slightest doubt, don’t hesitate to reach out to a local electrician. Balancing the pride of tackling DIY projects with the wisdom to know when professional assistance is required is the hallmark of an informed and empowered homeowner.
Ultimately, the insights and guidelines shared in this DIY Outlet Replacement Guide lay the foundation for a safe, efficient, and rewarding endeavor. May your journey towards maintaining a functional and secure electrical system be marked by both newfound skills and an unwavering commitment to safety.