Last Updated on October 21, 2023 by Pro Handyman Australia – Editorial Team
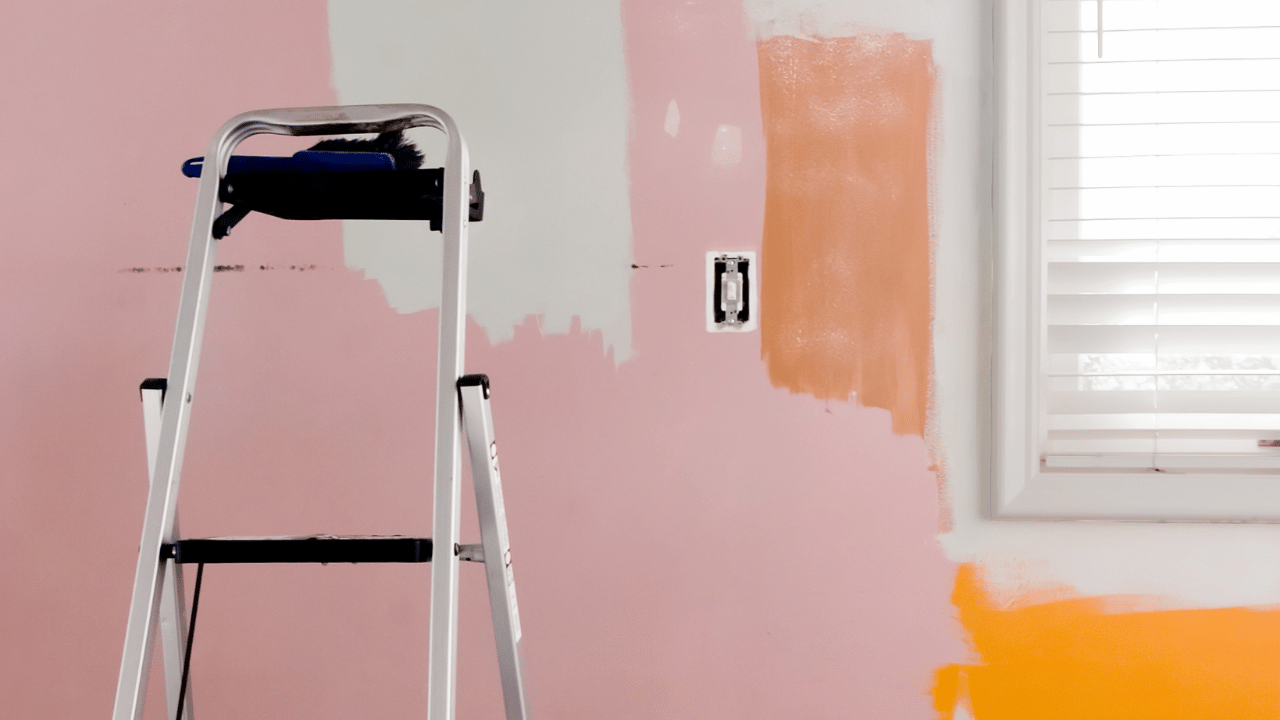
Every masterpiece begins with a clean canvas, and when it comes to painting, the canvas is your wall. Before you dive into those vibrant colors, dreamy textures, and smooth finishes, there’s a critical step that often goes unnoticed yet determines the success of the entire project: preparation. While the thrill of applying a fresh coat of paint is tempting, ensuring a seamless, long-lasting result requires a bit of groundwork. In this DIY Painting Prep Guide, we’ll uncover the essential steps to set the stage for a painting project that not only transforms your space but stands the test of time. Whether you’re a novice holding your first paintbrush or a seasoned DIYer, this guide promises to enhance your painting journey, ensuring that every stroke leads to perfection.
Essential Steps in Preparing Walls for a Perfect Paint Job
Preparing walls for painting is more than just applying a brush to a surface. It’s about meticulous attention to detail and understanding the tools and materials required. Dive into this comprehensive guide to ensure you get that flawless paint job on your walls.
Mastering Your Tools: The Right Brush and Roller Selection
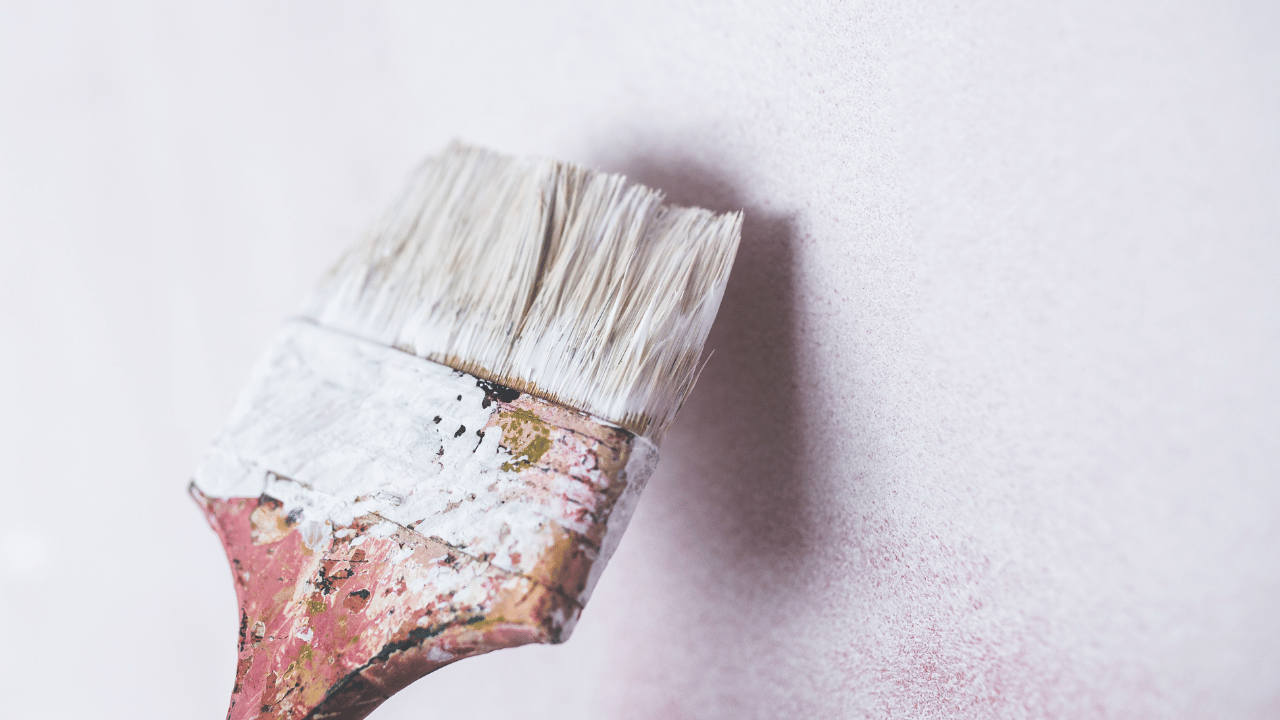
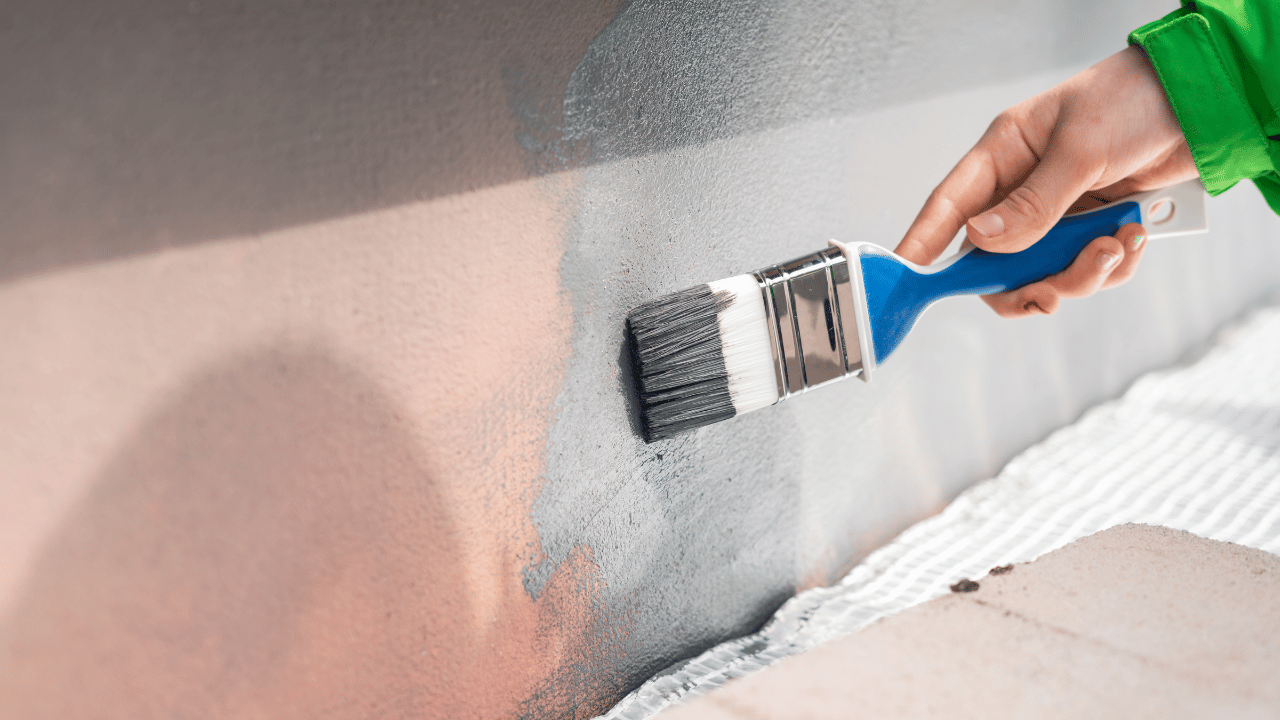
- Deciding on the Perfect Paintbrush: Choosing an ideal paintbrush is pivotal to the success of your painting task. It’s essential to match the bristle type with the kind of paint you’re using and the specific task at hand.
- Synthetic bristles are durable, retaining their quality for longer durations. They’re particularly effective with water-based paints, given their non-absorbent nature, which leads to a smoother finish.
- On the other hand, natural bristle brushes excel with solvent-based paints due to their ability to hold paint effectively, providing a fine finish. But, they might not be the best fit for water-based paints. Regarding size, a larger area will require a larger brush. For precision tasks such as cutting in on walls, brushes between 2” to 3” are ideal, while smaller tasks like painting doors or architraves can be tackled with 1” or 2” brushes.
- Rolling in the Right Direction: The Ideal Paint Roller: For vast surfaces, such as ceilings or extensive wall areas, rollers reign supreme. The type of roller chosen should align with the paint in use. From foam to mohair to sheepskin, the variety caters to different paint textures and finishes. For instance, a short-pile mohair roller is tailored for silk emulsion, and a medium-pile sheepskin roller complements matt emulsion perfectly. Remember to wash your roller in warm, soapy water to remove any fluff before use.
Crafting with Color: Selecting the Right Paint

The ambiance of a room can be profoundly influenced by the paint type. For a look that obscures blemishes, matt emulsion is your go-to. For a slight gleam, satin and silk paints are preferred. Eggshell offers a balance between the two, providing a subtle sheen, while gloss finishes offer a pronounced shine.
It’s also beneficial to choose paints that cater to specific room needs. Some paints are specially designed to resist moisture or combat stains, ensuring longevity and easy maintenance.
Filling the Gaps: The Importance of Selecting a Filler
Ensuring a smooth wall free from cracks and crevices is vital. Opt for fillers that match the kind of gaps you’re aiming to seal. Whether it’s around window frames, skirtings, or more expansive wall gaps, there’s a filler designed for every purpose. Consider using advanced fillers that offer a seamless finish, dry quickly, and require minimal post-application work.
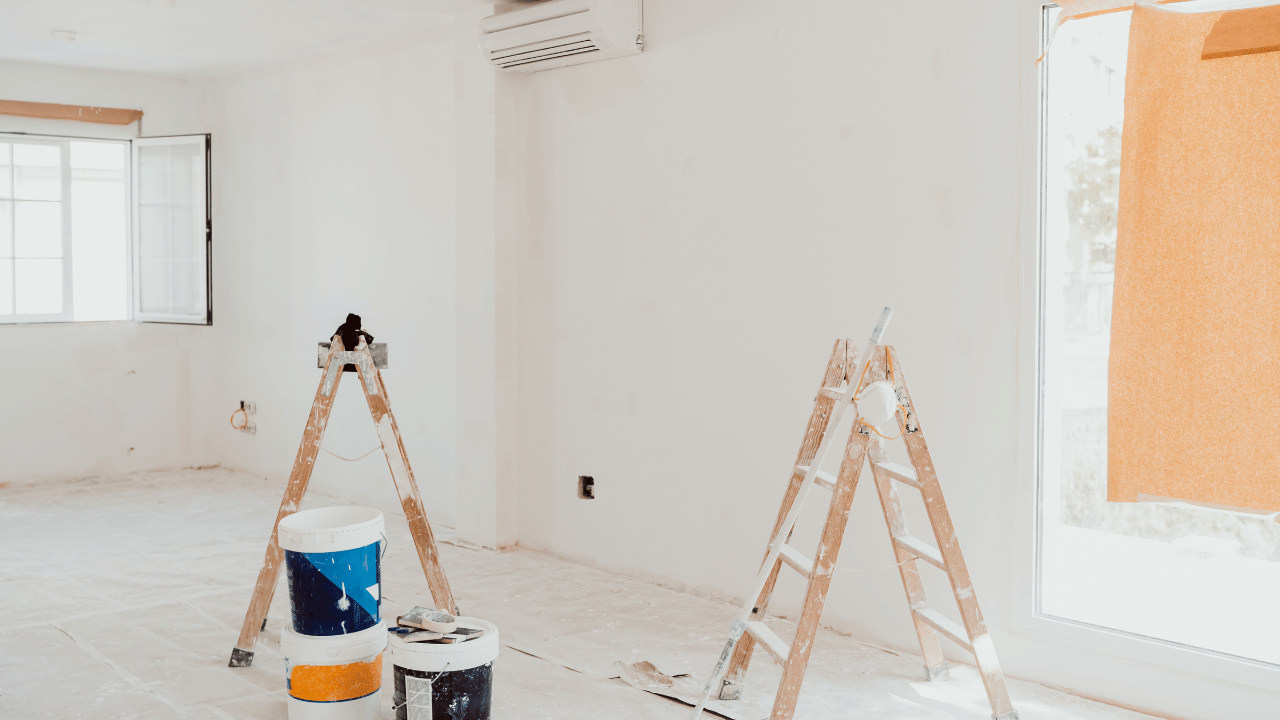
Wall Preparation: Laying the Groundwork for Perfect Paint
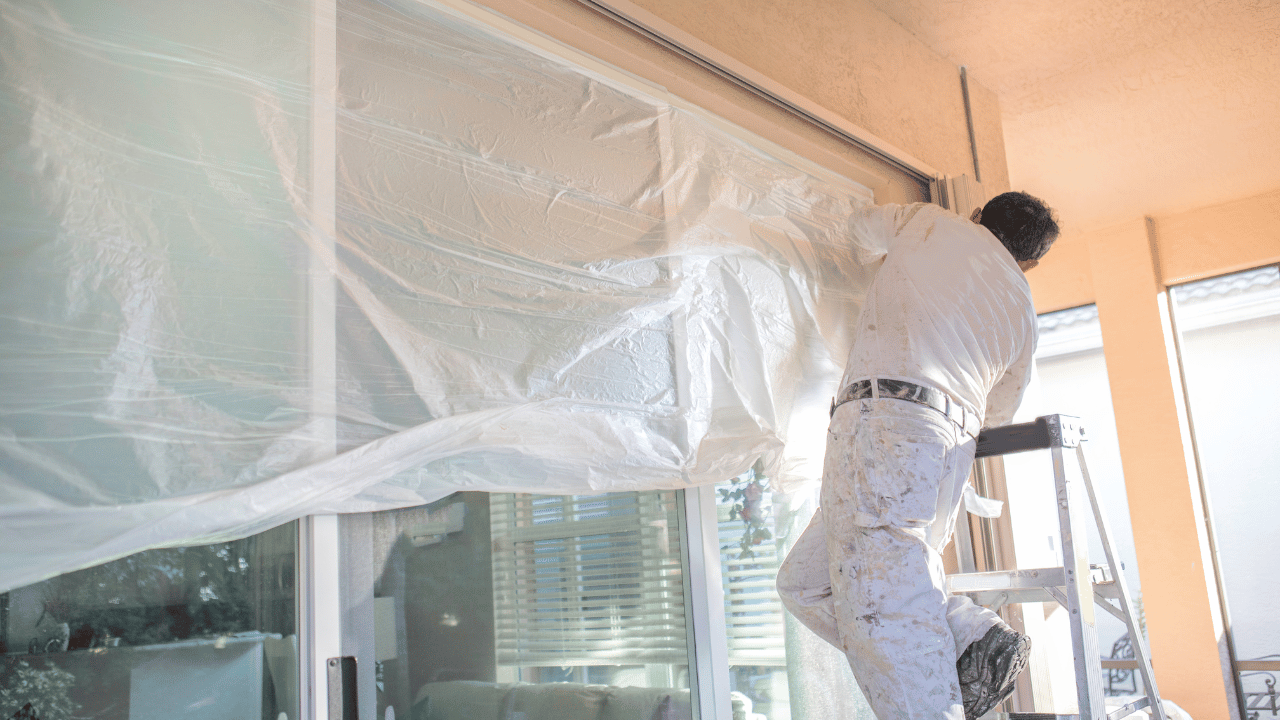
- Preparing Your Space: Begin by creating a clutter-free environment to facilitate hassle-free painting. Removing obstacles and protecting items and surfaces from paint spills or splatters is crucial.
- Surface Readiness: It’s pivotal to ensure that your wall surface is clean, smooth, and ready for painting. First, cleanse the walls, eliminating dirt and dust. Attend to any visible cracks or holes, filling them as needed, and then sanding the area to achieve a smooth texture. Prior to painting, ensure all surfaces are dust-free and protected with masking tape for precision.
- Expert Insight: For new or untreated surfaces, starting with a primer or undercoat is recommended. Not only does it ensure the paint adheres well, but it also provides better protection and reduces the number of coats required, ultimately saving time and ensuring longevity.
Mastering the Painting Sequence
Painting may seem straightforward, but achieving a seamless finish requires a strategic approach. To do so, you’ll need to paint in the correct sequence.
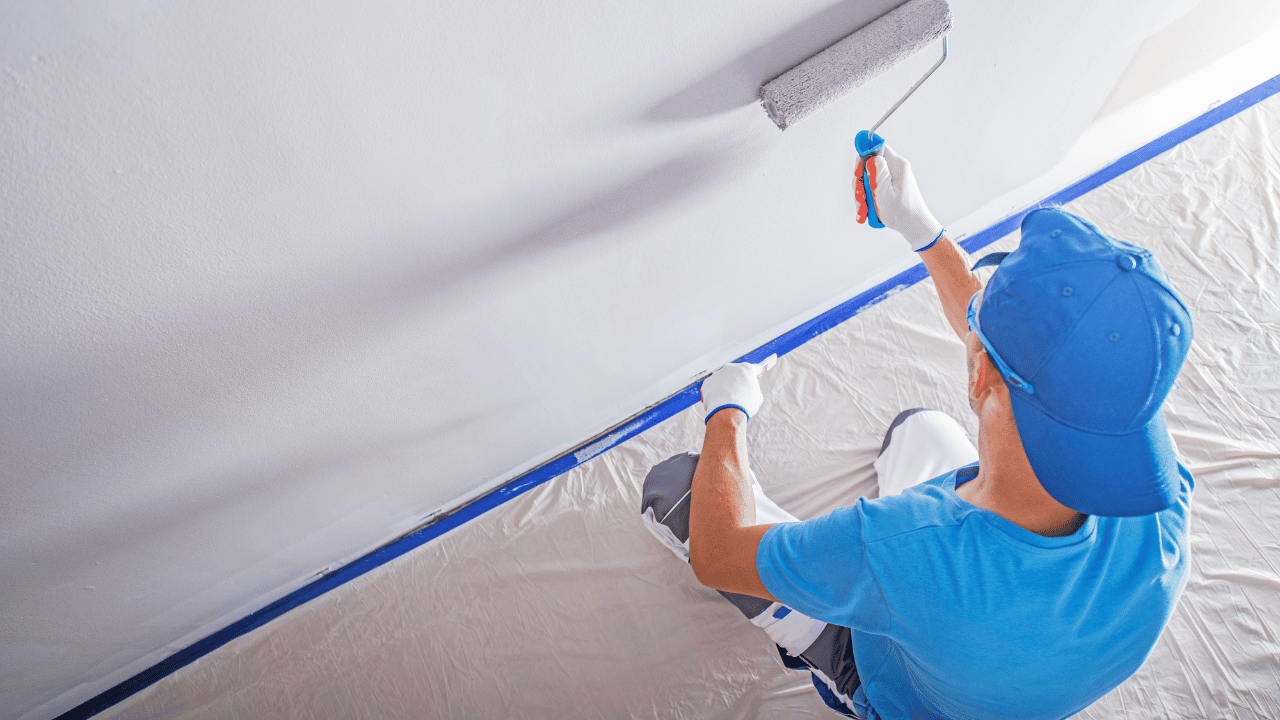
- Starting at the Top: Begin painting from the top of the room and gradually work your way down. To effortlessly paint the ceiling, consider using a specialized paint that changes color briefly—like one that transitions from pink to white in less than an hour—to ensure no spots are missed. After ensuring the ceiling has adequate coverage, typically with two coats, proceed to the walls. It’s advised to work away from natural light sources.
- Window Painting: Opt to paint your windows during the morning. This will ensure they have ample time to dry, allowing you to close them comfortably by nightfall.
- Final Touches: Conclude your painting process with doors, door frames, and skirting. Remember, painting might present challenges, but with the right techniques, a professional finish is within your grasp.
Preparing Newly Plastered Walls
Newly plastered walls offer a receptive canvas for painting, but preparation is still key.
Primer is Paramount: Before diving into painting, apply a primer and undercoat using a roller. This step is essential as untreated plaster can absorb paint rapidly, which can result in excessive paint usage and the need for additional coats. Always allow new or untreated plaster to dry thoroughly before decorating, evident when it shifts to a light pink or grey hue.
Revitalizing Old Surfaces
Previously painted walls require a different approach for preparation. Here’s a systematic guide to help you achieve a pristine finish on older surfaces.
-
Addressing Cracks and Holes:
- Required Tools: Sugar soap, flexible filler, flexible filling knife, and fine sandpaper.
- Step 1: Clean the affected areas with sugar soap to ensure proper filler adhesion by removing any dust or debris.
- Step 2: Using a flexible filling knife, meticulously apply the filler into the holes or cracks, ensuring a smooth finish.
- Step 3: After allowing adequate drying time, sand the filled areas to achieve a consistent surface texture.
-
Sanding the Surface:
- Required Tools: Fine sandpaper.
- A fresh piece of fine sandpaper can be your best ally. Gently sand the entire wall surface, paying extra attention to any areas with peeling paint. This step provides the necessary texture for optimal paint adhesion.
-
Ensuring a Clean Canvas:
- Required Tools: Sugar soap, sponge, and gloves.
- To achieve the best finish, you must start with a clean surface. Eliminate any stubborn stains, including grease or crayon marks, using a sugar soap solution. After treating the entire wall, rinse with warm water to eliminate any soap remnants. It’s vital to let the walls dry thoroughly before proceeding with painting.
Refining Wallpapered Surfaces for Painting
Transitioning from a wallpapered to a painted surface can be a challenging yet rewarding venture. The route to achieving a polished finish on a previously wallpapered wall involves careful preparation. While one might be tempted to paint directly over the wallpaper, it’s advisable to first remove it to ensure a smooth finish. Here’s a detailed guide to help you navigate this process.
Understanding the Type of Wallpaper
Different types of wallpapers demand varied removal techniques. While wallpapers that adhere through wall pasting can typically be removed without soaking or special tools, those pasted directly onto the paper may require a more meticulous approach outlined below.
Essential Tools for the Process:
Equip yourself with a stripping knife or orbital scorer, a sponge, a bucket, a wallpaper stripping solution, a steam stripper, sandpaper, and sugar soap.
- Scoring the Wallpaper: Begin by scoring the wallpaper using a stripping knife or an orbital scorer, creating diagonal crosses. However, ensure you apply gentle pressure to avoid damaging the underlying plaster.
- Initiating the Softening Process: Using a sponge soaked in hot water, wet the wallpaper a few meters at a time. Allow the water to sit for approximately five minutes, helping to soften the paper. Always exercise caution around electrical outlets and switches during this step.
- Commencing the Removal: Insert a wide stripping knife into one of the scored sections and peel off the wallpaper. Continue this method until the entirety of the wallpaper is removed.
- Addressing Stubborn Wallpaper: In instances where the wallpaper resists removal, consider utilizing a wallpaper stripping solution. This compound breaks down the wallpaper adhesive. Apply it, let it sit for a short duration, and then strip the paper using your knife. Alternatively, a steam stripper can also be employed. Fill its tank with water, and once activated, it will release steam through a pipe. Starting from the wall’s base, hold the steamer over the wallpaper until it looks damp, then gently peel it off using the stripping knife. Ensure you wear protective clothing, like gloves and long sleeves, and avoid holding the steamer in one spot for too long to prevent plaster damage. As always, be cautious around electrical outlets.
- Handling Residual Paper: Post the primary removal, you might encounter tiny fragments of paper clinging to the wall. If these cannot be scraped off with your knife, sanding them gently with sandpaper usually does the trick.
- Sanding for a Smooth Finish: For an even texture that’s paint-ready, lightly sand the entirety of the walls using a fresh piece of sandpaper.
- Cleansing and Priming: Use a sugar soap solution, available either pre-mixed or as a concentrate, to clean the walls and get rid of any lingering residues. Protective gloves are advisable during this phase. After ensuring a comprehensive cleanse, rinse the walls with warm water to eliminate any soap remnants and allow the walls to air dry completely.
Advantages of DIY Painting Preparation
Taking the time to prepare a room or an object for painting is often regarded as the most important step in the painting process. While hiring professionals has its merits, there are numerous advantages to rolling up your sleeves and handling the painting preparation yourself. Here’s why DIY painting prep can be beneficial:
- Cost Savings: One of the primary benefits of DIY projects is the potential to save money. By handling the prep work yourself, you can significantly reduce labor costs associated with hiring professionals.
- Personal Satisfaction: There’s an undeniable sense of pride and accomplishment in completing a task on your own. Every time you look at the painted surface, you’ll be reminded of the effort you put in, which can be immensely satisfying.
- Attention to Detail: When you’re the one doing the preparation, you can ensure that every nook, cranny, and detail is accounted for. This meticulous attention can lead to a higher-quality finish that might not be achieved with rushed or outsourced work.
- Customization: DIY allows for total creative control. Whether it’s a specific sanding technique or a unique primer you want to use, doing it yourself means you decide every aspect of the prep work.
- Skill Development: Painting preparation requires a range of skills, from patching holes to taping edges. By doing it yourself, you acquire and hone these skills, which can be beneficial for future DIY projects.
- Flexibility: When you undertake the prep work, you can set your own pace and choose when to work on it, be it during the weekends, evenings, or any free time you have. This flexibility can be more convenient than scheduling with professionals.
- Knowledge Gain: By immersing yourself in the prep process, you gain a deeper understanding of the materials and techniques involved. This knowledge can be helpful for maintaining or retouching the paint job in the future.
- Environmentally Conscious Choices: DIY enthusiasts often have the liberty to choose their materials. This freedom means you can opt for environmentally friendly primers, paints, or other products that might not be the standard choice for commercial services.
- Problem Detection: While prepping, you might detect issues like mold, rot, or structural damage that had previously gone unnoticed. Early detection can prevent bigger, costlier problems down the road.
- Bonding Opportunity: Painting preparation can be a shared activity. Whether it’s with family or friends, working together on a DIY project can be a bonding experience and create lasting memories.
Conclusion

In the realm of home renovations, a freshly painted room holds unparalleled promise, rejuvenating spaces and reflecting our evolving tastes. However, as with many endeavors, the beauty and lasting impact of the final result are embedded in the initial steps. Our DIY Painting Prep Guide has underscored the significance of meticulous preparation, from choosing the right tools to understanding the nuances of different surfaces. While the allure of the paint’s hue and texture is undeniable, it’s the unsung diligence during the preparatory phase that ensures vibrancy, longevity, and a professional finish. For every DIY enthusiast, this guide serves as a reminder: the true artistry of painting lies as much in the unseen layers of prep as in the visible strokes of color. So, as you embark on your next painting adventure, equip yourself not just with brushes and paint, but with the patience and precision that preparation demands. The walls of your home will thank you with a flawless finish that stands the test of time.