Last Updated on October 16, 2023 by Pro Handyman Australia – Editorial Team
A jigsaw is a versatile power tool, renowned for its ability to craft curved lines, intricate shapes, and circles into a myriad of materials. These materials can range from delicate ceramics and laminate to durable metals and woods.
The jigsaw’s design is both functional and user-friendly. Its handle, positioned at the top, comes with an integrated trigger switch for seamless operation. Beneath this handle lies the motor, connected to a flat metal base known as the shoe. This shoe offers stability as the jigsaw blade extends slightly beyond the blade’s boundaries. The blade itself descends vertically from the saw’s body, making contact through the shoe. Once powered and activated via the trigger, the blade engages in a swift vertical sawing movement.
The Basics of a Jigsaw
At its core, a jigsaw consists of a top handle with an integrated trigger switch. The motor below powers a vertically descending blade, which moves through a flat metal base, or ‘shoe’, ensuring stability during cuts. To use, simply power it on, activate via the trigger, and the blade will commence its swift vertical sawing movement.
Safety First: Essential Preparations
Safety should be your top priority. Here are some quick guidelines:

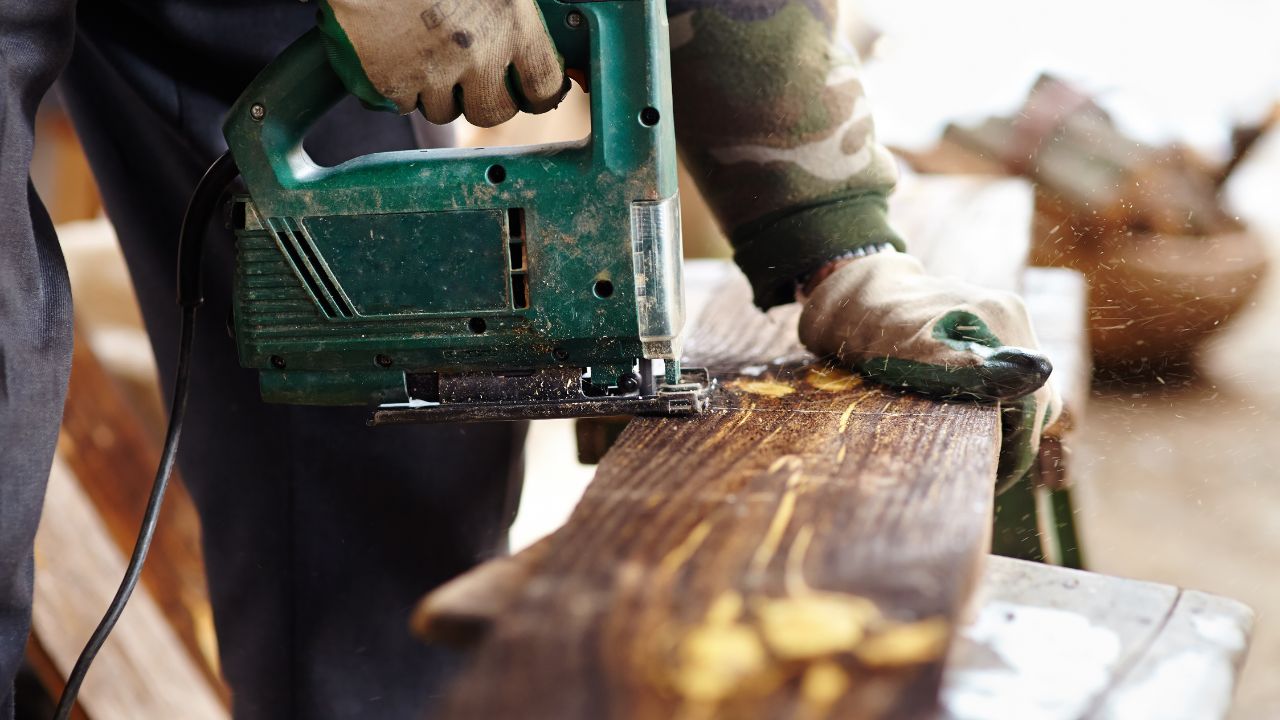
- Wear the Right Gear: Closed-toe shoes, long pants, a long-sleeved shirt, safety goggles, gloves, respiratory masks, and ear protection are all essential.
- Choose a Suitable Environment: Work in a well-ventilated area to disperse sawdust and reduce noise.
- Power Precautions: Always disconnect your jigsaw from the power source when making adjustments or cleaning to avoid unintended activations. Allow the blade to cut at its natural pace, and refrain from forcing it through the material.
Kickstarting Your Jigsaw Journey
If you’re a DIY novice, it’s natural to feel overwhelmed. To make your first jigsaw experience smooth, ensure you have:

- The Right Tools: Gather your jigsaw, the right saw blade, a blade clamp for blade adjustments, a straight edge for straight cuts, and a pencil for marking the cutting line
- Prepare Your Workspace: Have your chosen material ready, a stable workbench, and clamps to hold the material in place.
With these steps, you’re well-equipped to harness the power of the jigsaw and venture into new DIY projects.
Setting Up the Perfect Cut: A Jigsaw Tutorial
Blade Selection and Jigsaw Preparation
Before delving into your chosen project, ensure you have the appropriate jigsaw blade type and remember to always adjust the blade speed for your material:
- For woodwork, wood cutting blades specific to jigsaws are ideal.
- If metal is your chosen material, select a metal-cutting jigsaw blade.
- Masonry blades are best suited for tiles, while plastic-specific blades cater to PVC and ABS.
- Plexiglass enthusiasts should opt for plexiglass blades, and for those unsure, general-use jigsaw blades are available.
Safety is paramount: always ensure the jigsaw is either unplugged or that its battery is removed before changing the blade. The blade’s teeth should always face forward. Depending on the jigsaw model, you might need an Allen wrench to change the blade. Older models typically come equipped with a blade clamp bolt, whereas contemporary models generally feature a lever for easy blade release.
Material Preparation
Prior to cutting, securely fasten your target material, then use a pencil to mark the cutting line and possibly use a straight edge to ensure straight cuts. To ensure unhindered blade movement, you might want to position the material slightly over the edge of your workbench. For those dealing with expansive sheets of material, utilizing two separate tables or benches is advised. This prevents the blade from any accidental collisions with clamps or the work surface itself.
Guided Cutting with the Jigsaw
Having prepared your material and jigsaw, ensure the variable speed trigger is adjusted properly, then align the jigsaw with your cutting line. Before activating the jigsaw, ensure the blade is not in contact with the material. Activating the jigsaw while the blade is touching the material can result in uncontrolled movement due to the jigsaw not being up to its operational speed. This poses a risk to both the user and the material.
When the blade reaches its maximum speed, which you can control via the variable speed trigger, gently guide the jigsaw through your material, taking care not to rush. If you encounter resistance or the blade becomes jammed, release the trigger and extract the blade. To continue, realign the blade and proceed by cutting through the previously carved path until you reach the untouched section of your material.
Fine-tuning Your Cuts
Upon completing your initial incision, you might want to make more intricate or subsequent cuts. If you’re encountering challenges with cutting curved lines, try introducing straight relief lines from the edge to your intended curve These relief lines facilitate smaller sections of the material to fall away, rather than leaving them hanging precariously. It’s essential to remember that relief cuts should remain confined to sections of the material you don’t intend to use.
Moreover, the shoe plate located at the jigsaw’s base can be adjusted between 0 and 45 degrees, enabling users to achieve mitered or angled cuts. Loosening the screw on the shoe’s underside or rear allows for angle adjustments, which can be secured in place by retightening the screw.
For those needing to excise a central portion of the material without initiating the cut from an edge (as is the case when creating spaces for outlets or fixtures), a drill comes in handy. Simply drill a hole in the desired starting area, position the jigsaw blade within, and initiate your cut from the center, moving towards the intended outline. Complete the cut by following the outline, subsequently removing the excised piece.
Post-Operative Care and Storage
Once your cutting task reaches completion, switch off the jigsaw and disconnect it from the power source or extract its battery. Allow the blade a few moments to cool down before its removal. Clean the blade of any lingering debris and safely store it in your toolbox or workbench. Before putting away your jigsaw, ensure it’s cleaned thoroughly. Finally, always clear the workspace of sawdust, offcuts, or any residual debris to maintain a safe working environment.
Video on How to Use a Jigsaw
In this video, it’ll walk you through the essential steps and safety precautions to ensure smooth and precise cuts for your DIY projects. From blade selection to hands-on cutting techniques, experts provide insights and tips that will boost your confidence and skills. Whether you’re new to woodworking or just need a refresher, this guide is designed to help you make the most of this versatile power tool.
Selecting the Optimal Jigsaw Blade
The inherent versatility of jigsaws is undeniable, making them suitable for diverse materials such as wood, metal, and plastic. Nonetheless, it’s pivotal to recognize that not all jigsaw blades are universally appropriate. It’s wise to refer to the product details to discern the blade’s intended material compatibility. Manufacturers typically specify the recommended material on the packaging, but when in doubt, the manufacturer’s website can provide further clarity. For those uncertain about future projects, general-purpose jigsaw blades offer commendable performance on wood, some metals, and certain plastics.

Attention should also be given to the blade’s TPI (teeth per inch) measurement. While a lower TPI facilitates faster cuts, the finish is notably rougher. Conversely, a higher TPI results in a slower cut but yields a refined finish. Furthermore, consider the blade’s width: a 1/4-inch blade adeptly handles tight-radius curves, whereas a 3/8-inch blade is optimal for straighter cuts or gentler curves.
User Experience: Real-life Jigsaw Tales
It’s one thing to know the technicalities of a tool, but it’s another to understand how it performs in real-life scenarios. User experiences are invaluable when it comes to gauging the effectiveness of a jigsaw. Let’s dive into a couple of first-hand stories:

Mark from Melbourne shares his experience with the “Bosch 530W” jigsaw:
“I’ve been a DIY enthusiast for a decade, and my latest purchase, the Bosch 530W, was quite the game changer. It handled hardwoods with ease, and its adjustable speed settings allowed me to work on intricate patterns without any hiccups.”

Samantha, an art teacher in Geelong, praises the “BLACK+DECKER 400W”:
“The BLACK+DECKER 400W isn’t just a tool; it’s an extension of my creativity. I introduced jigsaw projects in my art class, and this model stood out in performance. Its safety features made it suitable for my students, and the precision? Just impeccable!”
From these accounts, it’s evident that the jigsaw isn’t just a tool; it’s a partner in creation. However, while the Bosch 530W offers adaptability with its speed settings, the BLACK+DECKER 400W shines in precision and safety. The decision depends on your specific needs and projects.
Comparisons: Jigsaw Showdown
When it comes to jigsaws, there’s a myriad of choices available. However, to aid in your decision-making process, we’ve pinned the “CraftMaster X90” against the “BLACK+DECKER 400W” in an in-depth comparison:
| Feature | Bosch 530W | BLACK+DECKER 400W |
|---|---|---|
| Power (in Watts) | 650W | 700W |
| Max. Cutting Depth (Wood) | 85mm | 80mm |
| Variable Speed | Yes | Yes |
| Price | $120 | $140 |
| Safety Lock | No | Yes |
While the Bosch 530W might be more affordable and slightly better for deeper cuts, the BLACK+DECKER 400W brings more power and an added safety feature.
Conclusion
Mastering the jigsaw requires patience, practice, and understanding the tool’s nuanced capabilities. By selecting the appropriate blade, understanding the techniques for various cuts, and maintaining a safe workspace, you’ll ensure both your safety and the success of your projects. For those in the Melbourne area who might need assistance or guidance, consulting a Melbourne handyman can be invaluable. Always remember that the final result is a blend of technique, tool maintenance, and the right blade choice.