Last Updated on October 16, 2023 by Pro Handyman Australia – Editorial Team
Embarking on a DIY home improvement project? Cutting ceramic tiles can seem daunting, but with the right tools and knowledge, you can achieve precise and polished results. While many opt for manual tile cutters as a cost-effective, convenient solution, if you’re dealing with particularly large tiles, you might wonder How to Cut Large Tiles with a Wet Saw for optimal precision. In this article, we’ll walk you through both methods, ensuring your tiling job is nothing short of perfect.
Choosing the Right Tile Cutter for Your Project
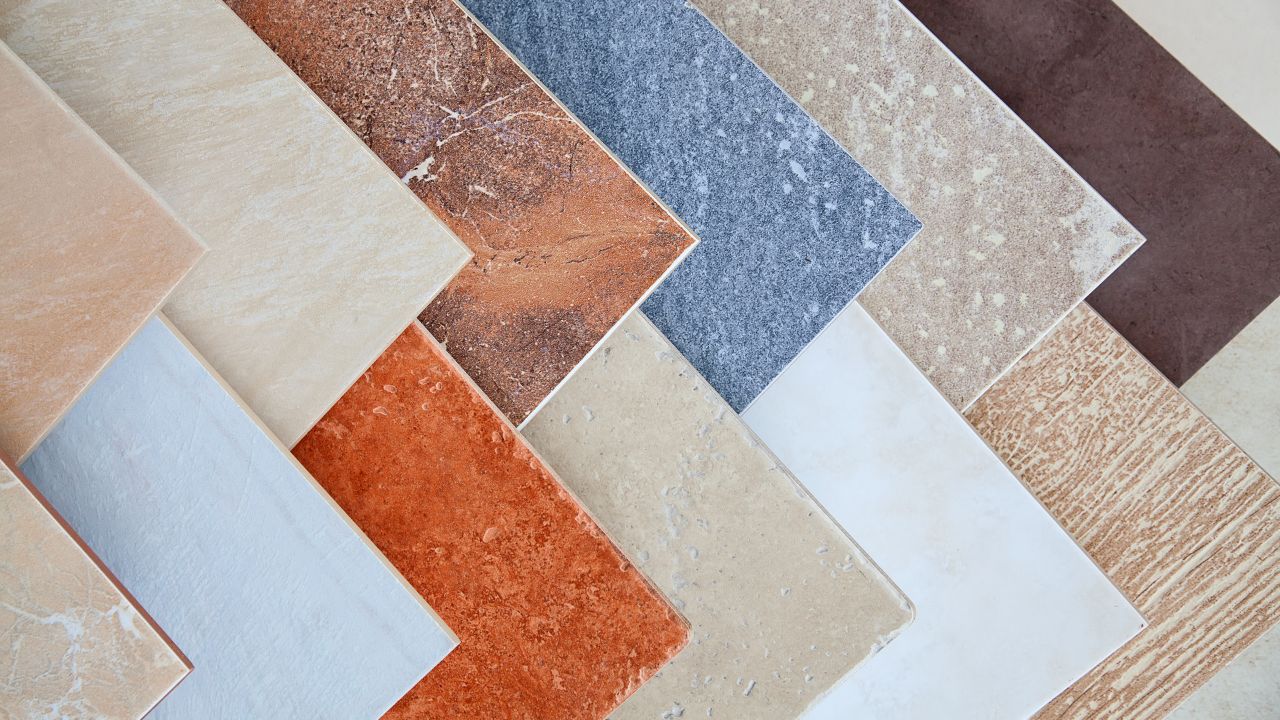
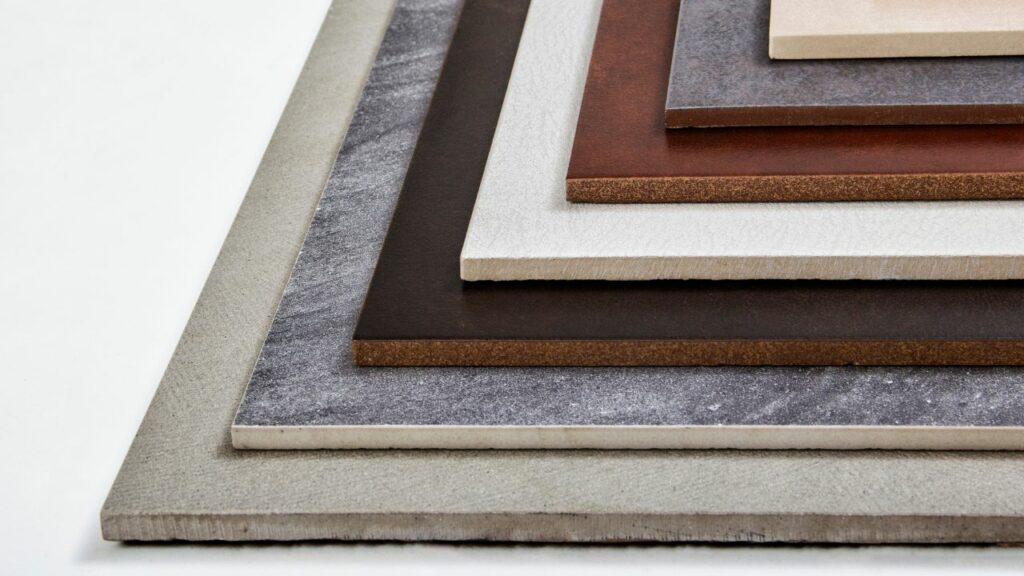
The beauty of manual tile cutters lies in their simplicity and effectiveness. When you’ve decided on your tile design and calculated the number of tiles needed, choosing a manual cutter is the next step. It’s especially beneficial for homeowners and small-scale contractors looking for a budget-friendly yet accurate tool. Manual tile cutters can handle most ceramic tiles, making them ideal for kitchen backsplashes, bathroom floors, and shower walls.
Understanding Your Tile-Cutting Needs

Before you dive into cutting tiles, it’s essential to understand the demands of your specific project. No two tiling jobs are the same. Depending on your design and tile type, you might need different cutting techniques. While some scenarios might require simple straight cuts, others might need more intricate work. Therefore, familiarizing yourself with your project’s unique requirements is key to determining the best approach for cutting.
Video on How to Cut Ceramic Tile Without a Wet Saw
In the video above, we delve deep into the art of cutting ceramic tiles without the use of a wet circular saw. Watch as we guide you step-by-step, demonstrating techniques and tips for a smooth and precise cut, ensuring your tile cutting projects look professional every time. Whether you’re a DIY enthusiast or just looking to save some money on equipment, this video will equip you with the knowledge you need to achieve impeccable results.
Manual Tile Cutters: When and Why to Use Them
For DIY Enthusiasts
Manual tile cutters are particularly suitable for those who are new to tiling or have a penchant for DIY projects. Their more affordable price point makes them an ideal investment for beginners. For those who are embarking on smaller tiling ventures, manual cutters are often more than adequate. They may require a bit more time and patience to align each tile for cutting, but they’re exceptional for achieving straight cuts on softer tiles. Materials like ceramic or porcelain tiles can be effortlessly managed with manual tile cutters.
For the Professionals
For seasoned professionals or those who undertake a myriad of tiling tasks, manual tile cutters are an indispensable tile cutting tool. Their compact nature and the absence of reliance on electricity make them highly portable, allowing professionals to employ them as per the project’s demands. There may be occasions when access to water or electricity is constrained, and in such situations, a manual cutter becomes invaluable. The market offers manual cutters in a variety of sizes, catering to different project requirements. While there are alternatives like scribes, carbide-tipped pencils, tile nippers, or angle grinders for smaller cuts on ceramic or glass tiles, none of these alternatives match the precision of a manual tile cutter in producing straight lines, thereby minimizing wastage.
Functionality of a Manual Tile Cutter
Unlike its wet saw counterpart, a manual tile cutter operates without the need for electricity or supplementary connections. Its design comprises a handle affixed to a rail, coupled with a wheel-like blade. As the cutter is glided over the tile, the blade scores a straight line onto it. This scoring weakens the tile along the intended measurement. Following this, by applying pressure, the unwanted section can be snapped off, resizing the tile to the desired dimensions. After scoring, you can use a rubbing stone to smoothen the edges.
Hands-On Experience with Manual Tile Cutters
For those looking for first-hand accounts of tile cutting without a wet saw, diving into user experiences can provide a treasure trove of valuable insights.
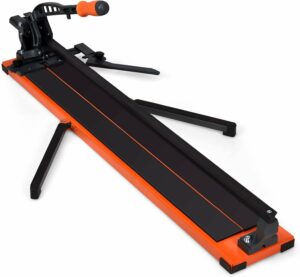
Tom, an avid DIYer, shared his experience with the Costway 91.5cm Manual Tile Cutter: “I often had to cut tiles for the edges of my bathroom. This cutter, combined with a rubbing stone for finishing, gave me the best results. It gave me neat and smooth cuts consistently. I was pleasantly surprised, considering its price range.”

On the other hand, Jennifer, a professional interior designer, vouched for VEVOR Manual Tile Cutter. She mentioned, “In all my tile projects, PrecisionPlus hasn’t failed me once. It’s easy to handle and offers great accuracy. However, I did notice a learning curve for first-timers.”
These real-life tests and feedback from users highlight the effectiveness and challenges of different manual tile cutters. Whether you’re a beginner or a pro, understanding hands-on experiences can be the difference between a successful tile job and a botched one.
In-Depth Comparisons of Top Manual Tile Cutters
For those who enjoy a side-by-side assessment, let’s delve into a comparison of two popular tile cutter models.
| Feature/Model | Costway 91.5cm Manual Tile Cutter | VEVOR Manual Tile Cutter |
|---|---|---|
| Power | Manual | Manual |
| Cutting Length | Up to 30 inches | Up to 33 inches |
| Weight | 9 lbs | 11 lbs |
| Price | $55 | $89 |
| Durability | High | Very High |
| User-Friendliness | Beginner-Friendly | Moderate Learning Curve |
While the Costway 91.5cm Manual Tile Cutter might be an excellent choice for those on a budget and beginners, the VEVOR Manual Tile Cutter stands out for its extended cutting length and robustness, albeit at a slightly higher price point. Each has its own merits and drawbacks, and the choice boils down to individual project needs and experience level.
Essential Tools for Beginning Your Tile Project
Items to Prepare
Before you embark on your tiling project, ensure you have the following at your disposal:
- The selected tile type.
- Accurate measurements of your floor plan.
- A tile cutting tool for precise cuts.
- A pencil for marking measurements on tiles.
- A tile file to smooth out rough edges.
- Safety goggles to protect your eyes.
- Gloves to safeguard your hands.
- A flat, clean, and stable workspace.
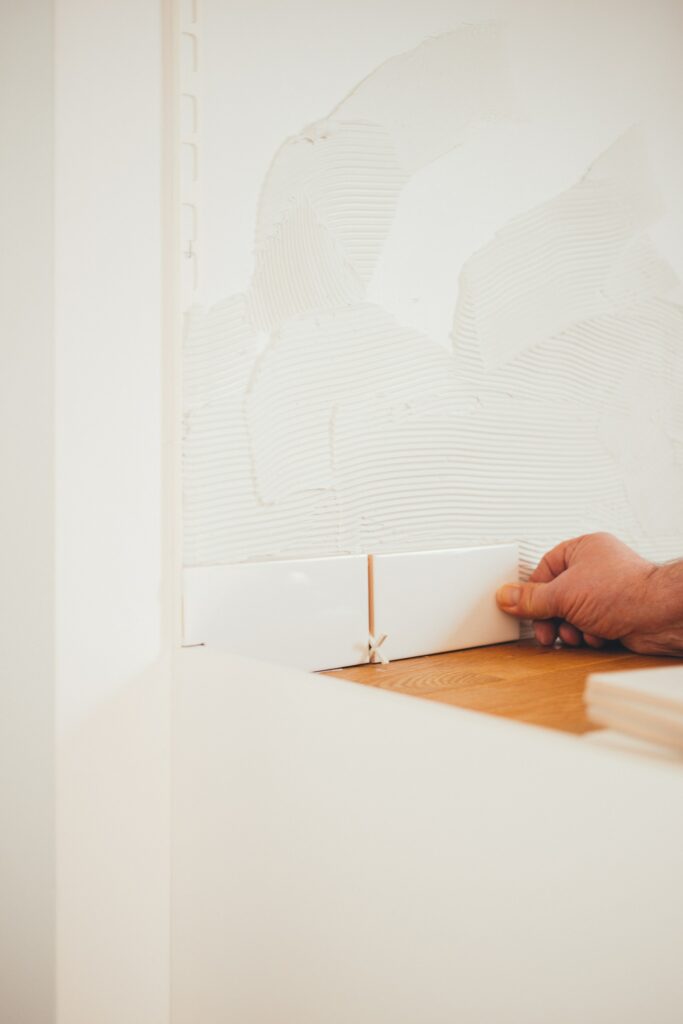
Steps to Cut Tiles without a Wet Saw
- Begin by measuring the porcelain tiles to ascertain the required size and mark the intended cut line with a pencil or chalk. It’s recommended to cut one tile first to confirm accuracy before progressing to others. This initial step provides room for adjustments if needed.
- Place the tile cutter, preferably a snap tile cutter, on your stable work surface. Position the tile in the cutter aligning the cutter’s cutting wheel with the mark you made.
- While mastering the right amount of pressure might require some practice, press down firmly but with caution. It’s essential to know how much pressure works best for your tile cutter and the type of tile you’re using. Feel free to practice on a few tiles before committing to your main pieces. Apply consistent pressure as you push the handle across the marked measurement.
- After scoring, press on the tile’s break. This action should apply pressure on both sides of the scored line, causing the tile to snap cleanly.Before completing your cut, it’s prudent to place the tile in its intended position to confirm the accuracy of the measurement.
- To ensure a clean finish, use your tile file or a rubbing stone to smooth out any jagged edges or rough surfaces.
Helpful Tips and Tricks
- Safety First: Whether you’re a novice or a seasoned pro, safety should never be compromised. Working with tiles often involves sharp edges and the production of dust. Always protect your eyes and hands. Ensuring good ventilation is also beneficial.
- Precision over Speed: Hurrying often leads to errors. Take your time to double-check measurements and the quality of your cuts.
- Grout Lines: Don’t overlook the significance of grout lines. Remember to factor them in when measuring, as grout needs to surround each tile piece.
- Additional Tools: Tile nippers and an angle grinder can be handy for smaller, irregular cuts. While the angle grinder is ideal for harder tiles or specific cut shapes, it might require a steadier hand.
- Anticipate Breakages: Manual cutters might occasionally break tiles, so having extra tiles for practice and potential waste is wise.
Conclusion
Introducing or refreshing tiles can significantly elevate the aesthetics and value of a space. With the right tools and techniques, even those new to tiling can produce impressive results without the need for a wet saw. However, if you’re in Brisbane and feel overwhelmed or unsure about the process, consider reaching out to Brisbane Handyman services for expert guidance. Embrace the process, and soon you’ll be marveling at your handiwork.