Last Updated on October 10, 2023 by Pro Handyman Australia – Editorial Team
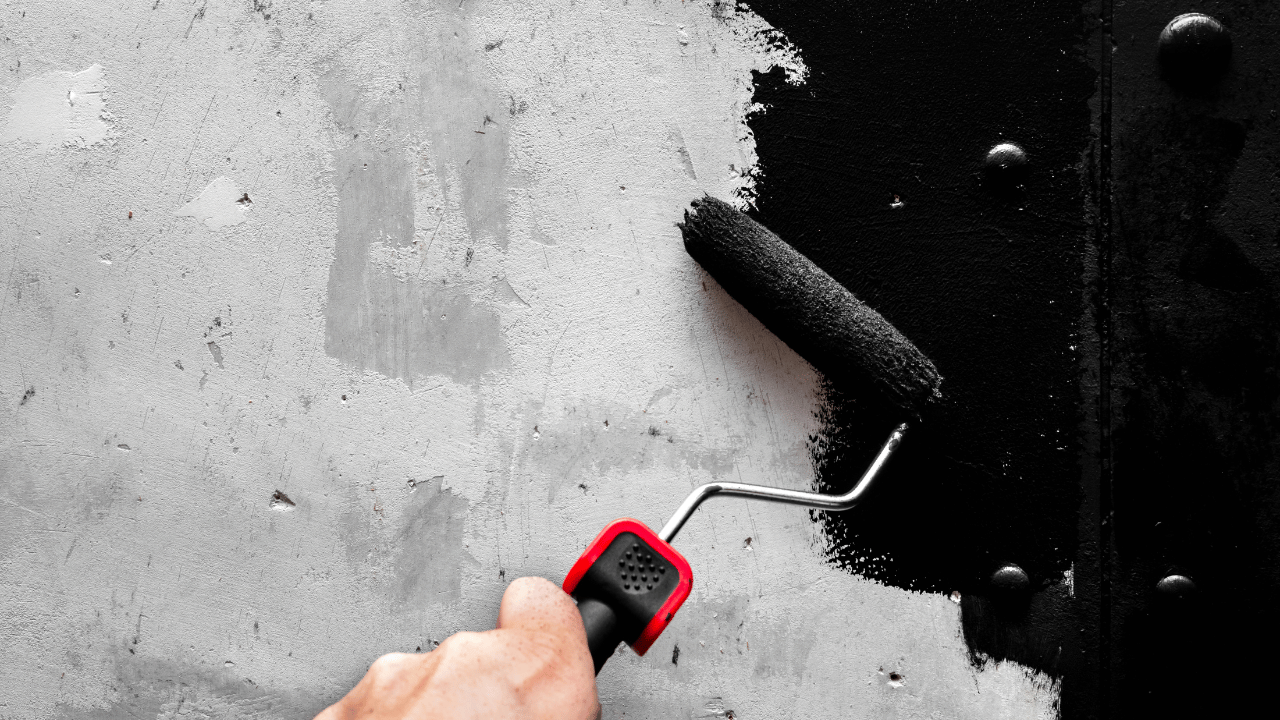
In the world of wall painting, the unsung hero that often goes unnoticed is the primer. Much like the foundation in makeup or the base coat in nail polish, a primer sets the stage for the masterpiece that is to come. The right primer can mean the difference between a paint job that dazzles and one that disappoints. So, before you dive into selecting that perfect shade of teal or a muted matte finish, it’s essential to understand the significance of choosing the best primers for wall painting. In this guide, we’ll explore the transformative power of primers, the key to unlocking a truly flawless painted surface. Whether you’re a seasoned professional or a DIY enthusiast, equipping yourself with the right primer knowledge will elevate your painting endeavors to new heights.
Understanding Primers: A Key Step in Wall Painting
Taking on the task of painting a room is a delightful endeavor. While it’s relatively simple, the dramatic transformation it offers is undeniably remarkable. With the color palette decided and painting tools at the ready, there arises a significant question: “Which primer should I choose, or should I even use a primer?”
Foundation of a Paint Job: What is a Primer?
A primer serves as the preliminary coat before the final application of paint. Designed for various materials including wood, metal, drywall, and concrete, primers play a pivotal role in achieving an impeccable paint finish. These essential base layers not only ensure an even, slightly coarse surface for optimal paint adherence but also adeptly seal porous areas. Their ability to mask underlying stains and colors further accentuates their importance in the painting process, especially when making repairs or patching specific spots.
The Necessity of a Primer

Using a primer can make all the difference in the final outcome of your painting project. By incorporating a primer into your process, you ensure a paint job that can withstand humidity and minimize peeling risks. Bypassing this step might mean the paint seeping into the surface, potentially demanding multiple coats for a flawless finish.
Tailored Primers for Different Needs: Varieties and Applications Primers come in a myriad of formulations, each tailored for distinct surfaces and objectives:
- Interior Primers: Crafted to enhance adhesion and ensure a consistent surface for walls and other indoor surfaces, interior primers also act as reliable sealants.
- Exterior Primers: These variants are engineered to combat common exterior challenges. They minimize potential cracking, curb mildew growth, and shield masonry surfaces against issues like alkalinity and efflorescence. Depending on the substrate—whether wood, masonry, or metal—there are specialized exterior primers available.
- Metal Primers: Specifically designed for metal surfaces, these primers foster a robust bond between the paint and the substrate. Their unique formulation also serves as a barrier against corrosion.
- Tinted Primers: These primers, infused with color, enhance the visual outcome of a paint job. By complementing the final coat’s hue, they accentuate color vibrancy and depth.
In essence, understanding and choosing the right primer is the cornerstone of a successful painting project, ensuring both aesthetic appeal and longevity.
Wooden Bannisters and Stairs
Natural materials like wood, often used in stairs and bannisters, can be vulnerable to external factors like moisture, fluctuating temperatures, and even insects. Given its porous nature, it’s imperative to prime wooden surfaces.
When dealing with previously painted stairs or bannisters, sanding down the old paint as much as possible before priming is crucial. Without proper surface preparation, there might be issues like poor adhesion, resulting in a patchy finish. Once the surface is primed and set, an oil-based primer is usually recommended.
For new wooden stairs and bannisters, the appropriate primer depends on staining levels. Minimal staining can be addressed with a wood oil-based primer. In contrast, significant staining may demand a stain-blocking primer, often shellac-based. To prevent wood knots from peeking through the paint finish, a knotting solution is essential.
Radiators
If you aim to make radiators a seamless part of your decor, opt for a comprehensive metal/surface primer. Such primers, available from various brands, cater to most metals, whether they are placed indoors or outdoors. Always review the product details to confirm its suitability.
Bathroom and Kitchen Surfaces
In general living spaces, painting over an existing wall color may not always necessitate a primer. However, high-humidity areas like bathrooms and kitchens warrant the use of a robust primer. Ideally, pick one imbued with a biocide, safeguarding the paint against fungal damage.
UPVC Windows and Doors
The inherent glossy finish of plastics makes it a challenging surface for conventional primers. An all-purpose primer, explicitly designed for plastics, is the way to go. As a cautionary step, always go through the manufacturer’s guidance.
Exterior Masonry
For the exterior surfaces, it’s paramount to select primers formulated to brave the external elements. If the surface feels powdery or has a chalky texture, a stabilizing primer will seal it, paving the way for the topcoat. For other external surfaces, an all-purpose or external primer is ideal. For optimal results, considering trade quality primers can prove beneficial as they offer superior durability and longevity.
Additional Benefits on Why you Should Use a Primer
The Power of Primer: Why It’s Essential for Wall Painting
When it comes to painting, it’s tempting to dive right in after choosing that perfect shade of azure blue or muted gray. After all, the color is the star of the show, right? However, as any painting professional will tell you, there’s an unsung hero in the process: the primer.
But what makes primer so pivotal in the wall painting arena? Let’s delve into the reasons you should always consider a primer before giving your walls a fresh lease on life.
1. The Perfect Canvas:
Much like artists prime their canvases to ensure colors pop and stay true, wall primers provide a consistent base. This helps to ensure that your chosen paint color shows up on your wall just as you envisioned it. The neutrality of a primer ensures that the paint’s hue isn’t influenced by the underlying wall color.
2. Adhesion Enhancement:
Paint has a better time adhering to primed surfaces. This means fewer touch-ups in the future and a longer-lasting paint job. It’s a step that ensures you won’t be repainting anytime soon.
3. Less Paint, More Savings:
A primed wall requires fewer coats of paint. This not only speeds up the painting process but can save money by reducing the amount of paint needed. Given that high-quality paints can be pricey, this reduction in required layers can be a significant cost-saver.
4. Unifying Different Surfaces:
Especially in older homes or those that have seen a lot of DIY projects, walls may have patches of different materials. A primer ensures that the paint will look consistent across various surfaces, whether you’re painting over plaster, drywall, or a previously painted surface.
5. Blocking Stains:
Whether it’s an accidental crayon masterpiece from a budding young artist or an old water stain from a leaky roof, walls come with their history. Primers, especially those designed to block stains, ensure these past blemishes don’t seep through and ruin your fresh coat of paint.
6. Moisture Protection:
Certain primers can offer a shield against moisture, which can be particularly beneficial in rooms prone to humidity like bathrooms or kitchens. This protective layer helps prevent paint from peeling, blistering, or becoming moldy over time.
7. Smoothing Imperfections:
Primer can also help to smooth out minor imperfections in the wall. While it won’t replace the need for patching significant holes or dents, it can help create a smoother surface for your paint, which, in turn, results in a more professional-looking finish.
8. Flexibility and Tinting:
Modern primers aren’t just about creating a white canvas. They come in a variety of shades, and some can be tinted to match or come close to your final paint color, ensuring an even more cohesive final look.
Decoding Primer Types: Which One is Right for You?
1. Oil-based Primers: The Traditional Choice For years, oil-based primers have held their ground as a dominant choice in the industry. Recognized for their adaptability, these primers can pair with both oil and latex paints. They are particularly effective on surfaces like wood (be it painted or unpainted), metals, and previously painted walls, both inside and out.
Key attributes of oil-based primers include:
- Stain Blocking: They excel in concealing blemishes, making them perfect for hiding wall stains caused by ink, nicotine, or water.
- Surface Sealing: Especially effective on unfinished wood, oil-based primers seal its porous nature, ensuring the paint adheres uniformly. This sealing property also counters the release of tannins from woods like cedar or redwood, preventing them from seeping through the painted surface.
- Durability: These primers reduce the chances of paint peeling, cracking, or blistering.
However, there are some considerations. Oil-based primers can be slow to dry and emit high levels of VOCs, which could be detrimental if exposed to them for prolonged periods. The cleaning process post-application can be cumbersome, requiring strong solvents. Moreover, they aren’t suitable for masonry applications.
2. Latex-based Primers: The Versatile Solution
Latex primers, being water-based, are a top choice for preparing unfinished drywall. Their benefits include:
- Flexibility: They are less prone to peeling and cracking than their oil-based counterparts.
- Adherence: Suitable for surfaces like soft wood, brick, concrete, and galvanized metals.
- Surface Evening: They can effectively mask minor stains, providing a consistent base for the topcoat, although they might not be as potent as oil or shellac-based primers in this aspect.
Being water-soluble, these primers are easier to clean, and with options offering low or no VOCs, they can be an environmentally friendlier choice.
3. Shellac Primer: The Age-old Sealer Shellac primers have been in the playbook for ages, particularly for sealing various surfaces. They shine in interior settings and have several distinctive advantages:
- Stain Blocking: They excel in covering severe water or smoke damage, and even neutralize odors from smoke damage.
- Versatility: Effective on wood, metal, plaster, and even plastic, they’re known for their quick drying and exceptional adhesion properties.
- Compatibility: They can partner well with both oil-based and latex paints.
However, they aren’t devoid of limitations. Shellac-based primers might not offer the versatility of latex or oil, and their fumes can be more potent. For thinning and cleaning, one would need to resort to denatured alcohol.
Mastering the Art of Primer Application
Preparation: The Initial Step to Perfect Priming
Before embarking on your painting adventure, the first step is ensuring the surface is impeccable. Clean the intended painting area using a mixture of mild detergent and water, gently scrubbing with a damp cloth. Attend to any wall imperfections by filling holes with a spackling compound. If there are areas of flaking paint, a putty knife can be used to scrape them off.
Primer Application Techniques
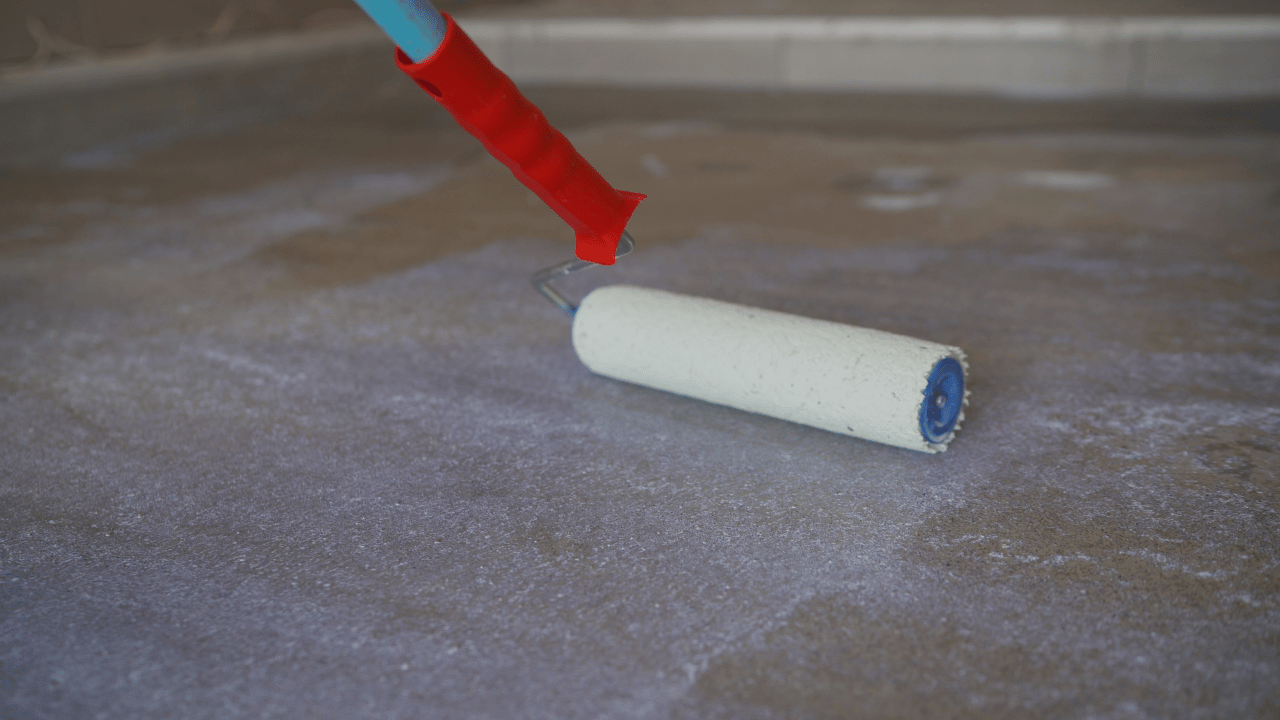
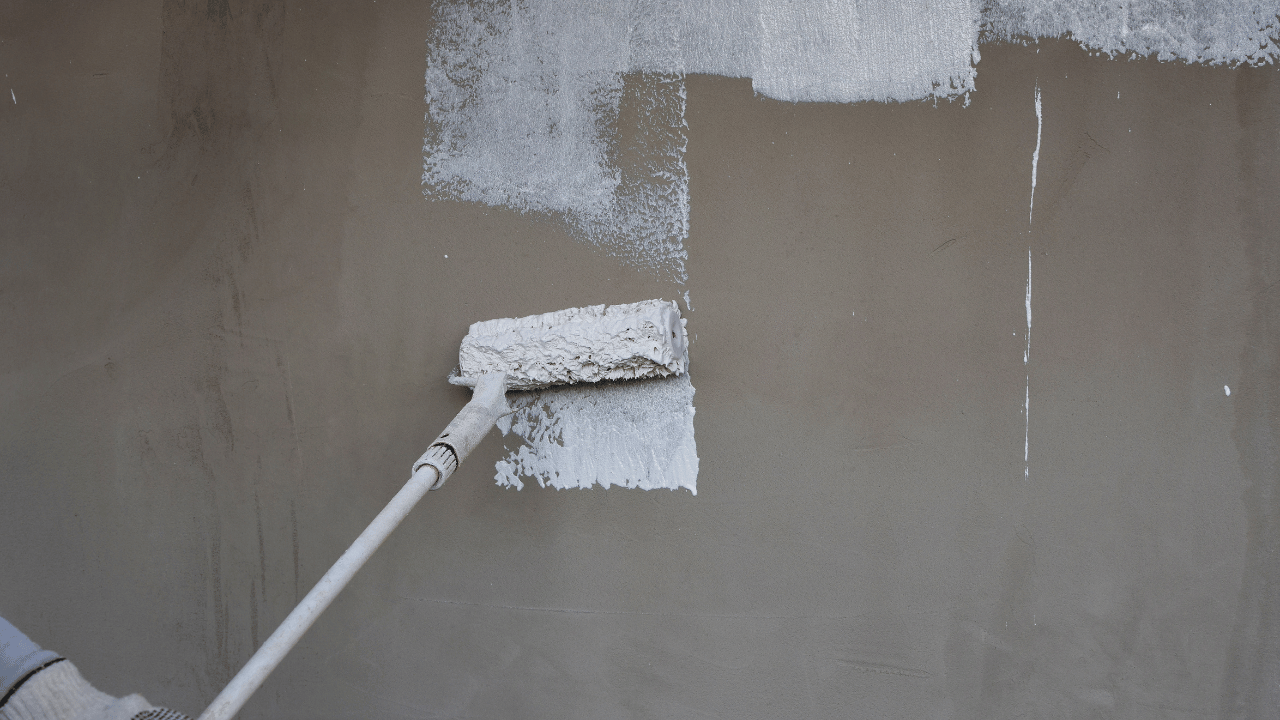
Although the process of applying primer resembles that of paint, the technique can make all the difference. Here’s how to proceed:
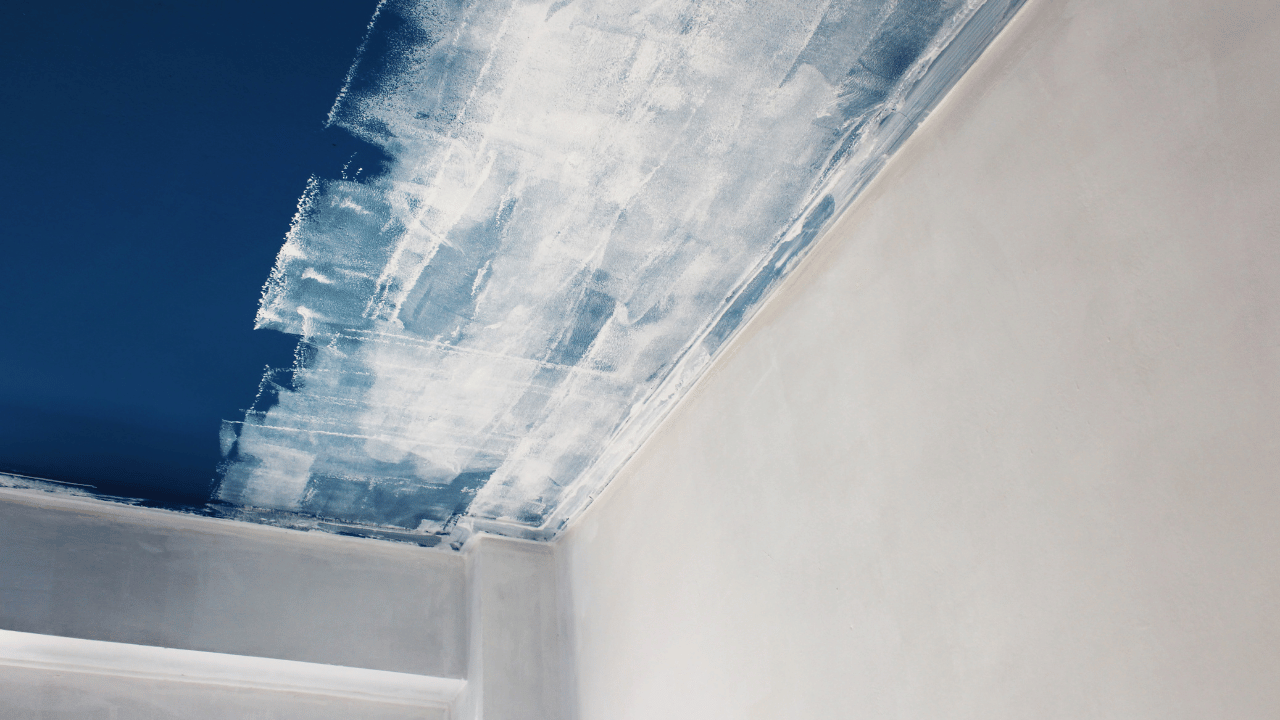
- For indoor spaces, commence with the ceiling. Address the edges and any unpainted patches surrounding fixtures using a paintbrush.
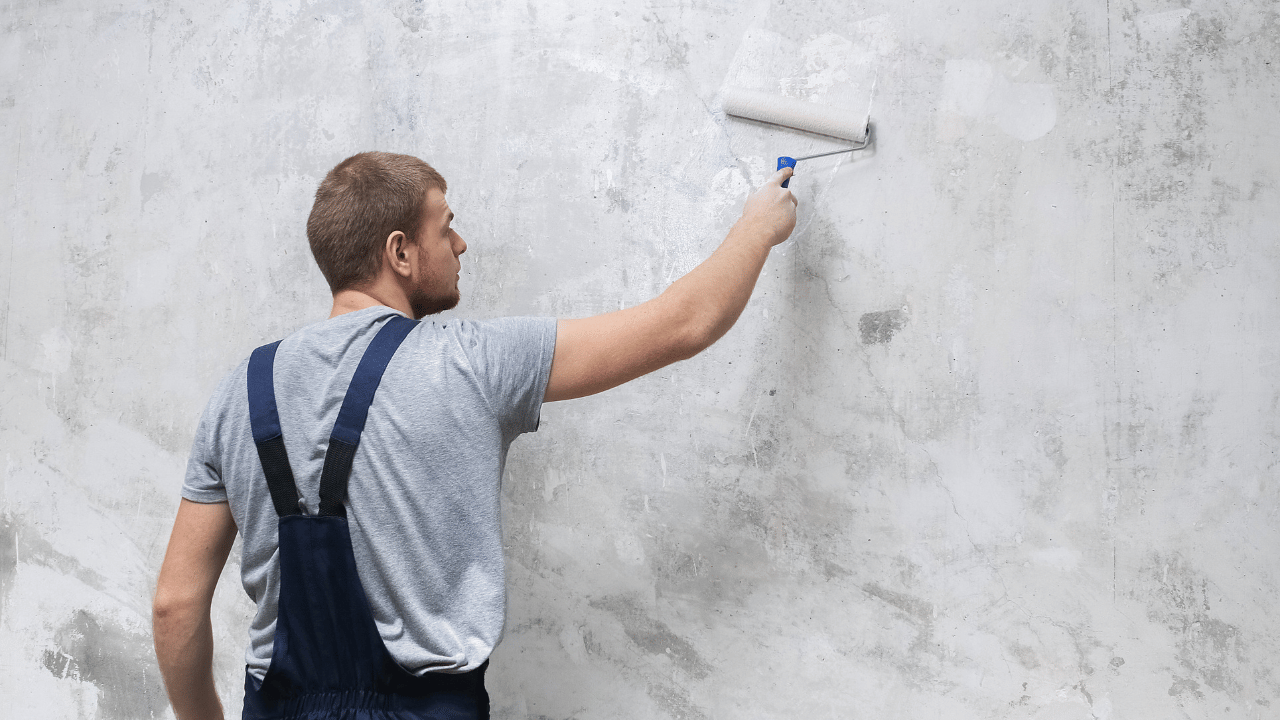
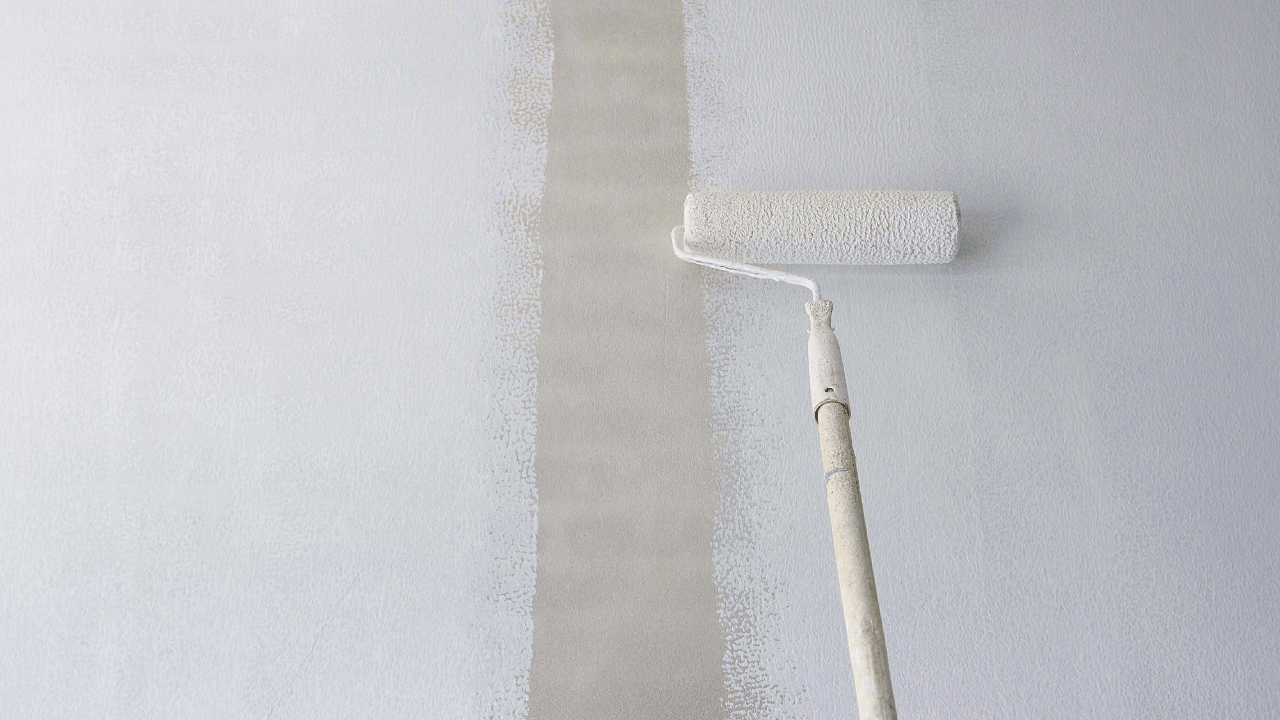
- When applying the primer, use a roller applicator, tackling 6′-square portions at a time. Initiate with overlapping “W” motions, transitioning from right to left, and then revert. Concluding with horizontal sweeps ensures an even distribution.
- Progress methodically in 6′-square segments until the entire area is evenly primed.
Tailored Tips for Specific Surfaces
Certain scenarios necessitate special attention:
- If your objective is transitioning from a darker to a lighter shade, a primer is indispensable.
- Surfaces intended for eggshell and semi-gloss paints particularly benefit from a primer layer, given their propensity to absorb unevenly.
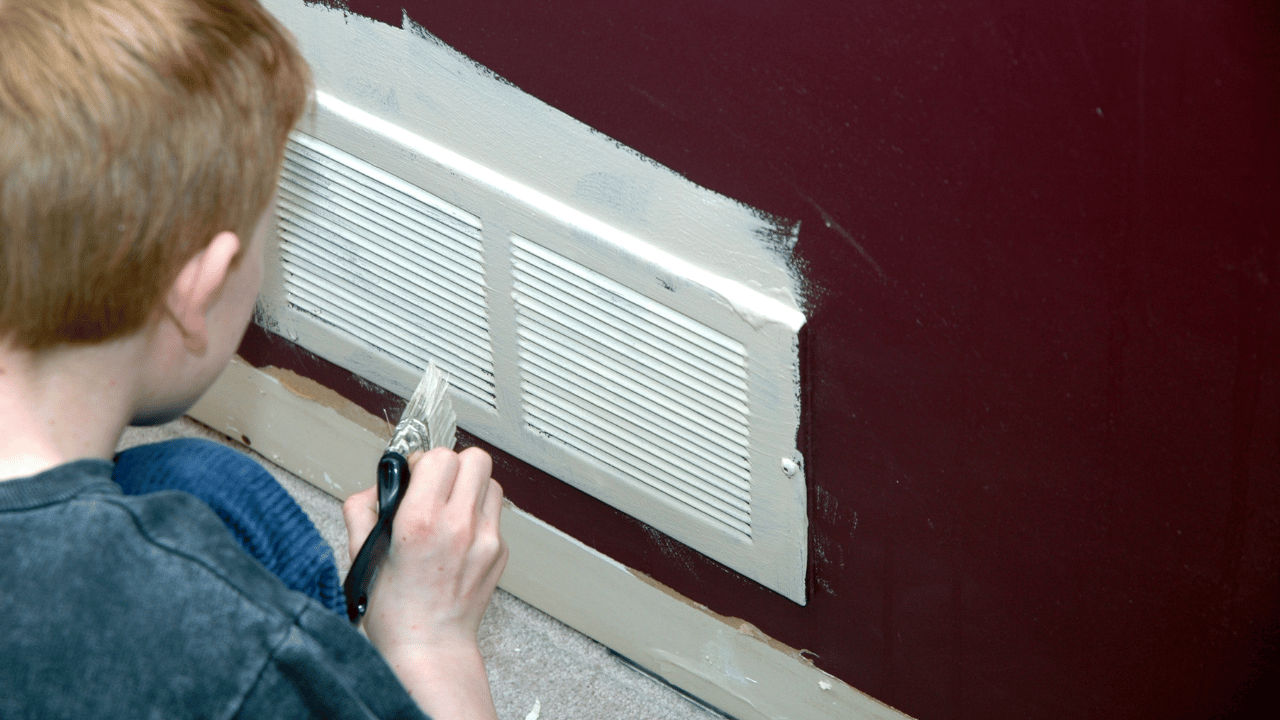
- Minor repairs on flat-painted walls might only require spot priming. However, if you’re faced with extensive patchwork, consider using a premium interior primer/sealer.
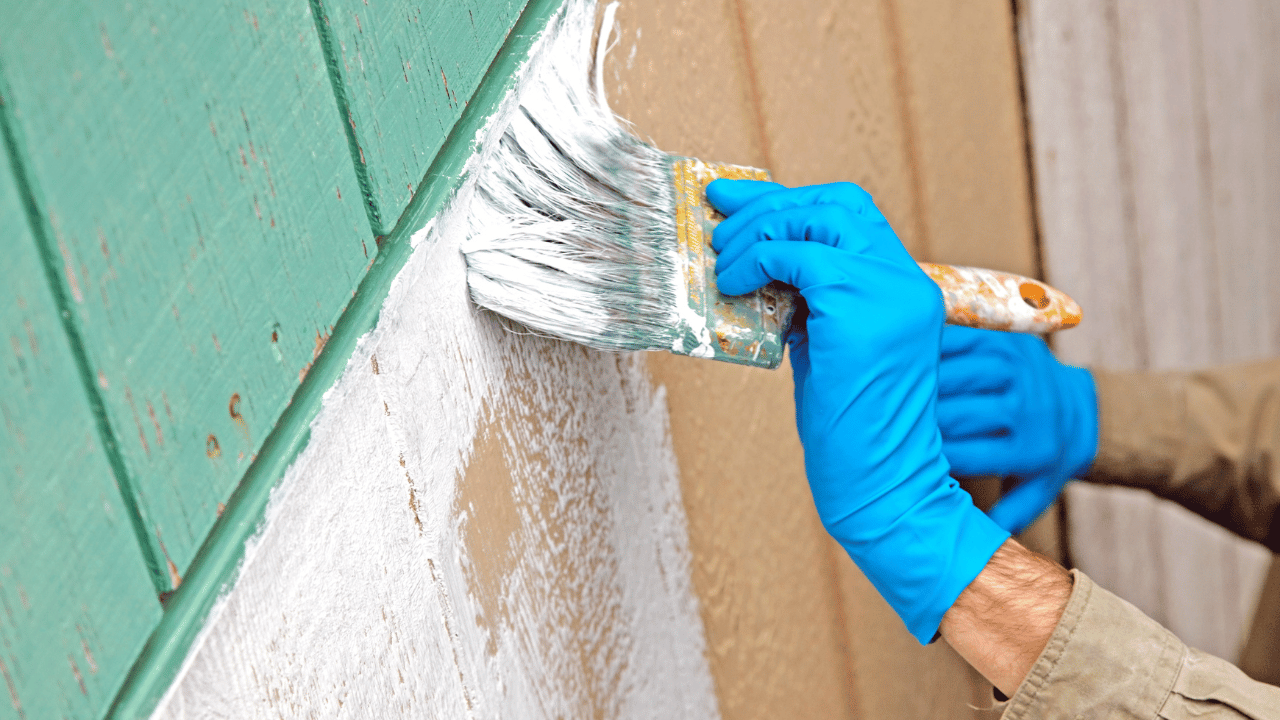
Tool Selection Insights When working with latex primers, synthetic brushes, such as those made of polyester or nylon, yield the best results. In contrast, natural bristle brushes are most compatible with oil-based primers.
Safety First! Remember, primers can emit fumes, potentially hazardous with prolonged exposure. Ensure your workspace is amply ventilated. Enhance airflow by opening windows or employing fans, directing the air outside.
Additional Application Advice
- If you’re uncertain about the nature of an existing paint layer—whether it’s oil-based or latex—a simple test can offer clarity. Gently rub a section with a rag dampened in alcohol or nail polish remover. A smudge on the rag indicates latex paint, whereas oil-based paint remains unaffected.
- To achieve the best finish, there should be minimal delay between priming and the final coat of paint. Refer to your primer’s label for specific guidelines on the optimal window for paint application post-priming.
Conclusion
In the grand tapestry of home DIY, priming might seem like an optional step or even a mere formality. But its value is clear when you consider the long-term beauty and durability of your paint job. By spending a little extra time on this preparatory step, you ensure a wall that not only looks fantastic immediately after painting but remains vibrant and intact for years to come. So, before you roll on that gorgeous new color, remember to prime!