
Last Updated on October 21, 2023 by Pro Handyman Australia – Editorial Team
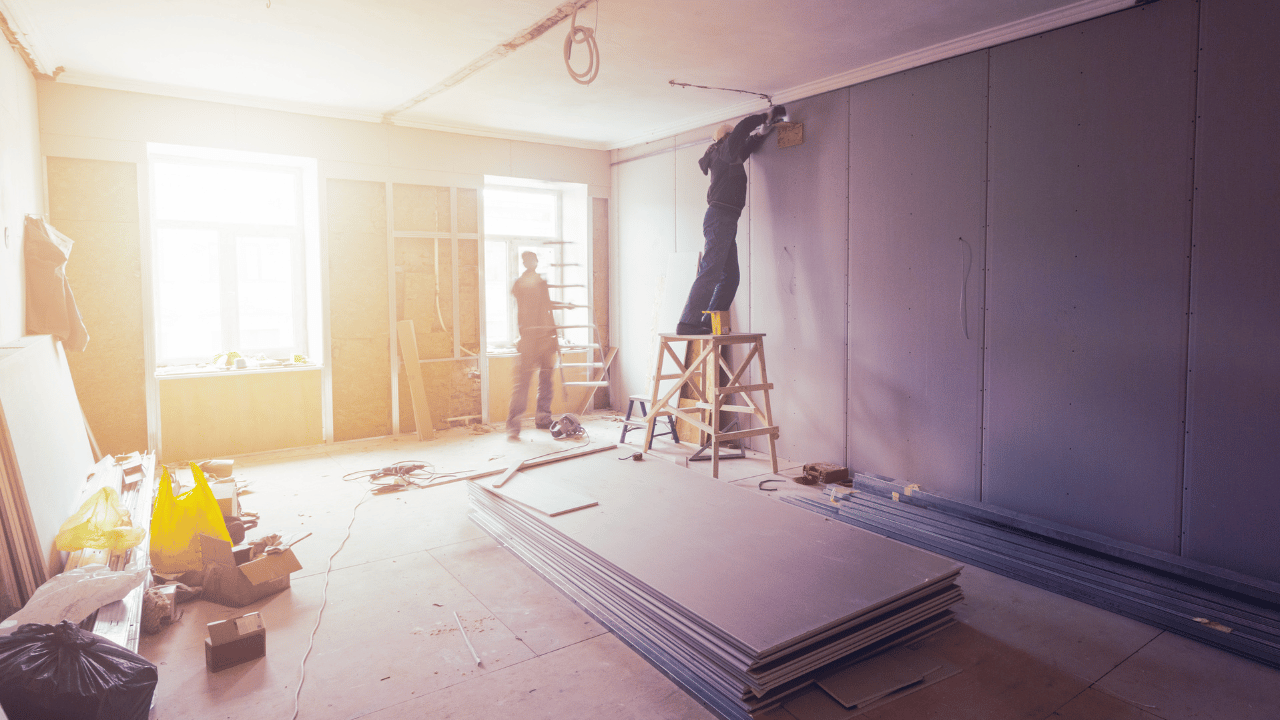
Every homeowner knows that ceilings, over time, can show signs of wear and tear. Fortunately, with the right tools and some knowledge, you can address basic ceiling issues yourself. Whether it’s drywall repair, popcorn ceiling removal, or fixing those pesky nail pops, our guide is here to assist you every step of the way.
Maintaining a pristine look for your ceiling is a task that homeowners often find challenging. Water damage, in particular, can be a menace, leaving unsightly patches on your drywall ceiling. If you’ve recently managed a ceiling leak and are staring at the aftermath, don’t worry. The following steps will guide you through patching your drywall ceiling so that it looks as impeccable as when it was first installed.
Essential Equipment and Materials for Drywall Repair

Safety and Protective Equipment
For a successful and safe drywall repair, it’s essential to prioritize your safety.
- Depending on the complexity of the task, wearing gloves might be necessary to protect your hands.
- A long-sleeve shirt can shield your arms from potential scrapes or abrasions.
- Always wear a face mask, especially when sanding, to prevent the inhalation of dust.
- Eye protection is crucial to keep any debris or dust from irritating your eyes.
Tools Required
Having the right tools can make all the difference in achieving a seamless drywall repair.
- Painter’s Tape is beneficial for marking areas or protecting wall edges.
- A drywall saw or a reciprocating saw is necessary for cutting out damaged sections.
- A utility knife will help in trimming and shaping the new drywall pieces.
- Sandpaper, paired with a pole sander, will ensure a smooth finish on the repaired area.
- Ladders will grant you easy access to higher sections of the wall.
- For scraping away old material or applying compounds, a putty knife is invaluable.
- If you need to locate wall studs, a stud finder can be an essential tool.
Materials for the Repair
Lastly, gather all the required materials to replace and refinish the damaged area:
- New drywall panels for replacing the damaged sections.
- Nailing strips provide added support for the new drywall pieces.
- Drywall screws are essential for securely fastening the drywall in place.
- Paper drywall tape aids in joining seams between drywall pieces.
- Drywall compound helps in patching up smaller holes and imperfections.
- Joint compound is used for finishing and ensuring a seamless blend between the old and new drywall sections.
Remember, using high-quality materials and tools can significantly improve the outcome of your drywall repair.
Addressing Common Ceiling Damages:

-
Mending Ceiling Cracks:
- Begin by sanding any loose paint or drywall.
- Lay mesh tape over the crack to reinforce the area.
- Smoothly apply a joint compound over the tape.
-
Fixing Nail Pops:
- Securely drive screws on either side of the stud where the nail is located.
- Clear away any damaged material and either remove or substitute the initial screw.
- Once done, spread joint compound over these screws to blend them into the ceiling.
-
Drywall Repair for Large Holes:
- Start by cutting a rectangular shape around the affected area.
- For added support, introduce wooden cleats behind each side.
- Fasten a patch piece to these cleats.
- Apply mesh tape over your patch, followed by a joint compound.
- For best results, apply two to three layers of the compound over the repairs, sanding it smooth between each layer.
- Once you’ve achieved a seamless finish, wipe away any residue with a damp cloth. Following this, prime and paint the area to ensure it matches the rest of your ceiling.
Popcorn Ceiling Removal: A Step-by-Step Approach
If you’re not fond of your popcorn ceiling, don’t fret. Removing it might be more straightforward than you imagine. Here’s a breakdown to help you get started:
-
Preparation:
- Start by checking if your ceiling has paint. To determine this, moisten a corner with water and attempt a scrape. While a painted texture might be challenging to remove, the usual texture should come off easily.
- If you find a painted texture, use a paint stripper as per the provided instructions. If the process seems daunting, consider seeking professional assistance.
- For safety, cover electrical outlets and fixtures using plastic sheeting and tape.
- Protect your floors and the lower section of your walls with plastic.
- Ensure the room’s power is turned off to avoid any accidents.
-
Texture Removal:
- Fill a fresh garden sprayer with water.
- Work in sections, spraying a 5-foot area at a time. Give the water some time to soak in before you begin scraping using a putty knife or trowel.
- Exercise caution during the process to prevent damaging the ceiling beneath the texture.
- Respray challenging patches to facilitate easier removal.
-
Ceiling Finishing:
- Let your ceiling dry thoroughly after the texture removal.
- Use a joint compound to smoothen joints and rectify any scratches.
- Sand the area using a drywall sanding pad, followed by fine-grit sandpaper to achieve a smooth surface.
- Your final step involves priming and painting your ceiling, giving it a fresh and refined appearance.
Repairing a Drywall Step-by-Step:
1. Cutting and Replacing the Damaged Drywall Section:
Start by carving an ‘inspection hole’ in the damaged drywall section. If this hole reveals electrical wires, plumbing, or gas lines, it would be best to consult a professional. If not, you can proceed with the repair.
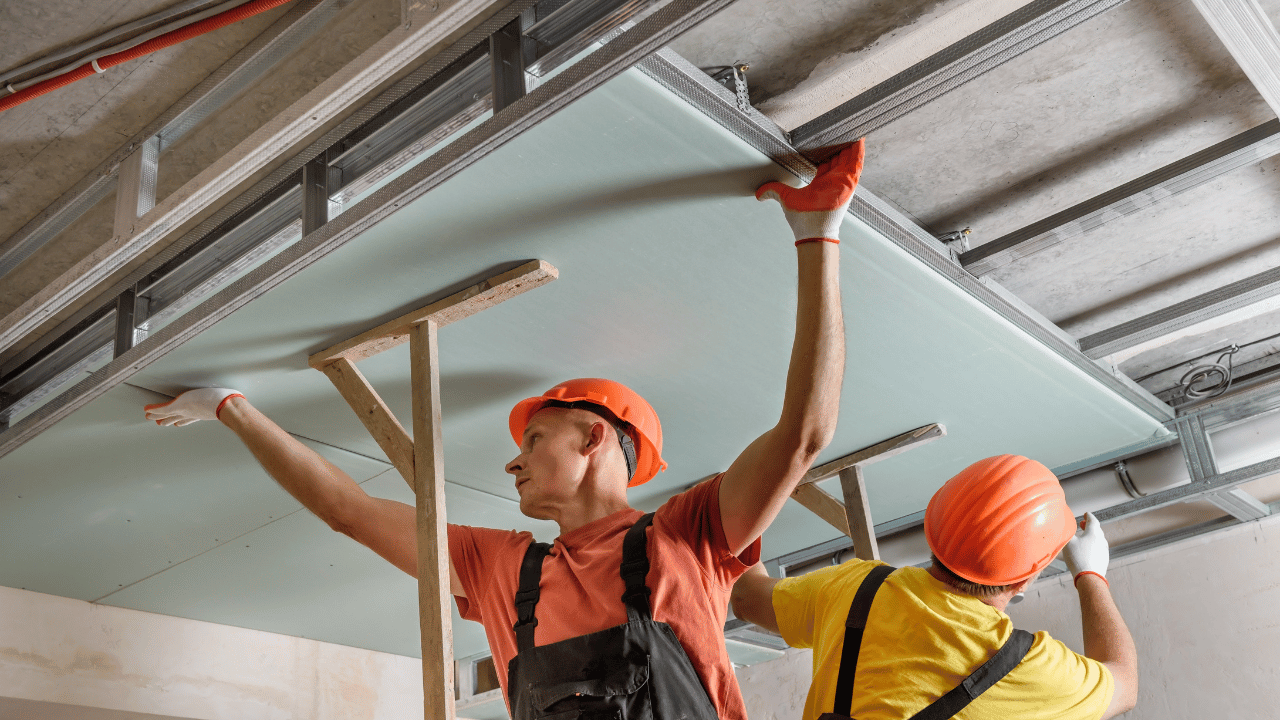
Using a framing square, outline the damaged area. Cut out this outlined portion from your ceiling. It’s essential to measure the thickness of your existing drywall, typically around 12mm, and then cut a replacement section that matches these dimensions.
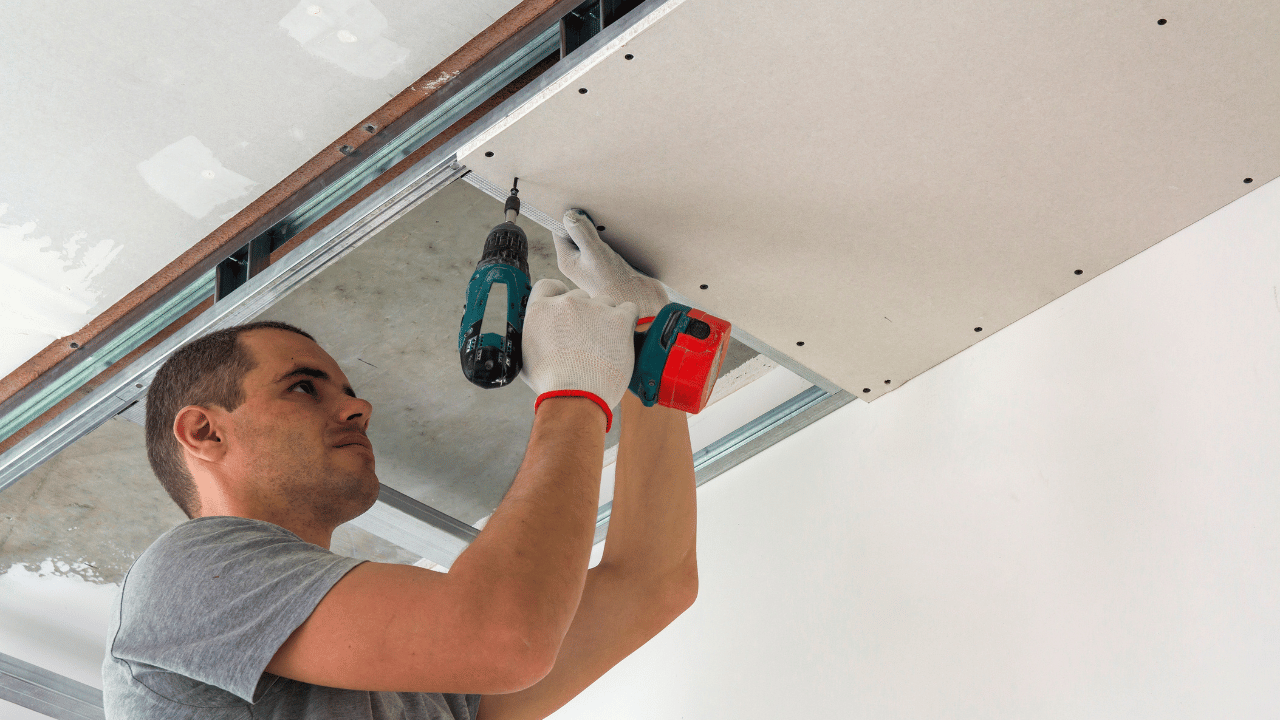
For optimal support, place two wooden blocks within the hole and attach the new drywall section using screws.
2. Seamlessly Integrate the New Patch with Drywall Compound:
One of the most challenging steps is ensuring the new patch integrates seamlessly with the existing ceiling. For this:
- First, apply a layer of drywall compound over the patch.
- Next, lay paper tape across the seams, pressing it down with your putty knife for a smooth finish. Paper tape is preferred as it offers a crisper edge than mesh tape and holds up better over time.
- Once the tape is in place, spread another layer of drywall compound over the tape and the patch, making sure to blend the edges well.
- For the best finish, consider applying up to three coats of the compound. Sand the patched area between each application to maintain a smooth surface. A larger putty knife, around 12 inches, can be particularly useful in this step.
3. Final Smoothing:
After applying the final coat of the compound, sand the patch until it’s perfectly smooth. Wipe away any residual dust with a damp cloth to ensure a clean surface for painting.
4. The Finishing Touches:
To wrap up the repair, prime the patched area with a drywall primer. After it dries, paint over the primer so that the patch seamlessly blends with the rest of your ceiling.
A Quick Note on Plaster Ceilings:
Wondering about plaster ceilings? Yes, they can be patched using drywall. Just remove the damaged plaster portion and use drywall as your patch, securing it with drywall screws for a unified look.
Steps to Remove a Popcorn Ceiling
1. Preparation
Before diving into the removal process, ensure that you’ve laid the groundwork to make the process as smooth as possible.
- Begin by testing a discreet corner of the ceiling to determine if it’s painted. Moisten the area with some water and attempt to scrape it. If the texture is painted, it won’t scrape off effortlessly, while unpainted texture will.
- If dealing with painted texture, use a paint stripper following the manufacturer’s guidelines. If this process seems too challenging, consider hiring an expert.
- For safety and cleanliness, cover electrical outlets and lighting fixtures using plastic sheeting, sealing them off with tape.
- Extend the plastic sheeting to cover your floor and the lower part of your walls. This prevents debris from scattering around your room.
- Crucially, ensure the room’s power is turned off.
2. Texture Removal
Once your room is prepared, you can embark on the actual removal of the popcorn ceiling.
- Using a clean garden sprayer, fill it with water. This will be used to moisten the textured ceiling.
- Work in sections of about 5 feet at a time. Spray the section and allow the water to soak in.
- Once saturated, use a broad putty knife or trowel to gently scrape away the popcorn texture. Exercise caution to avoid causing any damage to the actual ceiling.
- For stubborn areas, a secondary spray might be necessary to fully saturate and make scraping easier.
3. Finishing Touches
With the popcorn texture removed, it’s time to refine and finish the ceiling.
- Allow the ceiling ample time to dry thoroughly.
- If there are any imperfections, smooth out the joints and fill in any scratches using joint compound.
- To achieve a smooth finish, sand the ceiling starting with a drywall sanding pad and gradually move to finer sandpaper.
- Finally, to give your ceiling a fresh and clean look, prime and paint it as desired.
Patching a Plaster Ceiling with Drywall
When faced with damage to a plaster ceiling, many homeowners wonder if it’s possible to use drywall for repairs. The answer is affirmative. One can indeed patch a plaster ceiling using drywall. To do this, first, remove the damaged plaster area. Once you’ve cleared away the damaged portion, introduce a piece of drywall as a patch. Ensure that the drywall is securely fastened in place using drywall screws. This method provides a durable solution, merging the strength of both plaster and drywall.
Conclusion
Ceiling drywall repair is an essential skill for homeowners and professionals alike. Through the application of the tips and techniques mentioned, one can ensure a smooth and seamless finish, effectively camouflaging any damages. It’s imperative to choose the right tools, materials, and to follow the proper steps, from assessing the damage to priming and painting. Regularly inspecting ceilings for potential issues and addressing them promptly can save time and money in the long run. Additionally, practicing safety precautions cannot be stressed enough, especially when working overhead. Whether you’re a novice looking to fix a minor imperfection or a seasoned professional, these tips provide a solid foundation for achieving the best results in ceiling drywall repair.