Last Updated on October 21, 2023 by Pro Handyman Australia – Editorial Team
The art of transforming a room often starts with the blank canvas of its walls. Drywall, the unsung hero of modern construction, provides the smooth surfaces we paint, texture, or wallpaper. While installing drywall might seem like a task reserved for professionals, with the right tools, guidelines, and a bit of patience, it’s a project many homeowners can tackle themselves. Whether you’re renovating an older space or finishing a newly-framed area, our DIY Drywall Installation Guide is here to help you navigate the process, ensuring that you achieve that seamless finish every homeowner dreams of.
To kickstart your drywall installation, it’s essential to gather the right tools and materials. Key tools encompass a 4-in-1 screwdriver, cordless drill, mushroomed hammer, spirit level, chalk, drywall saw, safety glasses, pry bar, taping knives, tape measure, screw gun, and a T-square for precise measurements. As for materials, arm yourself with appropriately sized drywall sheets, an assortment of drywall screws tailored to the drywall depth, and drywall nails.
Mapping and Measurement
The foundation of any successful drywall installation lies in accurate measurements. Start by gauging the area where your drywall will be mounted. To determine the size of the drywall sheets you’ll need, measure from the midpoint of the joist to the end of the ceiling. Employ your drywall square to create fastening guidelines at intervals, ensuring your panels are shortened by a centimeter for a snug fit.
Customization for Perfect Fit
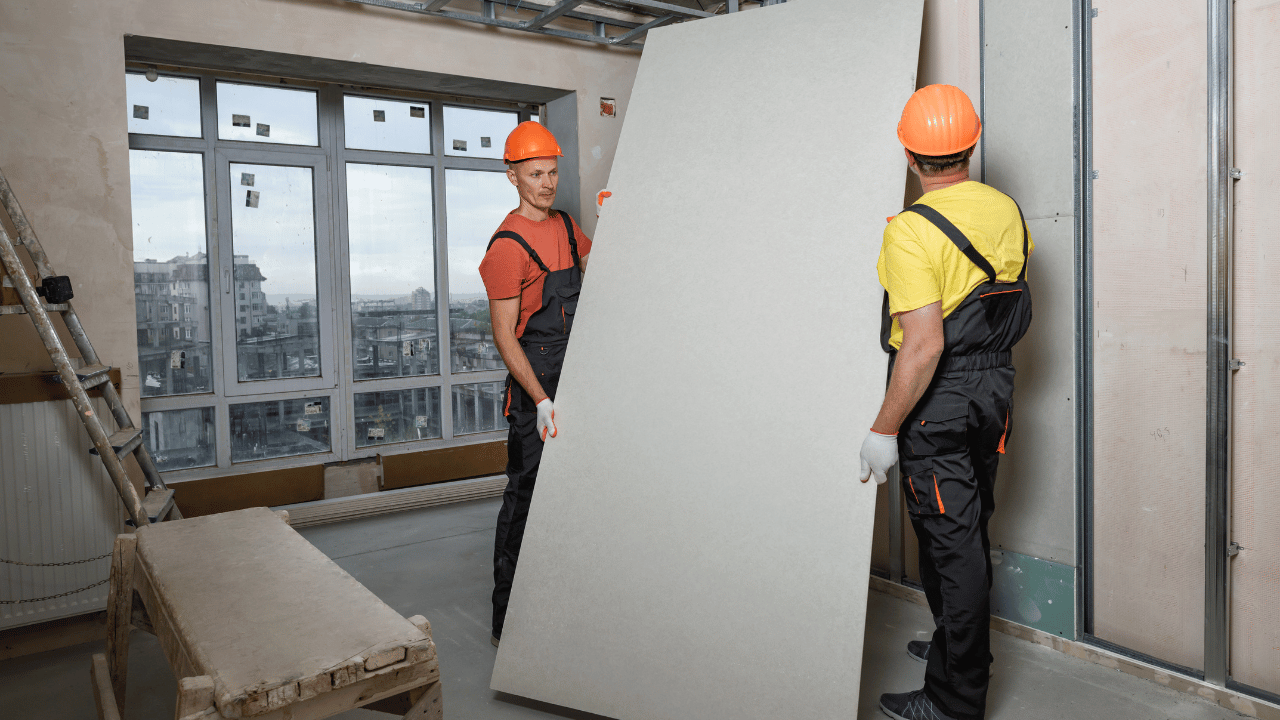
Your drywall panels might require adjustments, especially if the installation area features windows, doors, or outlets. Draft a layout that outlines any deviations and their measurements, which will serve as a template when cutting your drywall sheets. This step ensures a seamless fit and alignment with existing structures.
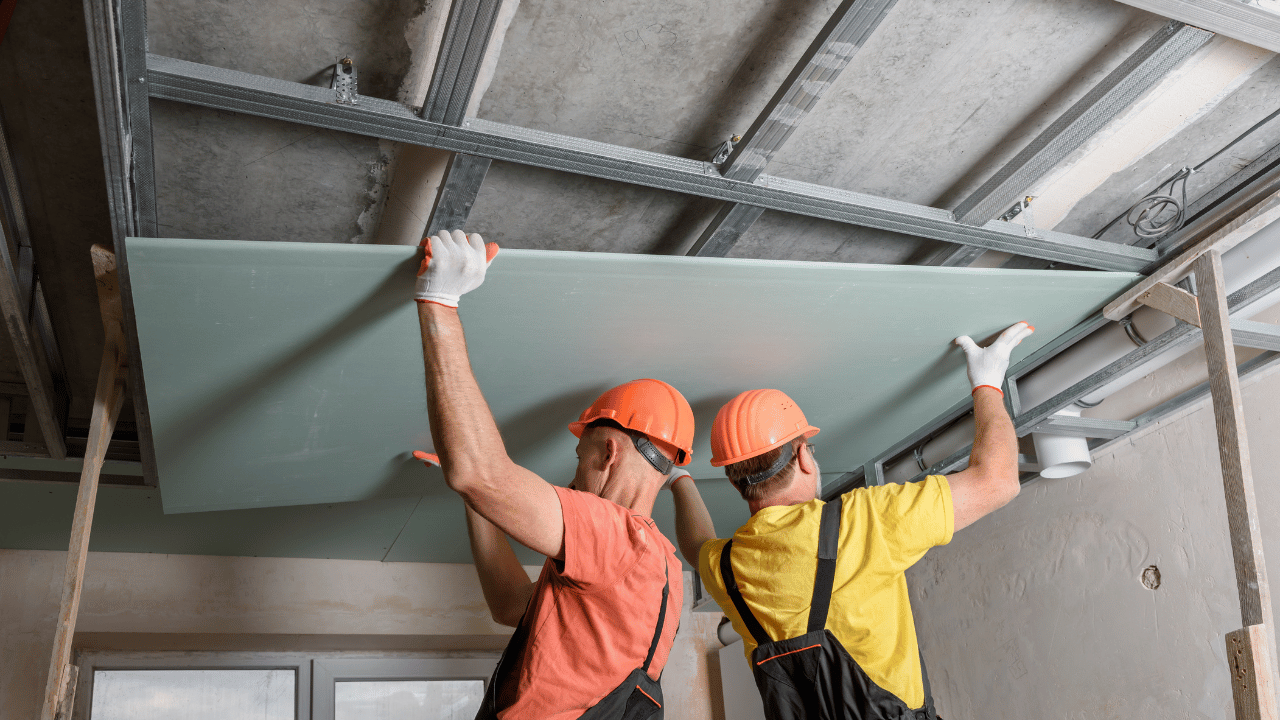
Laying the Foundation with Drywall Nails
Before diving into the installation, it’s wise to tack your drywall sheets in place using drywall nails. Position your pre-measured drywall sheets in their designated locations and mark points where they’ll be secured. Use your hammer to insert the drywall nails, ensuring alignment using a spirit level or T-square. Remember, this preliminary step lays the groundwork for a sturdy and smooth installation.
As you embark on this DIY journey, take solace in the fact that drywall is forgiving. While initial attempts might not be flawless, the material’s adaptability ensures that any mishaps can be seamlessly rectified. So, equipped with this comprehensive guide and a dash of enthusiasm, your path to a rejuvenated interior space is clear and achievable.
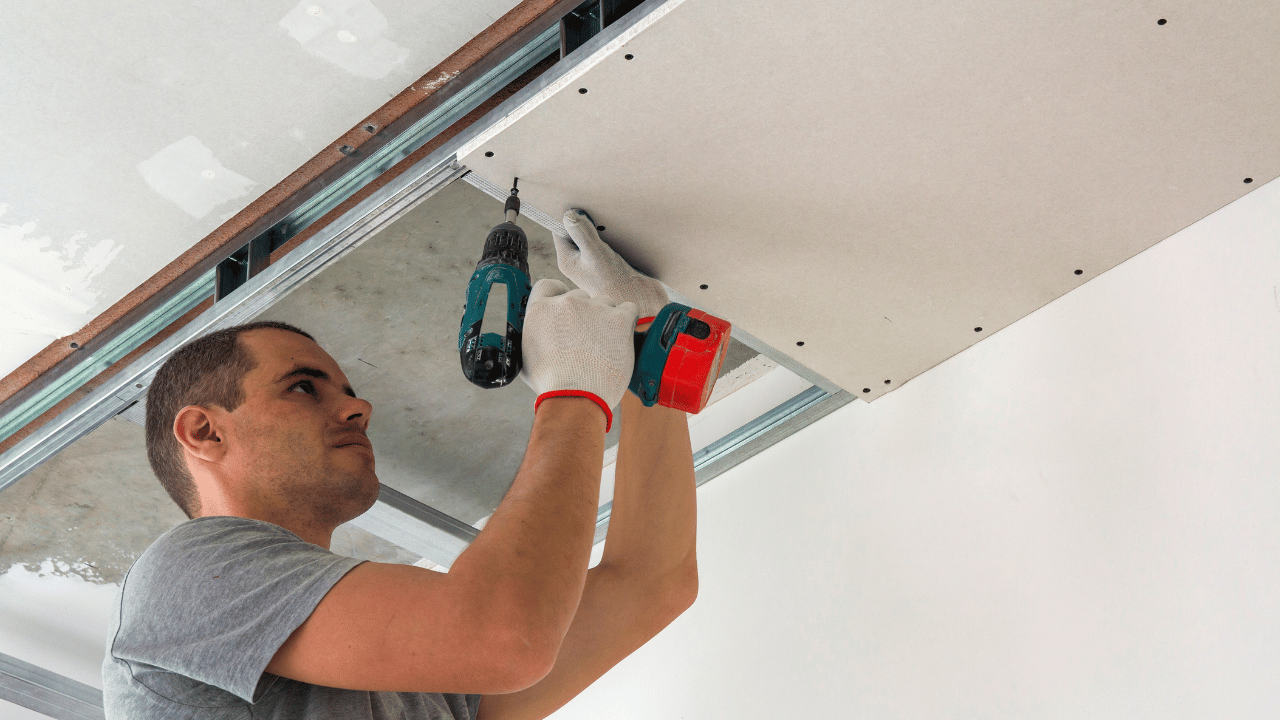
Installing Drywall Screws
After accurately tacking your drywall sheets into their desired positions, it’s essential to ensure that each sheet is correctly aligned and evenly spaced. If any adjustments are needed, now is the time to make them.
Following this, you’ll need your drywall screws. Remember, it’s essential to use screws specifically designed for drywall; others won’t be effective. Secure the sheets by drilling the screws every 30-40 cm or 12-16 inches. This spacing ensures durability and proper coverage of your drywall.
Perfecting the Art of Drywall Taping
Taping is an integral step in the drywall installation process. It involves sealing the joints between panels with a plaster mixture, commonly referred to in the industry as “mud”. Achieving a smooth, seamless finish hinges on this step.
Begin by preparing your mud. It should be smooth with a consistency similar to that of peanut butter, free from lumps. Using a pristine metal spackle knife, apply the mud over the seams between the panels, ensuring a smooth overlay.
Once the seams are adequately covered, it’s time for the drywall tape. Dip it in water, wring out any excess, and then align it over the seams. Using your spackle knife, press the tape gently into the mud, ensuring no air bubbles form. Allow ample time for the mud to dry, ensuring the panels are firmly in place.
Navigating Electrical Wiring and Outlets
If you have already factored in the electrical outlets and made necessary cutouts in the drywall, that’s ideal. However, if you haven’t, there’s no cause for alarm. You can accurately measure and cut out spaces for your outlets using a drywall saw. The cutout should fit precisely with the plastic exterior of your outlet, leaving no visible gaps.
The electrical wires should sit behind the drywall, connecting seamlessly with the main electrical system and the outlet.
Mastering Corners and Seam Finishes
Achieving polished and seamless joints is a skill that’s invaluable when working with drywall. Armed with spackles of various sizes, fresh mud, and some sandpaper, you can attain smooth and sharp edges that stand the test of time.
Start by loading a medium-sized spackle with just the right amount of mud and apply it uniformly over the joint. The goal here is to fill any gaps and provide a sleek finish. Excess mud can lead to unsightly lumps, so moderation is key.
Keeping your tools clean is also crucial. Regularly rinse your spackle knife to prevent dried mud bits, which can create unwanted rough spots on your surface. After the mud dries, lightly sand the area to achieve your desired level of smoothness. With these steps completed, you’ve successfully mastered the art of DIY drywall installation.
The Advantages of Drywall: Why It Stands Out

Drywall, commonly known as sheetrock or plasterboard, is a ubiquitous choice for interior walls and ceilings in contemporary construction, and for good reason. Here’s why drywall is often the go-to option:
- Easy and Quick Installation: Unlike some other wall treatments, drywall panels can be installed relatively quickly. This rapid installation process can significantly reduce labor costs and shorten construction timelines.
- Cost-Effective: Drywall is often more affordable than alternative materials, making it a popular choice for large-scale construction projects and home renovations alike. Its cost-efficiency is particularly evident when considering the speed of installation and the material’s wide availability.
- Smooth Finish: Once installed and finished properly, drywall offers a seamless and smooth surface that’s ready for paint, wallpaper, or other finishes, providing a clean and polished appearance to interior spaces.
- Fire-Resistant: Drywall has fire-resistant properties, especially the type specifically designed for this purpose known as Type X drywall. The gypsum contained in drywall is non-combustible and can potentially slow the spread of fire, adding an element of safety to homes and buildings.
- Versatility: Drywall can be shaped and sized to fit a variety of spaces. It can be used for walls, ceilings, and can even be manipulated to create architectural features like arches or eaves.
- Sound Insulation: Drywall, especially when used in conjunction with insulation or specialized acoustic panels, can act as a sound barrier, reducing the transmission of noises between rooms.
- Easy Repairs: Accidents happen. Whether it’s a dent, hole, or any other form of damage, drywall is relatively easy to repair. Small damages can often be fixed with patch kits available at most hardware stores, while larger damages might require replacing only the affected panel.
- Environmentally Friendly: Many drywall panels are made from recycled materials, and the gypsum used in drywall is sustainable. At the end of its lifecycle, drywall can be recycled, reducing the strain on landfills.
Conclusion
The journey of DIY projects is both empowering and rewarding, and installing drywall is no exception. By following the step-by-step DIY Drywall Installation Guide, homeowners can transform their spaces, achieving professional-looking results without the hefty costs of hiring experts. While the process requires patience, precision, and attention to detail, the satisfaction derived from looking at pristine, well-installed walls is unparalleled. As with all DIY endeavors, it’s not just about the finished product, but also about the skills acquired, the mistakes learned from, and the pride of accomplishing something with one’s own hands. Whether you’re renovating an old space or crafting a new one, mastering drywall installation is a valuable addition to your home improvement toolkit.