Last Updated on October 21, 2023 by Pro Handyman Australia – Editorial Team
Venturing into the realm of home renovation or taking on a DIY project can seem daunting, especially when it comes to mastering techniques that professionals spend years perfecting. Drywall finishing, in particular, can be both an art and a science, ensuring walls look seamless and flawless. However, every expert had to start somewhere, and with the right guidance, even beginners can achieve commendable results. Whether you’re revamping a room or building a new partition, understanding the basics of drywall finishing can elevate the overall appearance of your space. This blog will unravel essential drywall finishing techniques tailored for those just setting out on this journey, ensuring you’re equipped to tackle your project with confidence and precision. Let’s dive in!
Understanding Drywall Finishing
Drywall finishing is a pivotal phase in the drywall installation process. It transforms hung drywall sheets into smooth surfaces ready for paint, ensuring the walls are seamless and sturdy. While the steps might be standardized, the depth of the finish varies according to different levels established by industry standards.
The Basics of Drywall Finishing
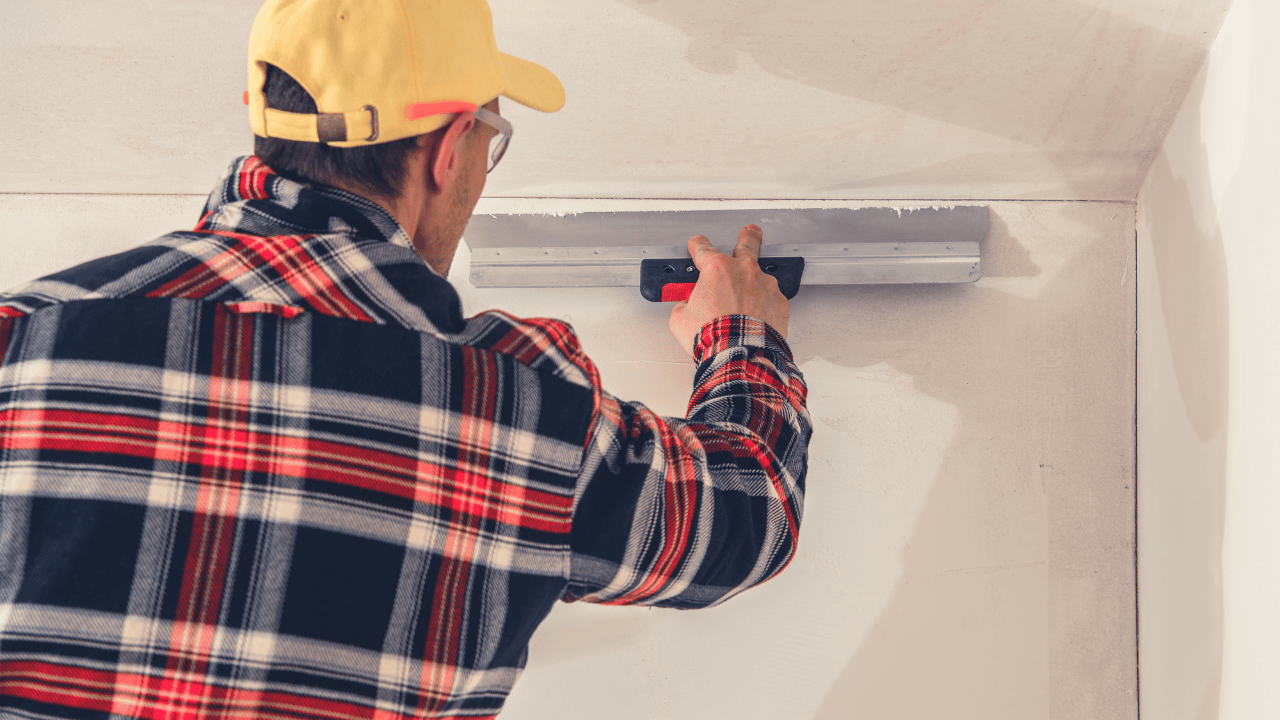
Drywall finishing involves mudding, taping, and coating the drywall to strengthen the walls and prime them for painting. Here’s a breakdown:
- Pre-filling: Start by filling in any joints or gaps in the drywall using a thin coat of hot mud. This powdery joint compound becomes a paste when mixed with water. By pre-filling, you ensure all the joints, screws, and uneven surfaces are seamlessly covered. It also helps secure screws in place.
- Taping: Next comes the taping. Drywall tape, which can be either mesh or paper, is placed over spots where two drywall sheets intersect, like flats, corners, or butts (the meeting point of two non-tapered drywall sheets). This process helps create a uniform wall surface and reinforces exposed areas, especially corners. The method involves applying taping mud along the joint, overlaying the drywall tape, and then removing any excess mud.
- Coating: Once the taping mud dries, it’s time to coat the tape with a topping compound. This is the concluding step in the fundamental drywall finish, and its application varies based on the finishing level.
A Deep Dive into Drywall Finishing Levels

These levels, acting as benchmarks, ensure uniformity and quality in all drywall finishing projects. Ranging from Level 1 to Level 5, each level indicates a deeper and more intricate finish than the last.
- Level 1: Often referred to as a “fire tape”, Level 1 is primarily utilized in utilitarian spaces like garages or mechanical rooms. For this level, all flats, butts, and angles get taped, screws are given a single coat of coating mud, and corner bead is installed.
- Level 2: This “top coat” level involves coating the flats, butts, angles, and screws once. Typical applications include closets or areas with shelves, which can be painted over to mask any coating imperfections.
- Level 3: This “skim coat” level necessitates two coatings for all flats, butts, angles, and screws. Angles get a boxed finish, and the corner bead receives two coats. Ideal for textured drywall finishes, Level 3 isn’t recommended for spaces that need impeccably smooth walls.
- Level 4: The “smooth finish” of Level 4 demands three coatings for all areas – butts, angles, flats, screws, and the corner bead. After this level, there should be no marks or imperfections on the drywall sheet. This level is perfect for home interiors and lays a solid foundation for wallpaper installations.
The Basics of Drywall Finishing
Drywall finishing is a refined procedure that involves mudding, taping, and coating drywall to enhance the wall’s durability and prepare it for painting. The core steps of the process are:
- First, joints or gaps present in the drywall are pre-filled with a thin layer of what’s termed ‘hot mud’ – a powdered joint compound blended with water. This pre-filling process ensures a smooth coverage over joints, screws, and uneven patches. It also offers the added benefit of anchoring screws securely in place.
- The next step is taping the mud. Here, either mesh or paper tape is used to overlay areas where two drywall sheets converge, such as flats, corners, and butts (where non-tapered sheets meet). This step not only integrates separate drywall panels but also provides a smoother wall surface. Moreover, taping fortifies vulnerable areas like corners, enabling them to retain their shape. The process begins by applying taping mud along the joint, placing drywall tape over it, pressing it down, and removing any surplus mud.
- Once the taping mud dries, the tape is coated with a layer of topping compound, another form of mud mixed with water. This coating marks the culmination of the basic drywall finish. Depending on the desired finish level, the application can be done using boxes or handheld knives.
Diving into the World of Drywall Tapes
While at a glance, drywall tape might seem like a simple tool, a closer examination reveals a world of unique characteristics and applications that can enhance your drywall projects.
Paper Tape: A Trustworthy Choice
- Applications: Paper tape is ideal for butt joints, corner seams, and main joints.
- Characteristics: This tape is cost-effective, easy to use, and offers excellent value for its price. With a central seam, it requires wetting before application, enhancing its versatility.
Fiberglass Tape: Strength in Slimness
- Applications: Fiberglass tape is perfect for butt joints and is a go-to for those urgent installations requiring sturdy tape.
- Characteristics: Its thin nature minimizes bulges, and it does not possess any threading, allowing it to stick on its own. While it might come with a slightly higher price tag, the quality justifies the cost.
Fiberglass Mesh Tape: Robust and Beginner-Friendly
- Applications: This tape is suitable for a variety of seams, including straight, tapered, and load-bearing ones.
- Characteristics: Its strength is derived from the woven mesh, giving it additional durability. Although it’s relatively thick, it adheres independently, making it an excellent choice for novices. Do note its rigidity and sharpness when handling.
Metal Tape: The Corner Specialist
- Applications: Unlike other tapes, metal tape has a dedicated purpose: it’s tailor-made for corners.
- Characteristics: Crafted from paper with embedded metal strips, this tape stands out for its strength and durability. While it might be on the pricier side, its performance ensures value for money.
Fire Resistant Tape: Safety First
- Applications: Designed with safety in mind, fire-resistant tape is ideal for areas susceptible to high fire risks.
- Characteristics: Its composition, made primarily from paper, ensures both strength and durability. It’s specifically engineered to resist fire, and while it might be a more significant investment, its protective nature makes it worthwhile.
Specialty Drywall Tapes
There’s a wide variety of specialty drywall tapes available, like mold-resistant and perforated tapes, each tailored for specific applications. Moreover, the market offers tapes in different lengths and widths suitable for unconventional uses. Furthermore, numerous tools can assist with the mudding and taping process. So, the next time you’re browsing through your local hardware store, take a moment to explore your options. The right choice can save both time and money in the long run.
A Deep Dive into Drywall Finishing Levels

Consistency in drywall finishing is achieved through a hierarchy of industry-wide standards known as ‘levels.’ These levels range from 1 to 5, with each level indicating a higher degree of finish.
- Level 1: Often referred to as a ‘fire tape’, Level 1 finish is commonly reserved for spaces like garages, storage and mechanical rooms, or other utility areas that prioritize function over aesthetics. The key features of this level include taping of all flats, butts, and angles, the installation of a corner bead to give sharpness to corners, and a single coating of screws with coating mud.
- Level 2: The Level 2 finish, recognized as a ‘top coat’, mandates a single coating of flats, butts, angles, and screws with coating mud. It’s primarily used in closets or areas hidden behind shelving, which can later be painted to conceal coating imprints.
- Level 3: A step up, the Level 3 finish, also termed a ‘skim coat’, demands a double coating of all flats, butts, angles, and screws. Angles are given a polished finish with a box tool filled with mud, and the corner bead receives two coatings. This level is ideal for textured drywall applications like orange peel, popcorn, or skip trowel. However, due to its slightly rough finish, Level 3 might not be suitable for brightly lit residential spaces that demand smoother walls. It’s best suited for storage areas or walls that will receive texturing.
- Level 4: The penultimate finish, Level 4, is synonymous with a ‘smooth finish.’ Here, every component, be it butts, angles, flats, screws, or corner beads, undergoes a triple coating, with all angles being boxed. By this stage, the drywall sheet should exhibit no irregularities or tool marks. This finish is a popular choice for most home interiors, offering an ideal base for wallpaper.
- Level 5: The pinnacle of drywall finishes, Level 5, caters to walls that will flaunt dark hues or possess a high-gloss sheen. The entire drywall gets coated in mud, guaranteeing uniform paint application. With a Level 5 finish, walls can also serve as perfect backdrops for artwork displays. Achieving this level involves adding a super-thin layer of coating mud over all Level 4 finishes, ensuring the drywall sheet presents a consistent texture, devoid of any imperfections.
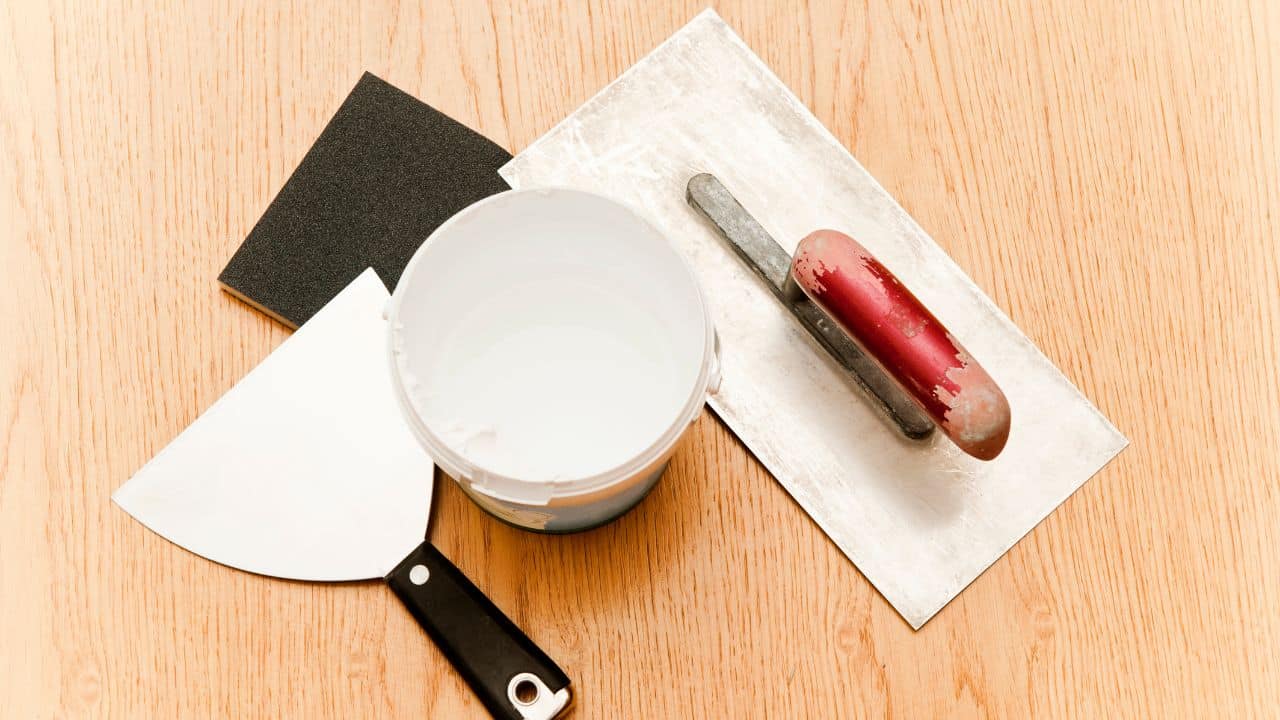
Essential Materials and Equipment for Drywall Finishing
Completing a drywall finishing project demands a spectrum of materials and tools. While the specific requirements might vary depending on the project’s structure and finish level, certain essentials remain constant:
- Joint Compound: This comes in various types, both powdered and premixed. Powdered mud, often called hot mud, dries quickly after being mixed with water. Its expanding property as it dries makes it ideal for pre-filling and mending imperfections. On the other hand, premixed mud, crafted from gypsum and other constituents, has a longer drying time. It’s primarily used for tasks like taping, coating, and texturing. Examples include all-purpose, lightweight all-purpose, and topping mud.
- Tapes: Paper and mesh are the two primary tape varieties. While mesh tape boasts adhesive properties, paper tape necessitates taping mud for its application. For general taping, paper tape, known for its sturdiness, is preferred. Additionally, it either comes pre-creased or can be creased during application.
- Taping Knives: These blades, generally rounded, ensure the tape adheres well to the wall and assist in scraping off excessive compound. Some knives, with a square design, are perfect for reaching corners and angles. Typically, these knives measure around six inches, offering a precise finish and optimal blade control.
Is Drywall Finishing Suitable for Novices?
For novices, embarking on a drywall finishing project might appear daunting. While the task can be labor-intensive, especially for first-timers, it is not insurmountable. The key is to understand the nuances of the process, the necessary tools, and the work involved. Unlike tasks such as painting or installing fixtures, drywall finishing requires a certain finesse and technique. This guide serves to provide insights into the world of drywall finishing, helping you assess your capability and determination to see the process through.
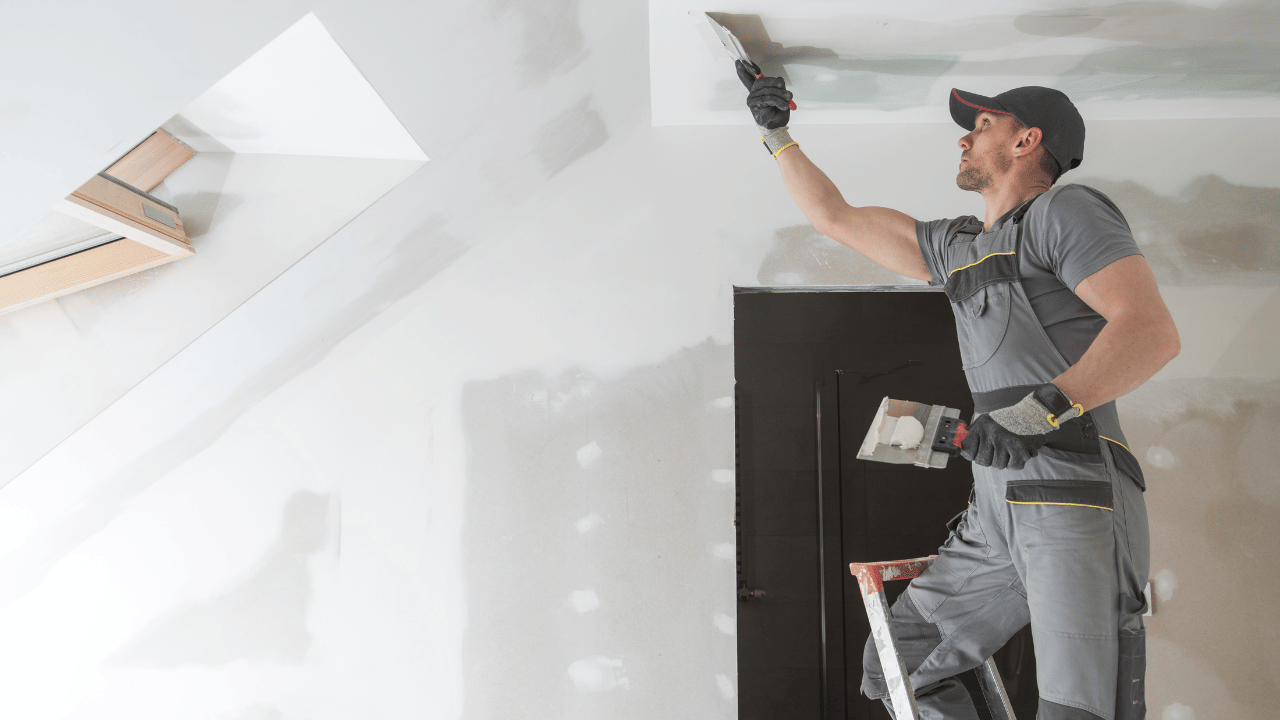
Understanding Joint Compound and Its Application
Often referred to as “drywall mud,” the official term for the substance used in drywall finishing is ‘joint compound.’ Resembling the consistency of putty or cement, this compound is vital for smoothing out drywall joints and corner seams, preparing them for painting. Several types of joint compounds are available, each offering distinct textures and uses, based on the drywall type. Apart from giving a refined finish, the compound also enhances the insulation properties of the drywall. Though painting directly on raw drywall is feasible, the results, in terms of finish, are less than ideal.
Applying the joint compound, a process known as ‘mudding,’ aims to create a flush surface, rendering it paint-ready. This step involves sealing the formerly present gaps, requiring a substantial amount of joint compound, typically enough to cater to four walls. To ensure safety, always use appropriate hand and respiratory protection when handling the compound, as inadvertent inhalation can cause discomfort. Patience is pivotal during the mudding process, as a meticulous approach ensures a superior paint finish.
The Importance of Finishing Drywall
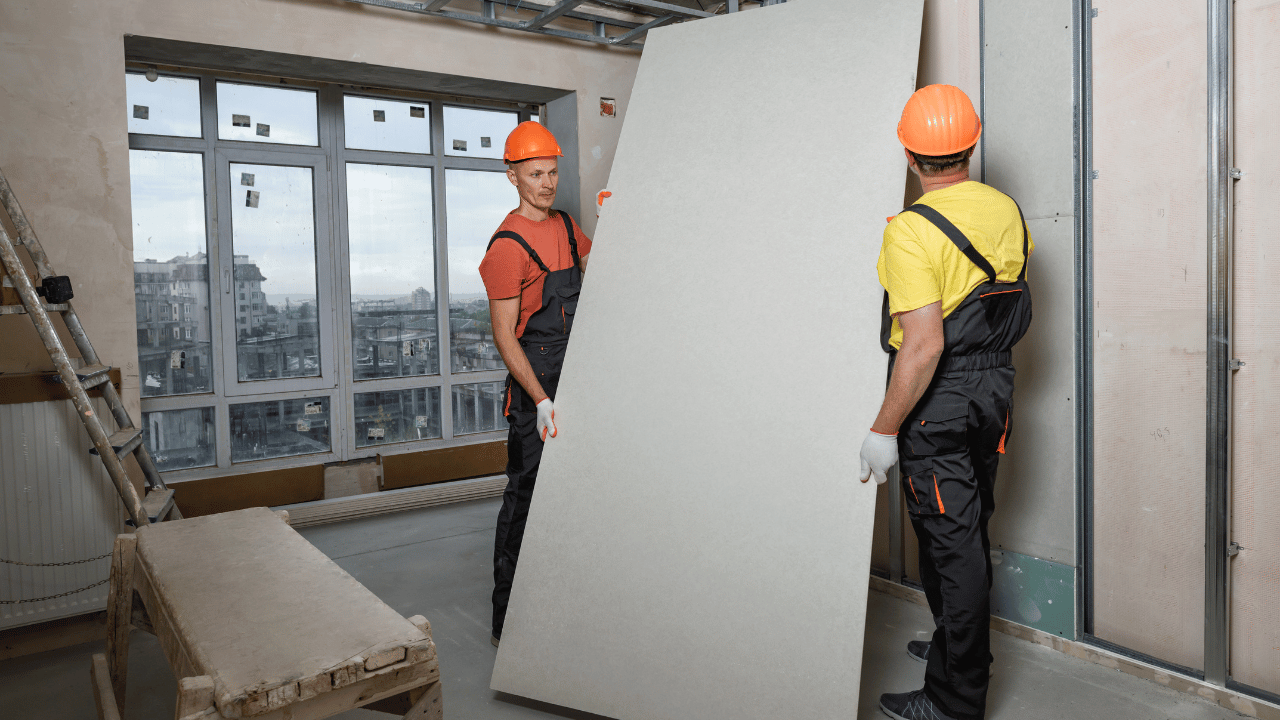
Drywall, in its essence, is a phenomenal construction material, widely favored for its versatility, cost-effectiveness, and ease of installation. Yet, its raw appearance lacks refinement. The board’s edges can be fragile and prone to damage. To address this, joint compounds, paired with tape, are applied to bolster these edges, enhancing their rigidity.
During the finishing process, two primary types of joint compounds come into play. First, there’s the base coat, a sturdier compound designed to seal gaps and cover screw holes. Following this, a topping compound, lighter in consistency, is applied over the drywall’s face. For those keen on delving deeper into the varieties of joint compounds, the subsequent section offers detailed insights.
The Importance of Finishing Drywall
Drywall, also known as sheetrock or plasterboard, is a standard construction material used for creating walls and ceilings in modern homes. While hanging drywall might seem like the bulk of the job, the finishing process is equally crucial. Here’s why you should always ensure your drywall is finished properly:
- Aesthetic Appeal: Unfinished drywall is conspicuous with visible seams, screw or nail holes, and inconsistencies in texture. A finished drywall surface offers a smooth, seamless look that’s ready for paint, wallpaper, or any other decorative treatment, enhancing the overall appearance of the room.
- Preparation for Painting: Paint adheres better to a finished drywall surface. Without proper finishing, paint can appear uneven or soak into the drywall at different rates, leading to an inconsistent and unprofessional look.
- Durability and Longevity: The compounds used in finishing drywall provide an added layer of protection. This ensures that the drywall is more resistant to dings, scratches, and general wear and tear, extending the life of your walls.
- Improved Insulation: A properly finished drywall can aid in insulating the room better. The layers of joint compound and tape help seal off any potential gaps, leading to better energy efficiency.
- Moisture Resistance: Finished drywall is less susceptible to moisture absorption. This is especially vital in areas with higher humidity or spaces like bathrooms, where moisture levels can be high.
- Safety: Unfinished drywall can have sharp edges or protruding screws. Finishing it ensures that all sharp points are covered and smoothed out, reducing the risk of injury.
- Higher Property Value: From a real estate perspective, homes with professionally finished drywall are more appealing to potential buyers. It indicates a higher level of care and maintenance, which can translate to a higher resale value.
Conclusion
Venturing into the realm of drywall finishing can be both exciting and daunting for beginners. With its unique techniques and methods, drywall finishing is a craft that, once mastered, can elevate the aesthetics and functionality of any space. As we’ve explored in this blog, the art of drywall finishing is more than just smearing joint compound onto walls; it’s about understanding the materials, tools, and the intricacies of each tape type. For beginners, it’s crucial to remember that, like any skill, perfection comes with practice. Each attempt brings one closer to achieving a seamless finish that professional contractors would admire. So, as you embark on your drywall finishing journey, arm yourself with knowledge, patience, and a willingness to learn. Over time, you’ll find that not only are your walls smoothly finished, but you’ve also built a foundation of skills that can be applied to countless future projects.