Last Updated on October 21, 2023 by Pro Handyman Australia – Editorial Team
The blank canvas of freshly painted walls can breathe new life into any space. However, diving into a painting project without the right preparation can mean the difference between a professional-looking finish and a messy disappointment. One of the most overlooked yet critical steps in the painting process is ensuring your walls are immaculate before that first brush stroke. Cleaning walls before painting not only guarantees a smoother application but also enhances the longevity and vibrancy of your chosen color. In this guide, we’ll dive deep into the reasons and methods to effectively clean your walls, setting the stage for a paint job that looks pristine and lasts for years.
The Foundation of a Successful Paint Job: Room Preparation
Before embarking on your painting project, thorough room preparation is crucial for achieving a long-lasting, high-quality finish. Though not all surfaces require extensive preparations like cleaning, sanding, and priming, it’s a good idea to scrutinize each wall to assess what needs to be done.
The Importance of Cleaning Your Walls
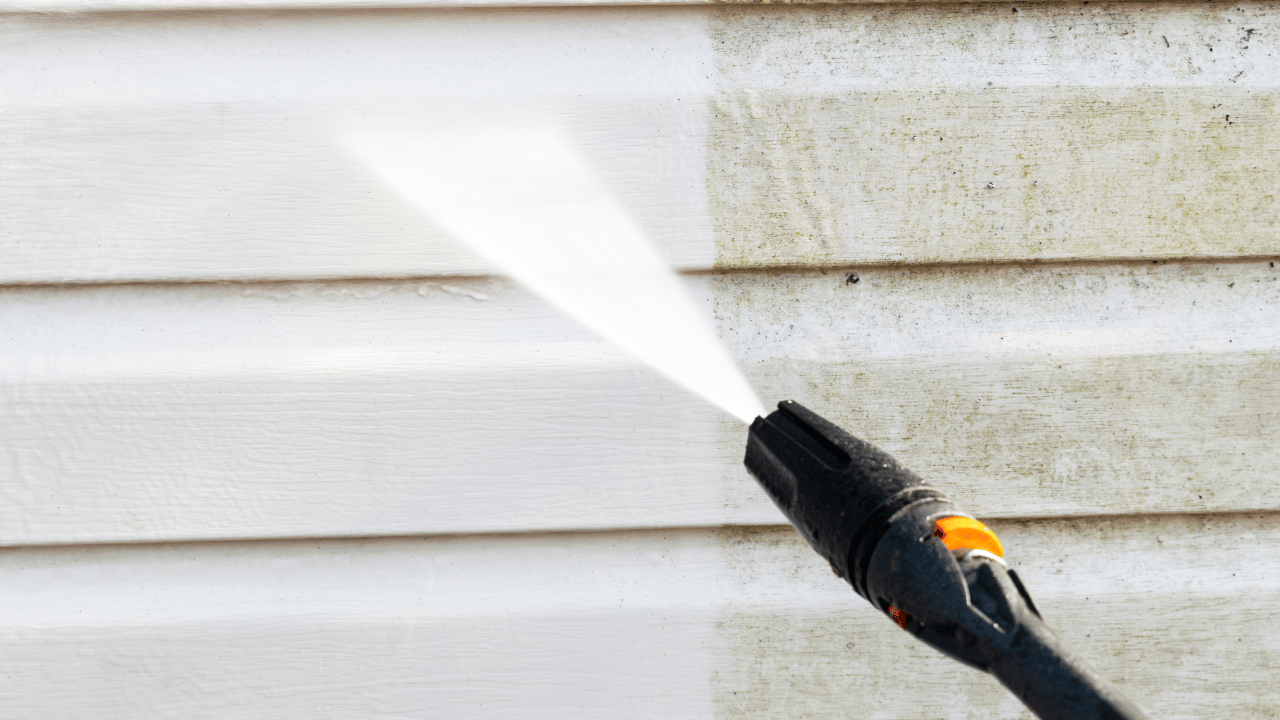
A successful paint job starts with clean walls. While there isn’t a one-size-fits-all approach to cleaning walls, most can benefit from a simple sponge wash with warm water. For kitchen walls or areas exposed to grease and grime, a mix of water and a grease-cutting detergent works wonders. After washing, rinse the walls with clean water and wipe them down with a damp cloth to remove any remaining detergent residue.
Allow your walls to dry thoroughly before proceeding to the next step. Ignoring this can result in issues like blistering when you apply primer or paint to damp surfaces.
Addressing Mildew Issues
Mildew is an unwelcome guest in any painting project. It’s crucial to treat mildew effectively as painting over it will cause it to penetrate the fresh coat, complicating future cleaning and maintenance tasks. A mixture of three-to-four parts water to one part bleach is usually sufficient for cleaning mildew. Apply this solution to the affected area, let it sit for a few minutes, and scrub the area with a soft brush. Finally, rinse it off with clean water. Ensure you’re wearing protective gloves and goggles during this process and let the area dry before moving on.
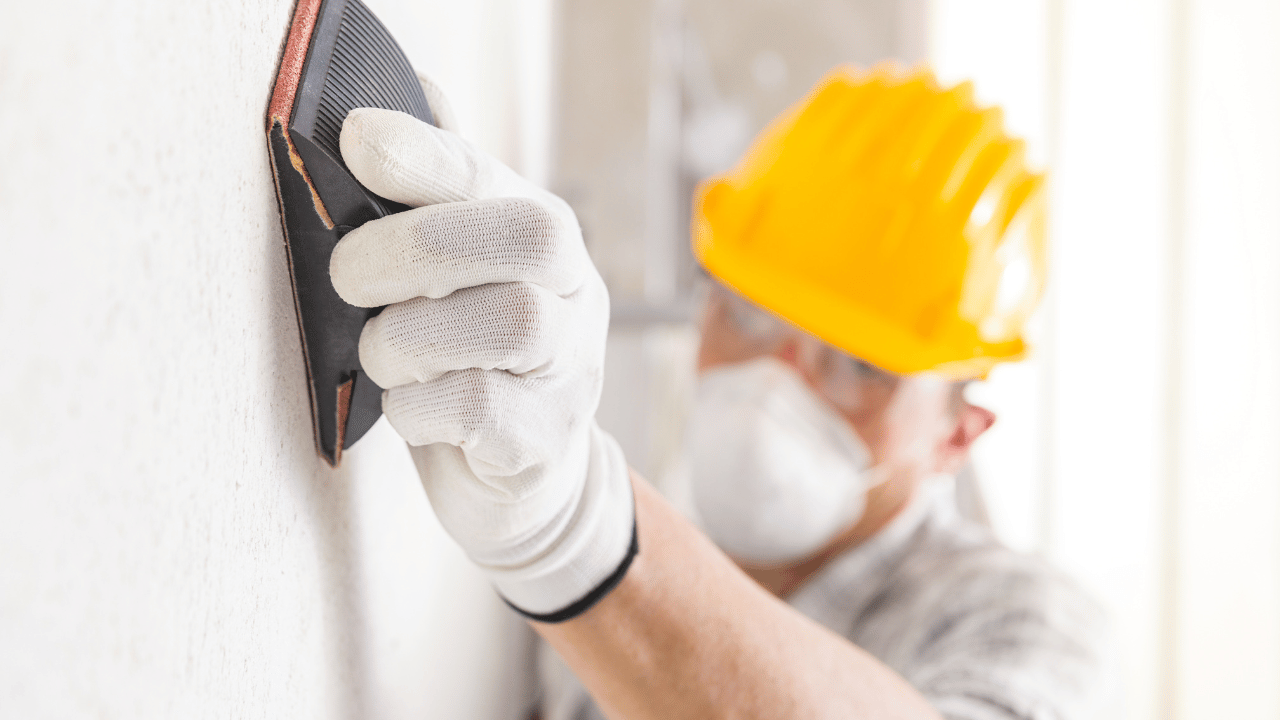
Sanding for a Smooth Finish
While not all paint projects require sanding, it’s vital for addressing rough spots and uneven surfaces on the walls. Sanding ensures the new paint adheres smoothly, enhancing the quality and longevity of your paint job. If you’re dealing with a surface previously painted with gloss or high-gloss paint, sanding is especially important. For water-based paint, use a fine-grit sandpaper, while a medium-grit is recommended for oil-based paint. Once done, remember to wipe away all dust and debris with a damp cloth and let the surface dry thoroughly.
When you encounter cracking or flaking paint, it’s typically a sign of inadequate surface preparation from prior paint jobs. In such cases, remove the flaky paint through sanding or scraping before repainting.
Primer: The Unsung Hero of a Perfect Paint Job
Think of primer as the foundation upon which your colorful walls are built. Primers serve multiple functions—they cover up imperfections, provide a smooth surface for paint to adhere to, and ensure a uniform finish. Various primers are designed to meet specific needs, from covering surface stains to adhering to different types of materials.
A Note on Painting Over Wallpaper
Painting over wallpaper is not advisable, particularly if the wallpaper has a textured or high sheen finish. These features can compromise the appearance and quality of the new paint job. It is usually best to hire a painting contractor to remove the wallpaper. However, if you’re committed to doing it yourself, there are detailed how-to articles available to guide you through the process.
Industry Advice on Cleaning Interior Walls
Leading paint manufacturers emphasize the importance of cleaning walls before the painting process. Their insights offer valuable guidance:
- PPG suggests a simple approach: Ensure that walls are free from dust and dirt by wiping them down.
- Behr recommends a more thorough cleaning for stubborn stains. If walls are stained with oil, grease, or wax, using a sponge dampened with a mild detergent is ideal. After applying, it’s crucial to rinse with clean water and let the surface dry.
- Benjamin Moore advises that while most walls can be cleaned with warm water and a sponge, surfaces like kitchen walls that are exposed to oil or grime may require a bit more effort. Utilizing a water solution mixed with a grease-cutting detergent is the way to go. It’s essential to follow up with clean water to ensure no cleaning residue remains. Concluding the process with a damp cloth wipe-down ensures the best results.
- Sherwin Williams emphasizes the importance of removing grime, cobwebs, dust, and stains that might hinder paint adherence. They suggest using lukewarm water combined with mild soap and a gentle, circular scrubbing motion. Finalizing the cleaning with a rinse using a slightly damp cellulose sponge ensures a pristine surface.
- Valspar provides a step-by-step approach: Begin by using a sponge mop to thoroughly clean ceilings and walls with a mixture of TSP and water. Ensuring a thorough rinse and allowing surfaces to dry is crucial. The final step involves cleaning walls and moldings from top to bottom using either sponges or rags.
While these recommendations stress the importance of a clean surface for optimal painting results, many often overlook or abbreviate this vital step. Even among professionals, meticulous wall cleaning isn’t always the norm.
The Professional Painters’ Perspective on Wall Cleaning
It’s noteworthy that many professional painters aren’t fans of washing walls. There are several reasons for their reluctance:
- Focus on Painting: Primarily, painters are experts in painting, not cleaning. They’re keen on getting straight to the task they specialize in.
- Time Constraints: Cleaning can be time-consuming. Since time is money in the service industry, washing walls might reduce their potential earnings unless they’re compensated for this additional effort.
- Alternative Methods: Many professionals might not wash walls, but they prepare them in other ways. A popular method is pole-sanding flat surfaces using fine-grit sandpaper. This light sanding method is effective in removing sticky residues, reducing surface gloss, and smoothing out minor textural irregularities.
For those seeking to hire a painter, it’s recommended to either negotiate the inclusion of wall cleaning in the service, hire a separate cleaning service, or take on the task personally. Proper preparation ensures that the paint job will be both beautiful and long-lasting.
Criteria for Omitting the Wall-Washing Step
While preparing walls for painting usually involves thorough cleaning, there are certain scenarios where you can potentially skip the exhaustive washing process. To consider avoiding this step, ensure that your surfaces align closely with the majority of the following criteria:
- The walls are free from excessive dust.
- There are no visible crayon marks or grease stains.
- The house doesn’t have a wood-burning fireplace.
- The walls are mostly untouched by hands.
- The house does not have pets.
- The room isn’t a kitchen or bathroom where cooking or bathing occurs.
- Only vertical surfaces are involved, as trim work and ledges always need washing.

Potential Rooms for Relaxed Preparation
Given the criteria, there are certain rooms that might not necessitate an intense washing process:
- A living room with minimal activity and a recent paint job.
- A primary bedroom primarily occupied by adults.
- A dining room exclusively used for dining, with no cooking activities.
- A dedicated home office space.
- A well-maintained family room that doesn’t feature a wood-burning fireplace.
- A powder room primarily used for hand-washing and other restroom activities.
However, even if these rooms seem immaculate, it’s essential to give them at least a quick wipe-down to clear any loose dust before diving into painting. This ensures that the paint adheres properly and lasts longer.
Proper Wall Cleaning Before Painting
Washing your walls stands as an imperative step in the painting journey. When overlooked or done inadequately, it might mar the outcome due to the paint’s inability to properly adhere to an unclean surface. Over the years, walls tend to accumulate dust, dirt, and grime. To pave the way for a pristine, enduring paint finish, a thorough cleaning is mandatory.
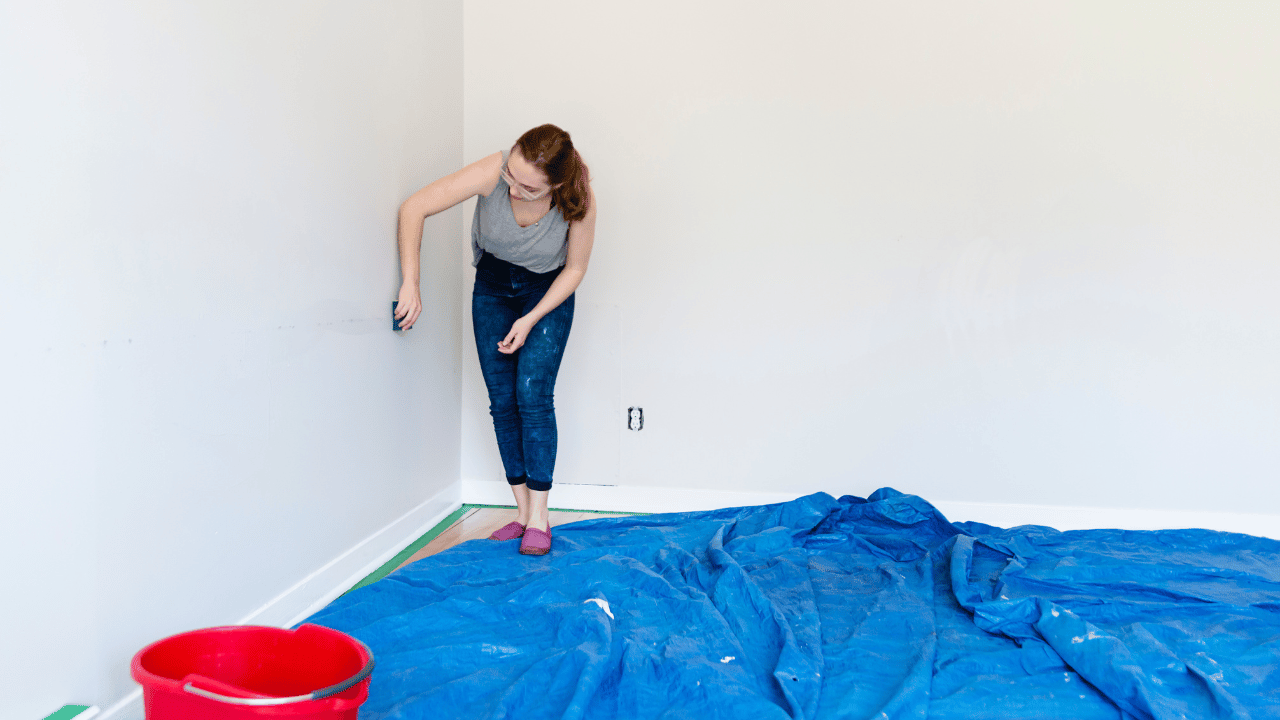
Firstly, prepare your space: relocate any room decor to a central location, secure electrical outlets with masking tape, and ensure the room is safe from any electrical hazards. To begin the actual cleaning, dust the walls using either a vacuum or a microfiber cloth. Next, gently wash the walls with a damp sponge, working your way from the bottom to the top. Focus especially on the midsection where marks and stains predominantly appear. The goal is to wash a whole wall consistently, employing the same technique throughout.
Choosing Safe Cleaning Agents
It’s paramount to approach wall cleaning with caution, especially when prepping for a paint job. Regrettably, many homeowners unintentionally employ harsh chemicals that inflict lasting damage. Fortunately, heavy-duty chemicals are often unnecessary.
For most walls, warm soapy water proves to be both effective and gentle. Begin by lightly scrubbing the wall from bottom to top. If basic cleaning falls short, a homemade mix of distilled white vinegar and warm water might do the trick. Persistent stains can often be tackled with a paste made of baking soda and warm water, applied gently with a clean cloth.
For those rare times when stains persist, trisodium phosphate (TSP) might be required. However, handle it with care, ensuring you wear safety gear and follow the prescribed dilution. It’s also essential to remove any flaking paint with tools like a putty knife before cleaning.
Comprehensive Wall Painting Preparation
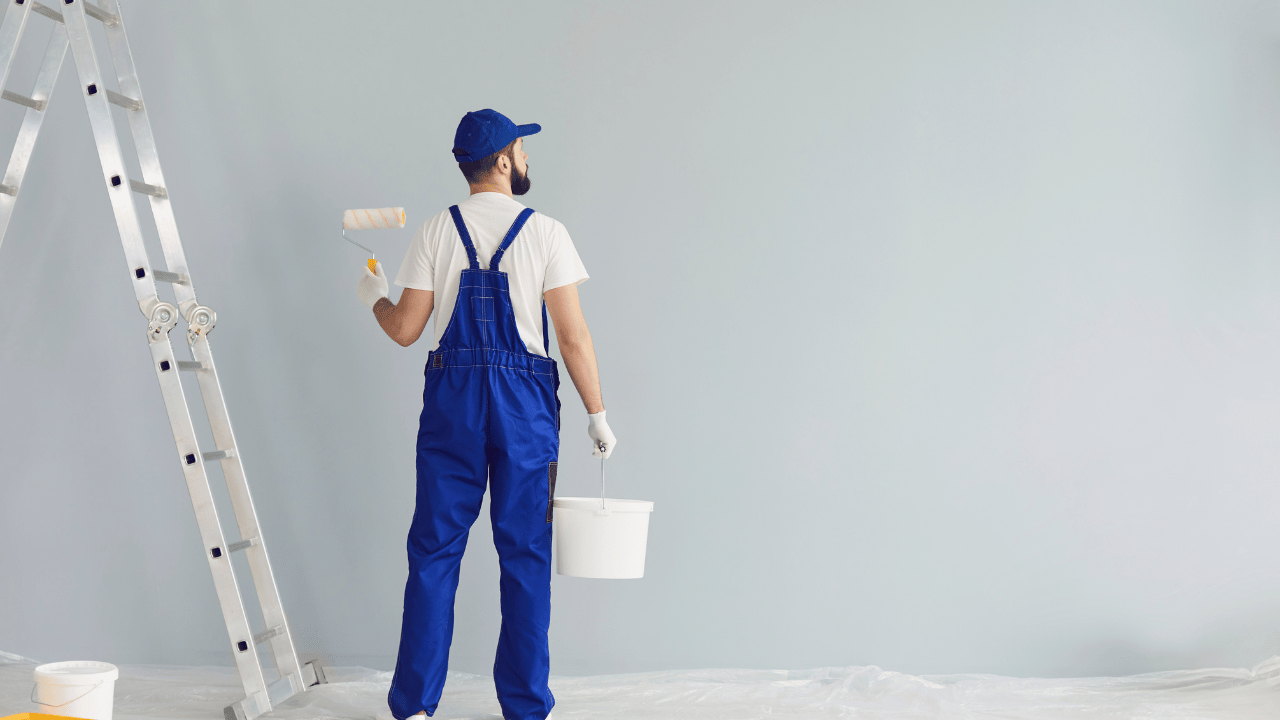
Embarking on a painting project starts with selecting the right paint and the tools to match. The market offers various paint types, each catering to specific needs. For instance, latex paints are excellent for walls and masonry due to their ease of application and sheen, while oil-based paints boast of stellar adhesion and stain resistance. The paint finish, whether flat, satin, or glossy, can further refine the aesthetic.
Equally important is choosing the right brushes. While natural brushes pair well with oil-based paints, acrylic brushes complement latex paints. Depending on the area size, you might require wide brushes or narrow, angled ones for detailed work.
Preparation extends beyond paint selection. Remove any room fixtures, and use drop cloths or tarps to safeguard your furniture. Masking tape can help protect areas you don’t intend to paint. Good ventilation is crucial, so ensure windows are open, especially if using oil-based paints. Always start with a clean surface, addressing any wall imperfections and using primer to guarantee a flawless, vibrant result.
Conclusion
The art of painting goes beyond just the brush strokes and color choices. The preparation, particularly the cleaning of walls, plays an instrumental role in the final result. Ensuring your walls are pristine and adequately prepped not only guarantees the paint will adhere correctly but also ensures the finish is smooth, long-lasting, and professional-looking. A meticulous approach to cleaning and prepping may require an investment of time and care, but it’s a small price to pay for the impeccable transformation that awaits. So, before diving into the painting process, remember: a clean canvas lays the groundwork for painting perfection.