
Last Updated on October 21, 2023 by Pro Handyman Australia – Editorial Team
The world of home improvement offers a plethora of techniques and skills waiting to be uncovered by enthusiasts and professionals alike. Among these, the process of taping and mudding drywall stands out as a fundamental skill, essential for ensuring seamless walls ready for paint or wallpaper. Whether you’re diving into a full-fledged renovation or just patching up a small area, understanding the intricacies of this technique can make all the difference between a smooth finish and a bumpy wall. This guide delves deep into the art of taping and mudding, simplifying the steps for beginners while also offering tips and tricks that even seasoned DIYers might find enlightening. Let’s embark on this journey of transforming bare drywall into a polished masterpiece!
Attaining a flawlessly flat surface in your construction or renovation project is more of an art than a mere process. “Mudding” might sound chaotic, but when executed properly, it results in a smooth wall surface, making the seams invisible. While professionals often make it appear effortless, it’s essential for DIY enthusiasts to grasp the technique, the necessary tools, and, most importantly, the right type of mud. This guide will introduce you to the world of drywall mudding and its intricacies.
Understanding Drywall Mud Varieties
When diving into a drywall project, one may encounter different types of drywall mud available in the market. Making the right choice can be daunting, but understanding each type’s characteristics and applications will make the decision easier.
Premixed Varieties
Premixed joint compounds are convenient, as they come pre-blended with water and present a smooth, ready-to-apply consistency. Here are the different types within this category:
- All-purpose Mud: As the name suggests, this variant is versatile and well-suited for a broad range of mudding applications. It is beginner-friendly due to its smooth application and typically starts hardening within a few hours. The drying time can vary depending on the room’s ambient temperature and humidity.
- Topping Mud: This is primarily used for the final top coat. Its primary advantage is its ease of sanding and a bright white finish, making it apt for walls destined for lighter paint shades. However, due to its limited adhesion properties, it isn’t recommended for initial coats.
- Lightweight All-purpose Mud: This dries in a lighter shade, rendering it perfect for walls that will receive a light paint hue. Some professionals prefer using regular all-purpose mud for the initial application and then transition to this lightweight variant for subsequent coats.
Powdered Forms
Powdered drywall mud, often referred to as “setting mud” or “hot mud,” distinguishes itself with chemicals that expedite the hardening process once mixed with water. Here are its distinguishing features:
- Quick Hardening: This mud is less prone to shrinking compared to its premixed counterpart. Due to its rapid setting nature, it’s ideal for tasks such as pre-filling considerable wall gaps or rectifying crushed drywall corners before commencing the primary mudding stage.
- Timed Variants: One unique feature of setting mud is its timed hardening property. The packaging often indicates the maximum working time before it sets, ranging from rapid 5-minute mud to the extended 20-minute version. It’s essential to mix only the required amount and ensure tools are cleaned intermittently during the process.
- Sandability Factor: A common concern with some setting muds is their propensity to harden into tough ridges, which can be labor-intensive to sand down. To circumvent this issue, it’s prudent to opt for varieties labeled as easy-to-sand. This ensures a smoother finish without excessive effort.
By understanding these distinctions, you can confidently select the right drywall mud for your specific project needs. Whether you’re a novice or a seasoned DIY enthusiast, making informed choices ensures a smoother application and a polished end result.
Choosing the Right Drywall Tape
Tape is a crucial component in mudding, ensuring a crack-free finish. The common tape varieties include paper, mesh, and preformed. Each type has its advantages and challenges.
- Paper tape is a favorite among professionals due to its thin profile, which ensures seamless joints. It also features a central crease that facilitates forming precise wall corners. However, mastering the technique to prevent bubbles beneath is a skill acquired over time.
- Mesh tape, manufactured from fiberglass threads, is adhesive-backed. It’s relatively easy to place over a joint before applying mud. But its thickness might result in prominent joints post painting.
- Preformed tape, suitable for outside wall corners, offers a consistently smooth appearance. Depending on the material, it might require adhesive or nails for attachment. For those hesitant about taping outside corners using conventional paper tape, preformed tape can be a reliable alternative.
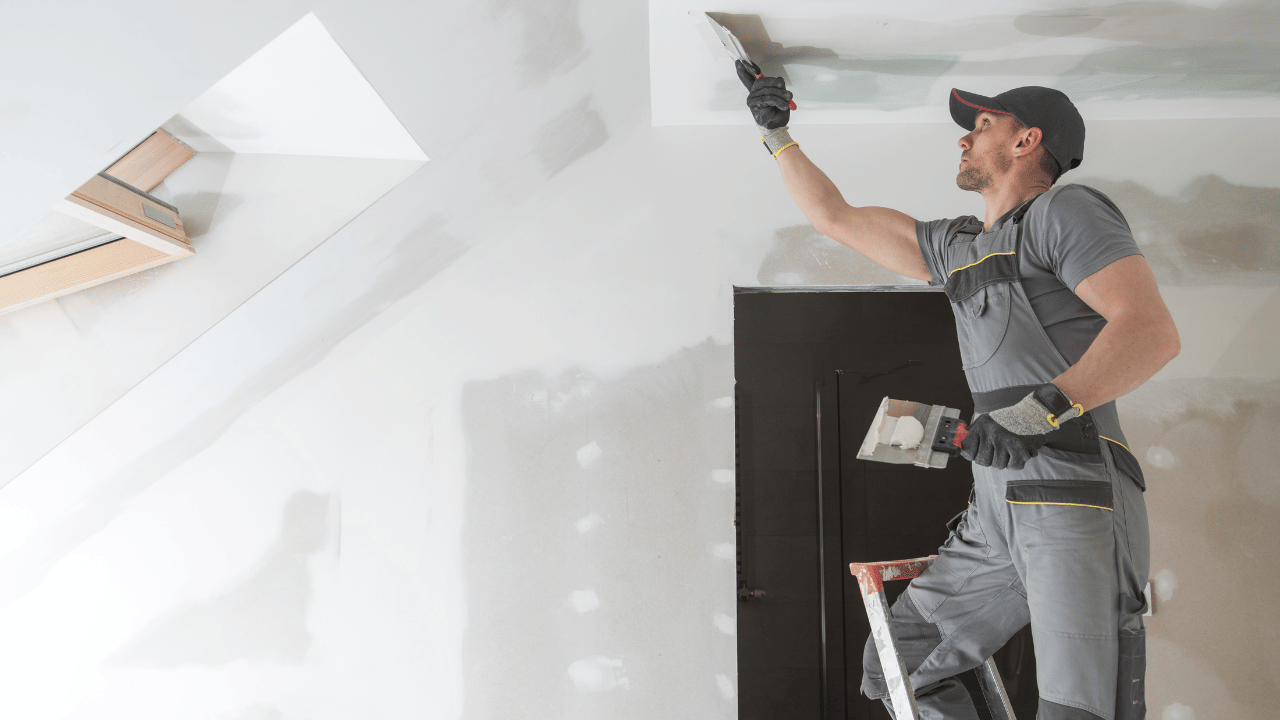
Mastering the Technique of Taping and Mudding Drywall
Taping and mudding drywall is an art form in itself. When done with precision, it can render walls with a smooth and seamless appearance. For optimal results, paper tape is recommended, but if mesh tape is your preference, we’ve included some valuable tips too. Here’s your comprehensive guide:
Essential Tools & Materials: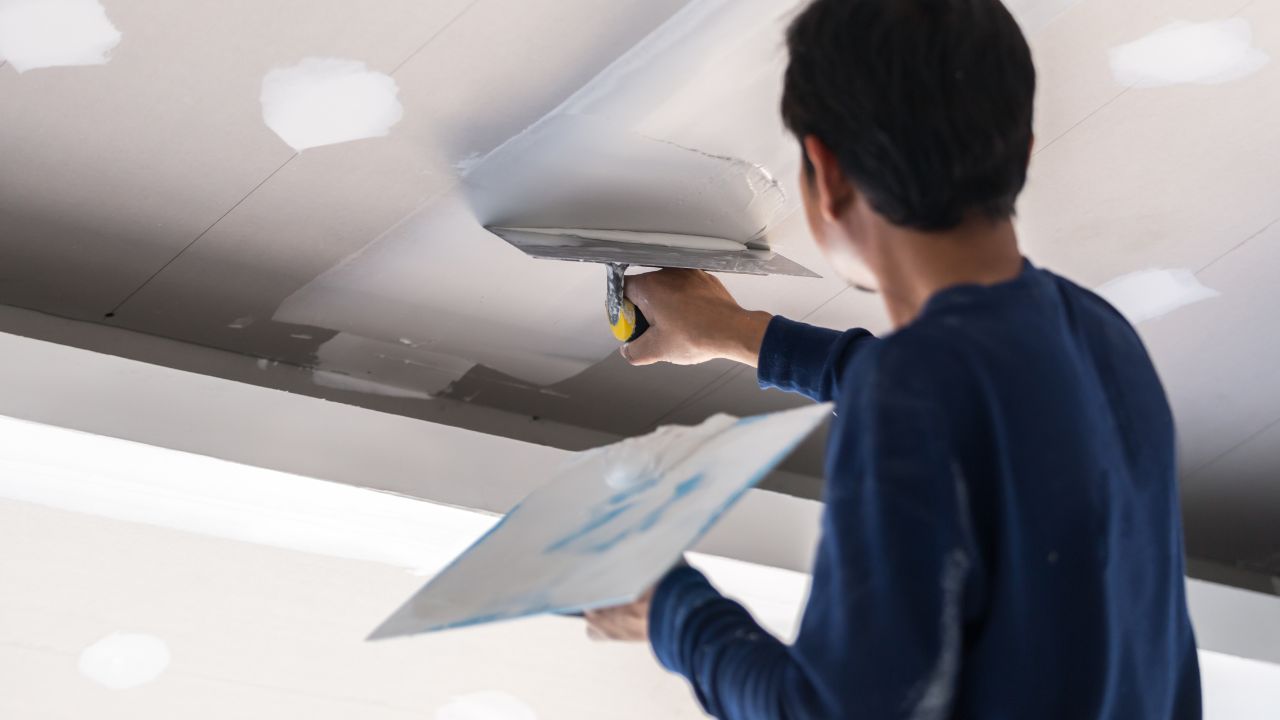
Equip yourself with the following tools and materials to get started:
- A canvas drop cloth (preferably, as plastic variants can be slippery)
- Safety goggles
- Respirator mask
- Drywall mud (premixed or powdered)
- A heavy-duty drill with a paddle bit attachment
- Large plastic bucket and a 5-gallon water bucket
- Mud pan
- Drywall taping knives (6-inch and 10-inch)
- Inside-corner taping tool
- Drywall pole sander and power drywall sander
- Nylon bristle brush
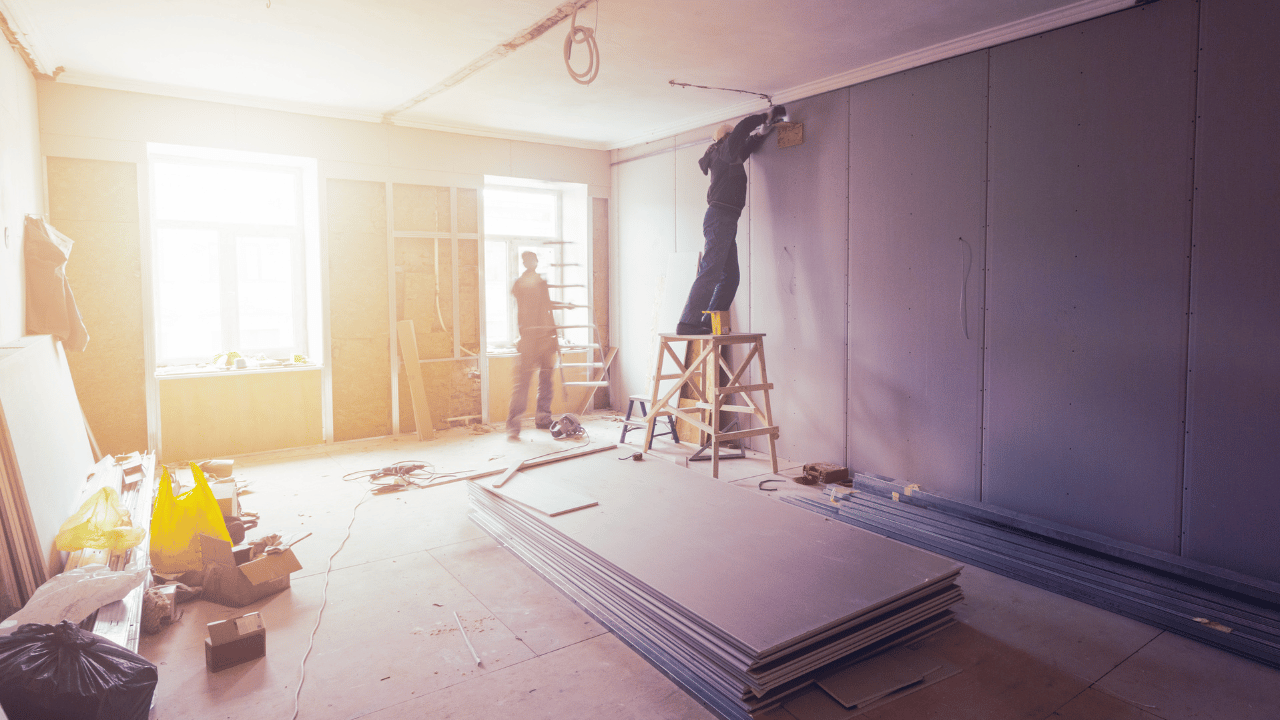
Starting Off: Prepping Your Workspace
Safety first! Lay down your canvas drop cloth to protect the floor from splatters, and suit up in safety goggles and old clothing. As mudding can get messy, it’s crucial to shield your eyes from potential splatters.
Mud Preparation:
If you’ve opted for premixed mud, it’s ready to go. However, for powdered setting mud, follow the manufacturer’s instructions to mix it to the right consistency, using a drill with a paddle bit.
Laying the First Coat:
Drywall panels typically have slight bevels along their longer sides. These bevels, when joined, form a minor indentation, approximately 2 inches wide. Use the 6-inch taping knife to apply and evenly spread the mud, ensuring it fills the indentation.
Bedding the Tape:
While the freshly laid mud is still wet, cut a piece of paper tape and place it over the joint. Smooth out the tape using the 6-inch taping knife, ensuring no bubbles are formed, and wipe away excess mud.
Tackling Inside Corners:
Apply a thin layer of mud to both sides of an inside corner, ensuring it reaches the center. After cutting, folding, and fitting a strip of pre-creased paper tape into the corner, use your taping knife or the inside-corner tool to smooth out the tape. Ensure it’s well-embedded in the mud without moving out of place. Wipe away any surplus mud.
Addressing Outside Corners:
For those using preformed tape corners, attach them following the manufacturer’s guidelines. Once attached, apply mud over the corners in long vertical strokes to create sharp, uniform edges.
Managing Butt Joints:
In cases where drywall sheets don’t span the entire room, you’ll encounter butt joints. These joints, without any beveled indentations, can be tricky. Handle them as you did the beveled joints, using just enough mud to fill the joint and embed the tape.
Second and Third Coats:
After the first coat dries, it’s time for the second one. Apply it to the screw indentations, beveled joints, and both inside and outside corners. However, for this round, only mud is needed — no additional tape. Ensure you spread a thin layer and remove excess mud. For butt joints, utilize the 10-inch knife to apply mud on both sides of the original joint to enhance wall depth and reduce the seam’s appearance.
Once the second coat dries, proceed with the third. This time, use the 10-inch knife to apply a very thin layer of mud across all areas, ensuring it’s feathered out to the edges for a seamless look. This technique applies to both beveled joints and corners. For butt joints, spread a thin layer over the earlier coats to attain a consistent finish. Typically, the mud swath for butt joints could stretch to 2 feet or more.
Perfecting the Final Touches on Butt Joints
After letting the mud dry, it’s essential to give special attention to the butt joints by applying one final thin coat of mud. Ensure that the edges are feathered out immaculately and allow the mud to dry thoroughly. A frequently asked question when mudding is about the drying duration. Generally, most drywall mud types require approximately 24 hours to dry. However, it’s always wise to consult the label of your specific product for detailed drying time information.
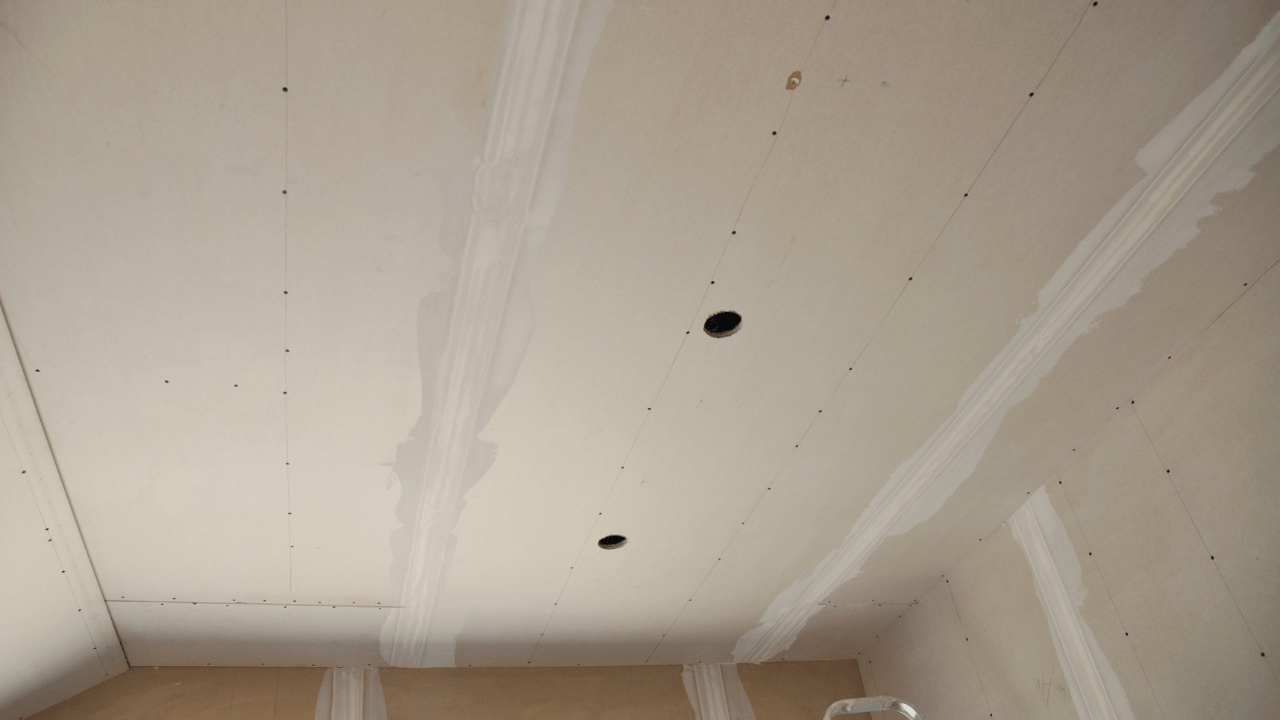
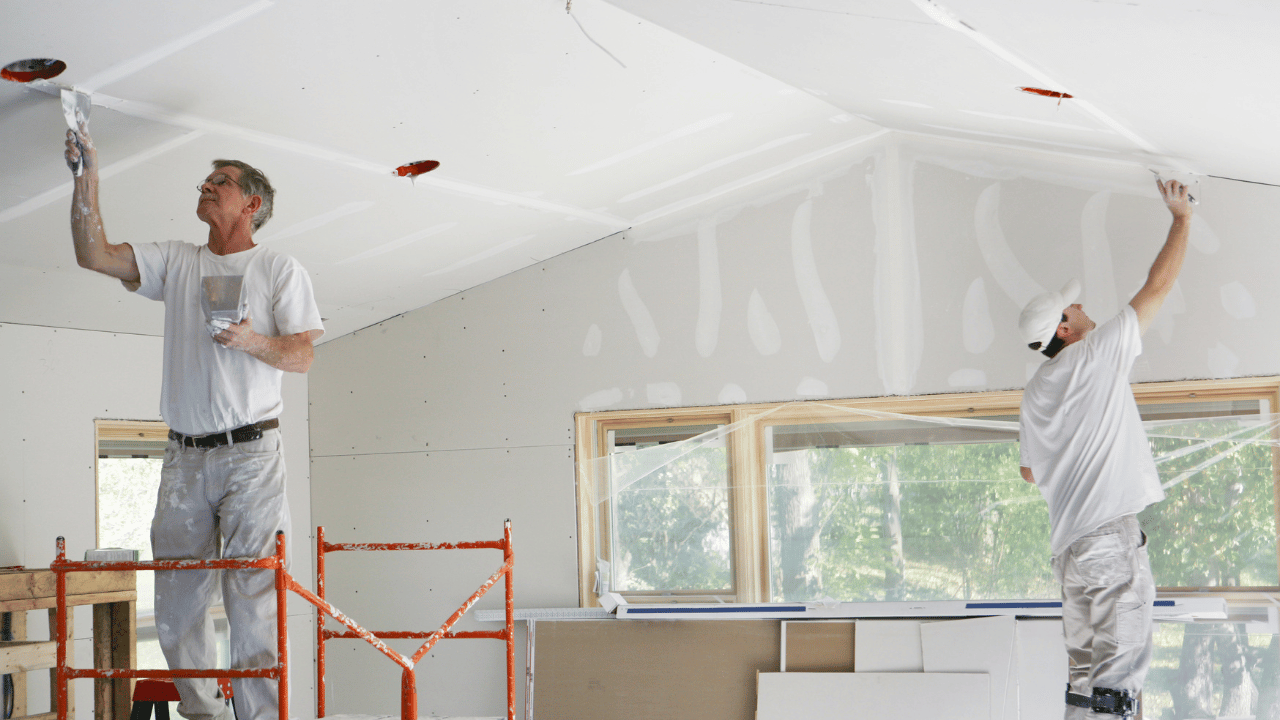
Achieving a Smooth Finish Through Sanding
Before you embark on this step, make sure you are wearing protective gear: a respirator mask and goggles. To get the perfectly smooth wall you’re aiming for, it’s necessary to sand down all the joints and indentations. For this task, a drywall pole sander would suffice. But if you’re looking to reduce airborne dust substantially, consider renting a power drywall sander from a nearby construction rental outlet. Once you’ve sanded the walls to perfection, they are primed and ready for painting or wallpaper application.
Mudding Drywall Using Mesh Tape: A Different Approach
Mesh tape offers a unique approach compared to its paper counterpart. What sets self-adhesive mesh tape apart is its application method. Instead of bedding it in wet mud like paper tape, you apply mesh tape directly over the seams. When you subsequently spread mud over it, an adequate quantity permeates through the mesh and seals the seam beneath.
The sequence of taping remains consistent: Start with screw indentations and beveled joints, then tackle inside and outside corners, and finally address the butt joints. It’s worth noting that while mesh tape is perfect for flat joints, it’s not recommended for corners. For best results in those areas, opt for pre-creased paper tape for inside corners and preformed tape for outside corners.
Addressing Drywall Taping and Mudding Challenges

Drywalling might seem like a straightforward process, but several challenges might arise during the taping and mudding phase. Here are some common problems and their solutions:
Uneven Inside Drywall Corners
A common issue encountered is when the inside drywall corners appear jagged or not perfectly straight.
- Solution: Instead of solely relying on the conventional all-paper tape, consider using metal-reinforced corner tape. This unique tape fuses a metal angle with paper flanges, resulting in impeccably shaped and smooth inside corners. The built-in metal ensures your drywall knife maintains a straight line during the taping process. The same approach is suitable for taping and mudding drywall ceiling corners as well.
Delicate or Rough Outside Drywall Corners
The fragility or coarseness of outside drywall corners can be a concern for many.
- Solution: Rather than defaulting to standard paper options, opt for metal or plastic outside corner beads. These beads are not only durable but also simplify the installation process compared to paper-only corners. For outside corners in low-traffic areas, like bulkheads or skylight shafts, paper tape suffices. However, for frequently accessed areas, it’s advisable to employ a more rigid bead.
Premature Drying of Drywall Mud
A frequent challenge is the premature drying of drywall mud, leading to poor adhesion of the tape.
- Solution: Prepare in advance. Before applying the joint compound, measure, cut, and pre-crease your paper drywall tape. This pre-preparation will save valuable time and enhance adhesion. If you’re utilizing metal-reinforced tape, have it measured and cut prior to mudding, ensuring all materials are ready for immediate application.
Visibility of Drywall Tape Beneath Mud
An often-faced issue is the drywall tape being visible through the mud, indicating a thin layer.
- Solution: Adopt a three-layer approach comprising a tape coat, filler coat, and final coat. The tape is expected to be visible after the filler coat application. If it’s completely concealed, the filler coat might be overly thick. The tape gets fully covered during the final coat(s) application. If the tape remains visible after the initial final coat, you can apply additional thin layers until it’s concealed.
By anticipating these challenges and having solutions at hand, you’ll achieve a smoother finish and avoid common pitfalls associated with drywall taping and mudding.
Conclusion
The process of taping and mudding drywall, while seemingly straightforward, is truly an art form that requires precision, patience, and a clear understanding of the materials and techniques involved. Whether one is opting for the traditional paper tape or navigating the unique properties of mesh tape, achieving that flawlessly smooth wall is a testament to the meticulous steps and dedication invested in the project. This guide not only offers a comprehensive blueprint for both beginners and seasoned DIY enthusiasts but also underscores the importance of each step, ensuring that the final outcome is both durable and aesthetically pleasing. So, the next time you’re faced with a room awaiting its finishing touches or a renovation project, remember that with the right tools, knowledge, and a touch of patience, you can transform those raw drywall sheets into a seamless canvas, ready for paint, wallpaper, or any decorative endeavor you envision.