Last Updated on September 4, 2023 by Pro Handyman Australia – Editorial Team
Understanding the Spectrum of Wall Defects
The imperfections on your walls can range from minor dents to more significant holes. Regardless of the severity of the surface defect, there are multiple strategies available to patch and repair drywall effectively.
Preparing Your Workspace and Tools
Always make sure that you have everything in your workspace before beginning the drywall repair procedure. A clean and organized area to work in is necessary, as this will make the task much more manageable.
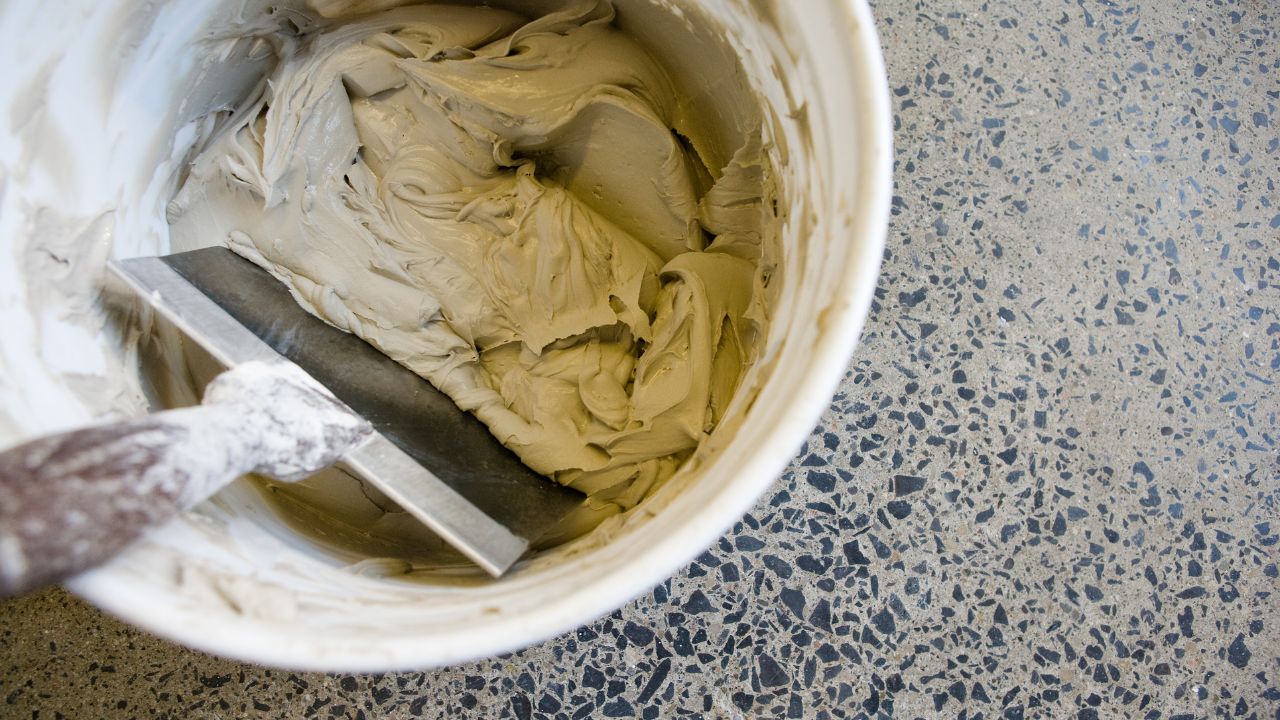
When tackling drywall repairs, it’s crucial to have the appropriate tools and materials at hand. For repairing very small holes and dents in drywall, the basic tools you’ll require include a putty knife and a paintbrush. If you’re addressing small holes, you’ll need the same tools—namely, a putty knife and a paintbrush.
For larger holes, your tool arsenal needs to expand. You’ll require a measuring tape, utility knife, pencil, drywall saw, drill, putty knife, and of course, a paint brush to achieve a seamless finish.
Required Materials Tailored to the Type of Repair
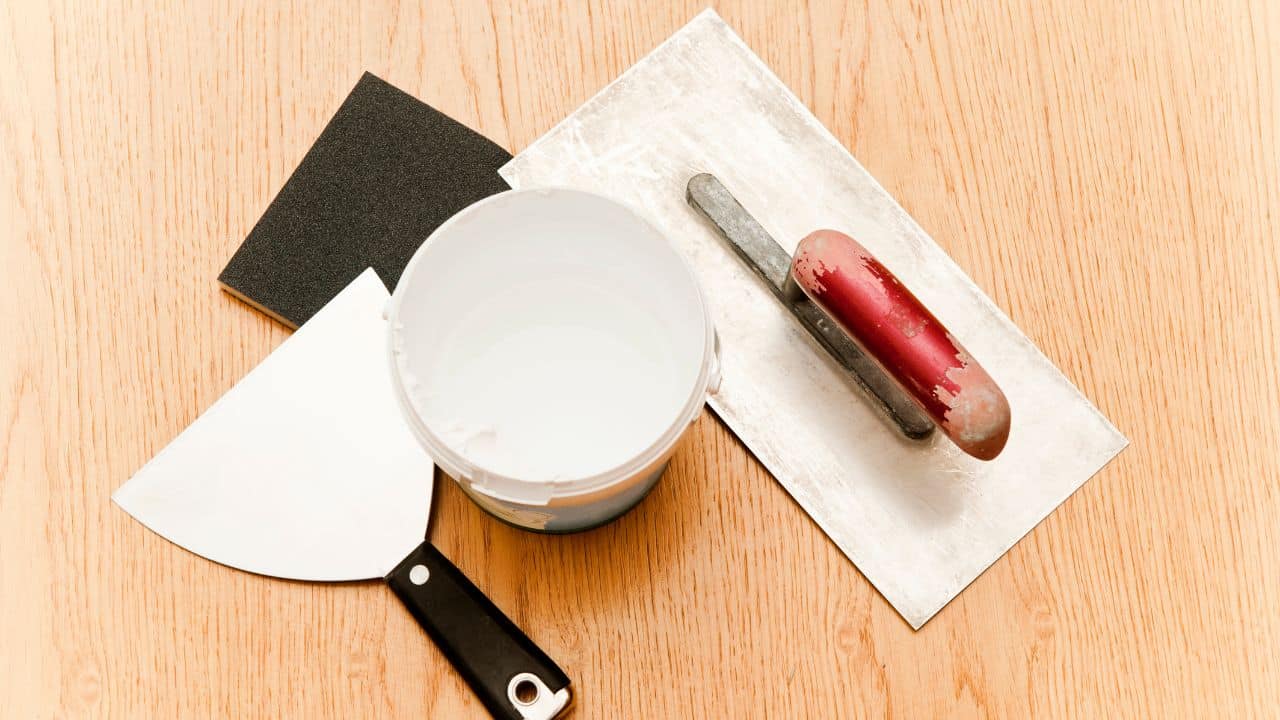
The tools you’ll need will rely on the kind of repair you’re undertaking. For very small holes and dents, spackle, sandpaper, and paint are typically sufficient.
For small holes, a patch kit can come in handy. You’ll also need spackle or joint compound, sandpaper, primer, and paint. These materials will provide a sturdy, lasting repair that matches with the rest of the wall.
For large holes, the list of materials gets a bit more extensive. You’ll require a piece of drywall for the patch, furring strips to provide additional support, screws to secure everything in place, and drywall tape to aid in seamlessness. Joint compound, sandpaper, primer, and paint are also required to finish off the job with a professional touch.
Prioritize Your Painting Objectives
Firstly, clarify your end goal for the painting project. Are you planning to refresh the entire wall, or are you merely focused on touching up the areas you’ve patched? For minor repairs like tiny nail holes, a quick dab of touch-up paint applied with a soft cloth may suffice to blend the patched areas with the existing wall color.
Considerations for Large-Scale Patchwork
If your project involves patching a significant number of holes or other forms of damage, it’s crucial to prime the patched walls before proceeding with the final paint coat. This step is particularly important if you’re opting for a paint finish with a semi-gloss or higher sheen level. Always remember that glossy finishes make the variations in surface texture stand out, so the patches are more noticeable if not appropriately primed.
Assessing the Financial Aspects of a DIY Drywall Patch
When you decide to embark on a do-it-yourself drywall patching project, it’s prudent to consider the financial aspects involved. The basic materials for the job, such as spackle or joint compound, drywall patches, and furring strips, will usually set you back around $45. However, it’s essential to remember that this estimate does not cover the cost of specialized tools you may require like the utility knife, drywall saw, putty knife or screw gun. Additionally, you’ll need to budget for primer and paint, which typically cost between $15 and $35. Therefore, while patching drywall yourself can be cost-effective, it’s crucial to take into account all the associated costs to ensure a well-executed and budget-friendly project.
Addressing Small Dents and Dings Effectively
Begin by removing any loose debris from the hole or dent. Utilize a fast-drying spackle to fill the imperfection, ensuring that it’s level with the surrounding drywall surface. Allow the spackle to dry for 24 hours, or as recommended by the manufacturer, before sanding it smooth for a seamless finish.
Understanding and Repairing Popped Nail Heads
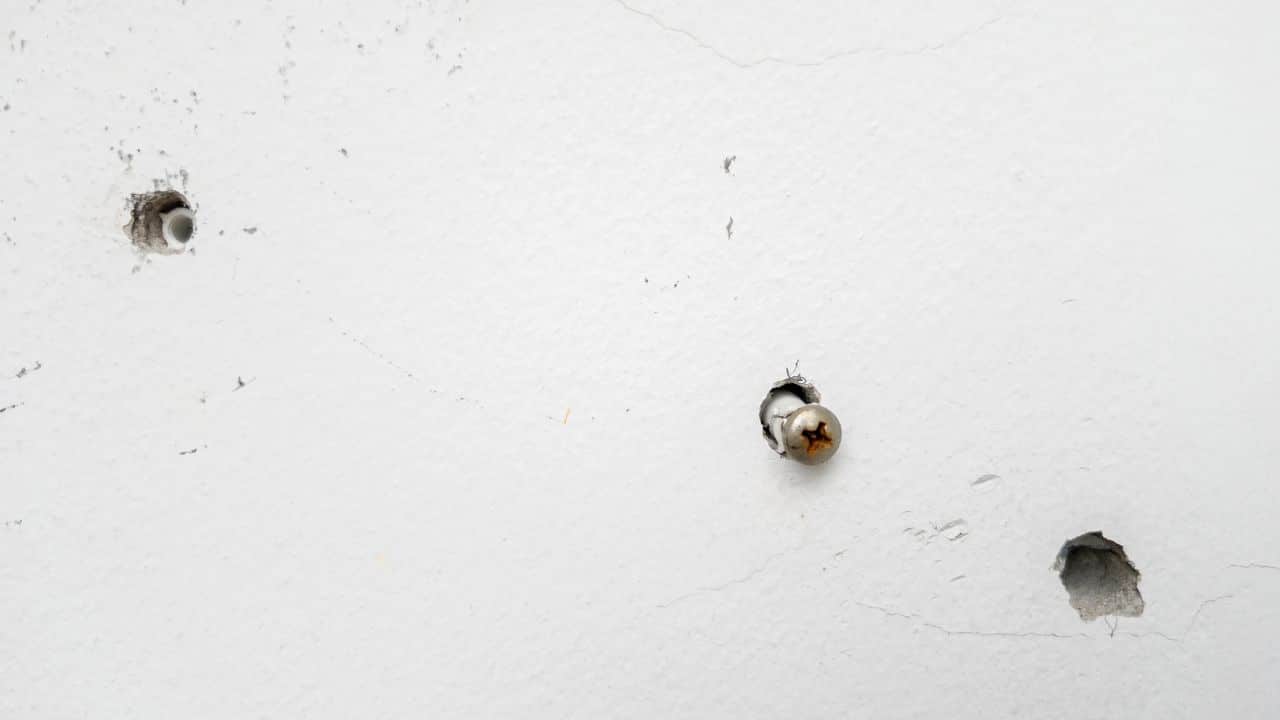
A popped nail occurs when the nail is no longer securely anchored in the stud, causing the nail head to protrude from the drywall surface.
Step 1: Reattaching Drywall to the Stud
As your first step in repairing a popped nail head, drive a drywall screw into the stud, positioning it approximately 1 1/2 inches above the protruding nail head. Make sure the screw head is slightly recessed below the drywall surface so that it can be adequately covered with spackle later.
Step 2: Securing the Protruding Nail
In this step, focus on pushing the popped nail back into its original position, ensuring it is anchored securely.
Step 3: Final Touches for a Smooth Surface
To finish the repair, cover both the recessed screw head and the nail head with a layer of spackle, leveling it with the rest of the wall. Allow the spackle to set for the duration recommended by the manufacturer. Once the spackle has fully dried, sand the area until it is smooth, completing the repair process.
Addressing Small Holes with a Patch Kit
Small holes, often caused by incidents like a doorknob smashing into the wall, can be efficiently repaired using a patch kit.
Step 1: Positioning the Self-Adhesive Mesh Patch
Begin by placing the self-adhesive mesh patch squarely over the hole to cover it completely. Make sure the patch adheres securely to create a stable base for the spackle or joint compound.
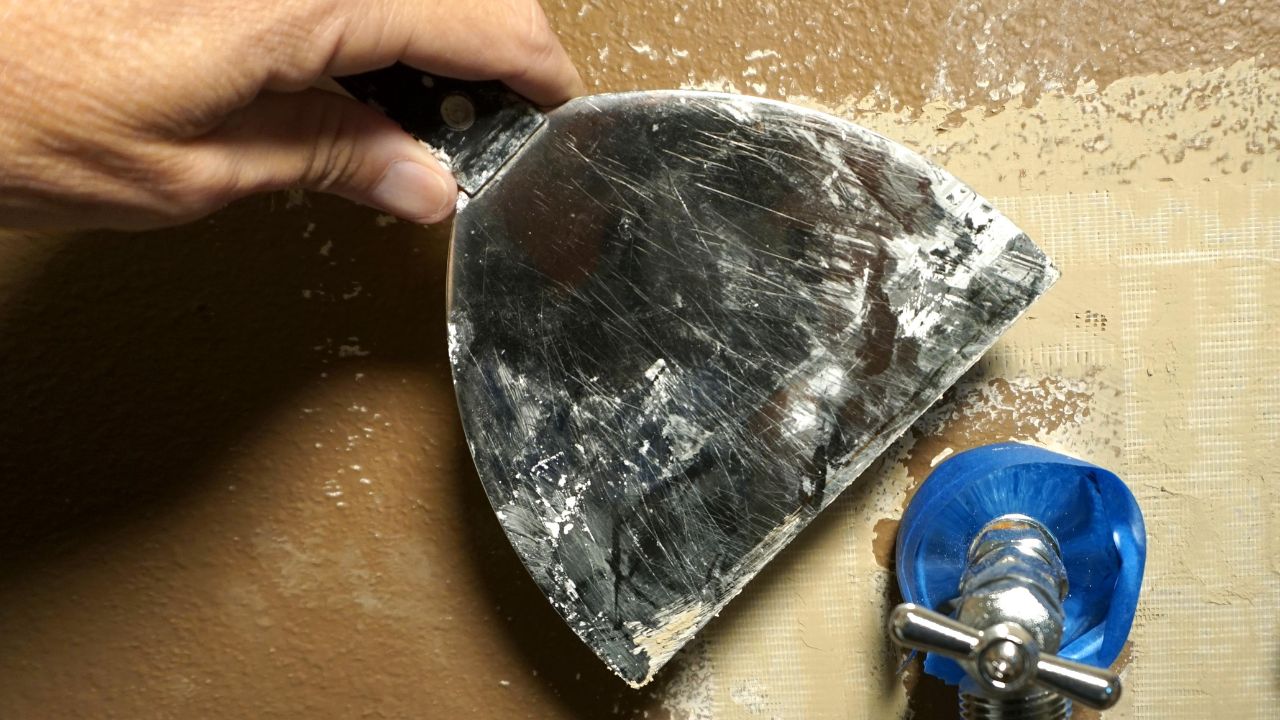
Step 2: Perfecting the Patch with Compound
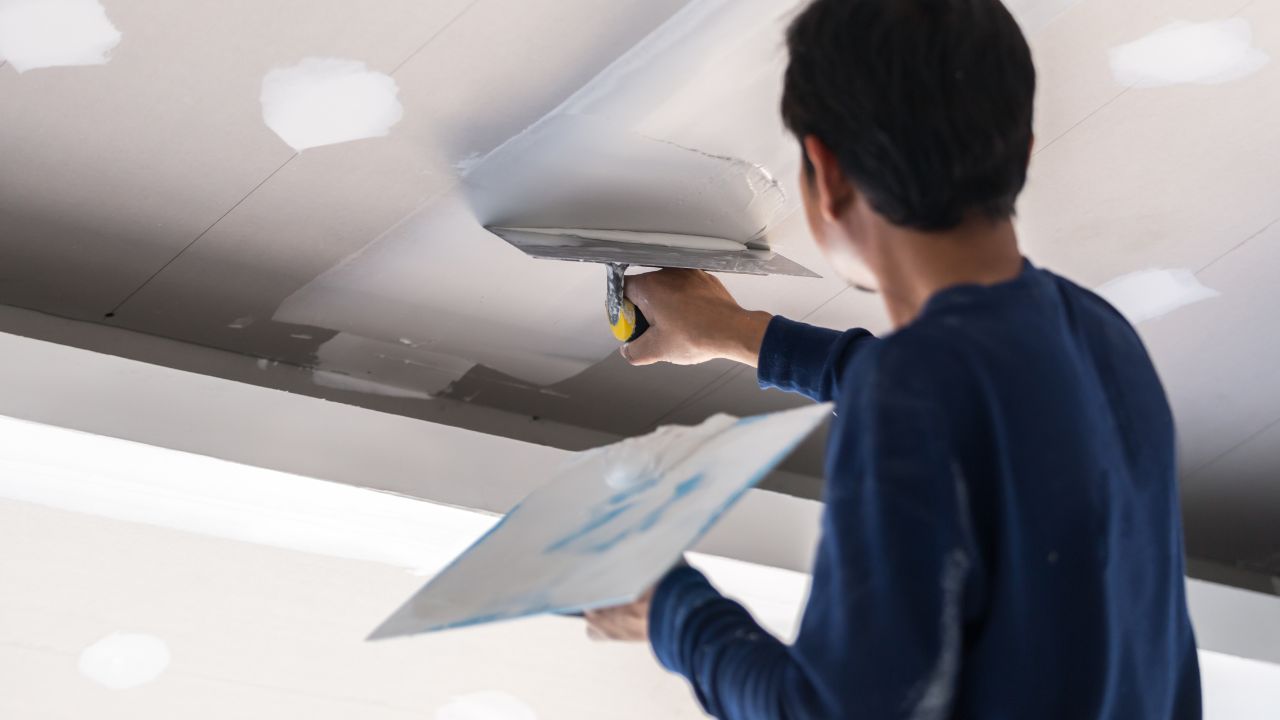
Use a drywall knife to apply a spackling compound or lightweight joint compound over the mesh patch. Employ a crisscross pattern in your application to ensure even coverage. Working on the outer edges of the patch will require you to increase both the pressure and the angle on the drywall knife. This technique, known as feathering, thins out the compound as it blends into the surrounding drywall, creating a smooth transition.
Step 3: Assessing the Need for a Second Coat
After the initial layer of compound has dried, evaluate the patch to determine if a second coat is needed for an even smoother finish. If so, apply the second coat and allow it to dry before proceeding to the final sanding stage. Once it’s dry, gently sand the area until it’s smooth, blending it seamlessly with the existing wall surface.
Repairing Medium-Sized Holes with the California Patch Method
Medium-sized holes, which are up to 6 inches in diameter, can be effectively repaired using a specialized technique known as the California Patch Method.
Step 1: Crafting the Ideal Drywall Patch
Begin by cutting a square piece of drywall that is two inches larger in both width and height than the hole you’re aiming to repair. This will ensure ample coverage and structural integrity for the patched area.
Step 2: Scoring for a Precise Break
Utilize a utility knife to score the backside of the drywall square approximately one inch from each side. This will prepare the drywall for the next step where you’ll snap off the gypsum.
Step 3: Removing the Gypsum Layer
Apply pressure along the scored lines to snap off the gypsum portion, taking care to leave the paper backing untouched. This will create a patch with a paper border, essential for the California Patch Method.
Step 4: Outline the Patch Placement on the Wall
Hold your gypsum square patch (without the paper border) over the hole and trace around it. Use this outline as your guide and proceed to cut out the traced square using a drywall saw, preparing the hole for the new patch.
Step 5: Securing the Patch
Apply joint compound to the paper border on the backside of your drywall patch. Insert the gypsum square into the hole you’ve just cut, then press the paper edges—which should be coated in joint compound—firmly into place around the perimeter of the hole.
Step 6: Perfecting the Surface with Joint Compound
Generously cover the entire patch area with joint compound, making sure to feather the edges for a smooth transition to the existing wall surface. The aim is to camouflage the demarcation lines between the patch and the surrounding wall.
Step 7: Assessing the Need for Additional Coating
Depending on the quality of the initial application, a second layer of joint compound might be necessary. If so, allow the first layer to dry thoroughly before applying the second coat. Upon drying, sand the area smooth to achieve a seamless finish, fully integrating the patch into your wall.
Mastering the Repair of Large Holes in Drywall

Large holes, those exceeding 6 inches, require a slightly different repair approach involving the use of furring strips for added stability.
Step 1: Preparing the Drywall Patch
To kick off your repair project, cut a slightly bigger square piece of drywall that will cover the hole you intend to fix. This will ensure a snug fit and better structural integrity for the repaired section.
Step 2: Outlining the Area for Repair
Hold the newly cut drywall square over the hole and trace its outline onto the wall. This will serve as your cutting guide in the next step.
Step 3: Creating the Receptacle for the Patch
Use a drywall saw to carefully cut along the traced outline. This will remove the damaged section and create a void to accommodate your new drywall patch.
Step 4: Securing Furring Strips for Added Support
Within the cut-out area, fasten a furring strip (a thin wooden strip) and screw it on each side. Ensure that the screw heads are buried slightly on the drywall surface to allow for a smooth finish later on.
Step 5: Affixing the Drywall Patch
Position your drywall patch over the hole, aligning it with the furring strips you’ve just installed. Screw the patch into the furring strips, again ensuring that the screw heads are sunk beneath the surface for a seamless look.
Step 6: Strengthening the Repair with Joint Tape
To reinforce the patch, apply mesh joint tape around its borders. This tape fortifies the connection between the patch and the surrounding wall, reducing any potential for future movement or cracking.
Step 7: Achieving a Smooth Finish with Joint Compound
Cover the mesh tape and the drywall patch with a layer of joint compound, making sure to feather the edges. This will create a smooth surface for the existing wall. Allow the compound to dry as per the manufacturer’s guidelines. If the surface texture isn’t quite perfect after the first coat, a second application may be necessary. After drying, sand the area until it is smooth, fully integrating the patch into the existing wall structure.
Expert Techniques for Repairing Damaged Corner Bead
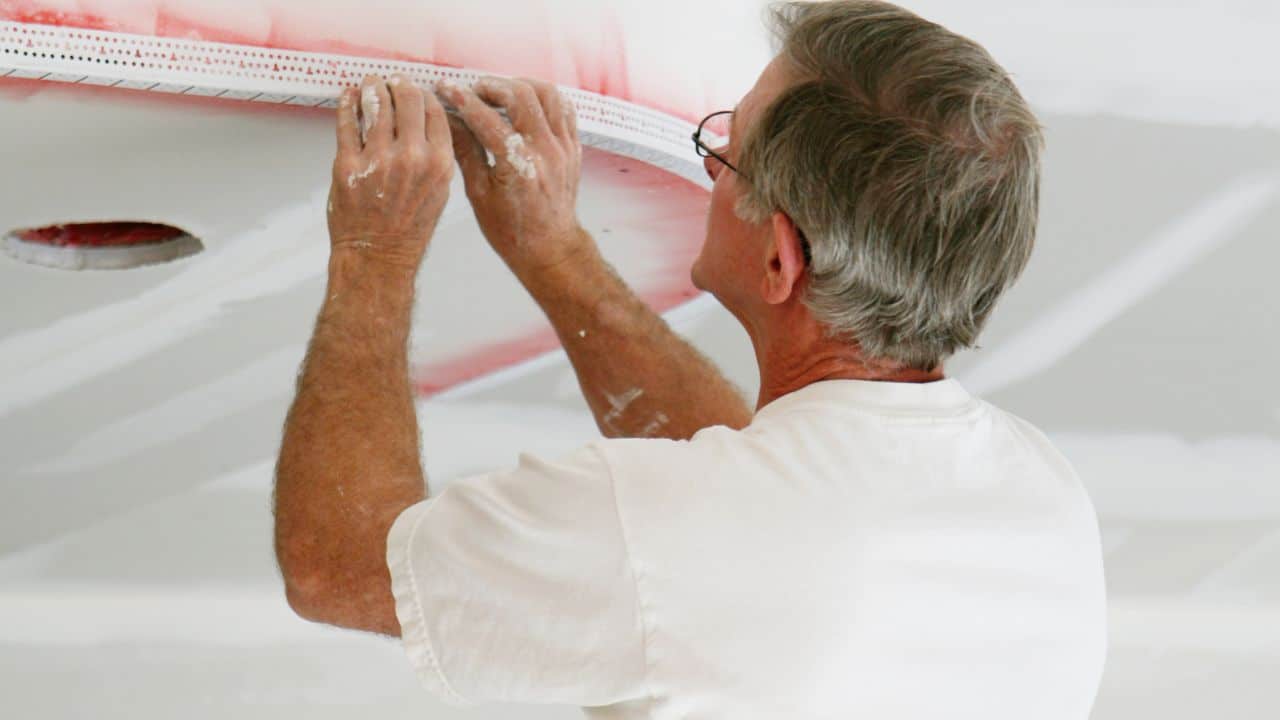
The corner bead serves as a critical structural element, providing stability and a clean edge where two drywall panels intersect to form a corner. Available in various materials such as metal, paper, and vinyl, corner beads are essential for the polished look of a finished room.
Step 1: Removing the Damaged Section
Begin the repair by identifying the marred area of the corner bead. Use a hacksaw to make horizontal cuts both above and below the damaged section. This will isolate the portion that needs to be replaced.
Step 2: Exposing the Underlying Damaged Corner Bead
Now, with a utility knife, cut vertically down the adjacent drywall to connect the two horizontal cuts you’ve just made. This will create a unified opening and allow you to easily remove the damaged portion of the corner bead.
Step 3: Installing a Fresh Piece of Corner Bead
Gauge the dimensions of the empty space and trim a fresh segment of corner bead to ensure a perfect fit. Once it’s the correct size, secure it to the wall using nails, or the fastening method recommended by the manufacturer. Alternatively, a specialized adhesive can be used for a firmer grip.
Step 4: Finalizing with Joint Compound for a Seamless Look
To give your repair work a professional touch, apply joint compound on both sides of the newly installed corner bead. Feather the edges to blend seamlessly with the surrounding area. After allowing sufficient drying time, proceed to sand the surface until it’s smooth to the touch, completing the restoration of the corner to its original pristine condition.
Navigating the Intricacies of Textured Drywall Repair
Textured drywall, while visually appealing, can present a more nuanced challenge when it comes to repairs. However, with the right technique and a bit of patience, restoring the textured surface to its original glory is more than achievable.
Step 1: Initial Surface Preparation
The first step in this repair is to sand the damaged area until it’s smooth. Once that’s complete, create a mixture of four parts joint compound to one part water in a small bowl. Stir until well combined. Dip a stiff-bristled brush into your mixture, holding it close to the wall with the bristles facing upward.
Step 2: Creating the Texture
To recreate the textured effect, put on a glove and flick the compound mixture onto the wall by swiftly running your finger over the bristle tips of the brush. Generally speaking, a quicker flicking motion will produce finer particles, better mimicking the existing wall texture.
Step 3: Achieving a Knock-Down Finish
If you’re aiming for a knock-down finish—a texture that’s more mottled than flat—you’ll need to lightly press the flicked particles with a trowel or knife as they begin to set. This action flattens the particles, contributing to the distinctive knock-down appearance.
Step 4: The Spray Texture Alternative
If the brush-flicking technique doesn’t appeal to you, a convenient alternative is to use a wall texture spray. Available in various finishes, these aerosol sprays can make the job quicker and less messy. Lightly shake the can and spray the damaged area in a circular motion, keeping the can at a distance of between 6 to 18 inches from the wall.
Step 5: Final Drying, Priming, and Painting
After applying the texture, allow it to dry as per the manufacturer’s guidelines. Once it’s fully dry, proceed with priming and painting to match the surrounding area, effectively making your repair invisible and restoring the aesthetic harmony of your room.
The Final Touches: Bringing Your Drywall Back to Perfection
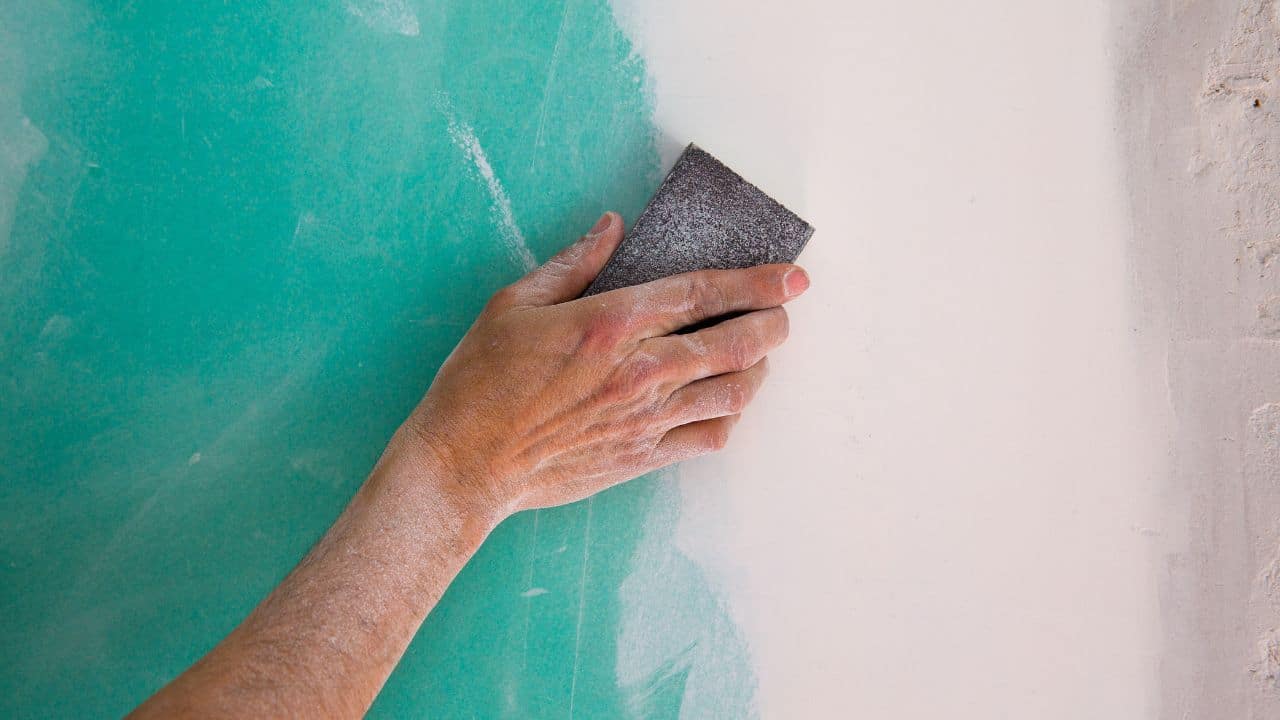
Achieving a Smooth Finish: The Importance of Sanding
To fully integrate your patchwork into the rest of the wall, a final, light sanding is essential. This helps to attain a satin-smooth finish and ensures a seamless blending between the patched area and the surrounding wall.
Laying the Groundwork: Primer Application
Once the wall is as smooth as you desire, it’s time to apply a coat of primer. Allow it to dry thoroughly; this creates an ideal surface for your topcoat of paint to adhere to, enhancing durability and color fidelity.
The Art of Invisibility: Paint to Match
To complete the illusion of an untouched wall, apply a coat of paint over the primed area. This is the final step in disguising all evidence of repair, rendering your wall as good as new.
Best Practices for Effective Drywall Repair
Opt for the Correct Joint Compound
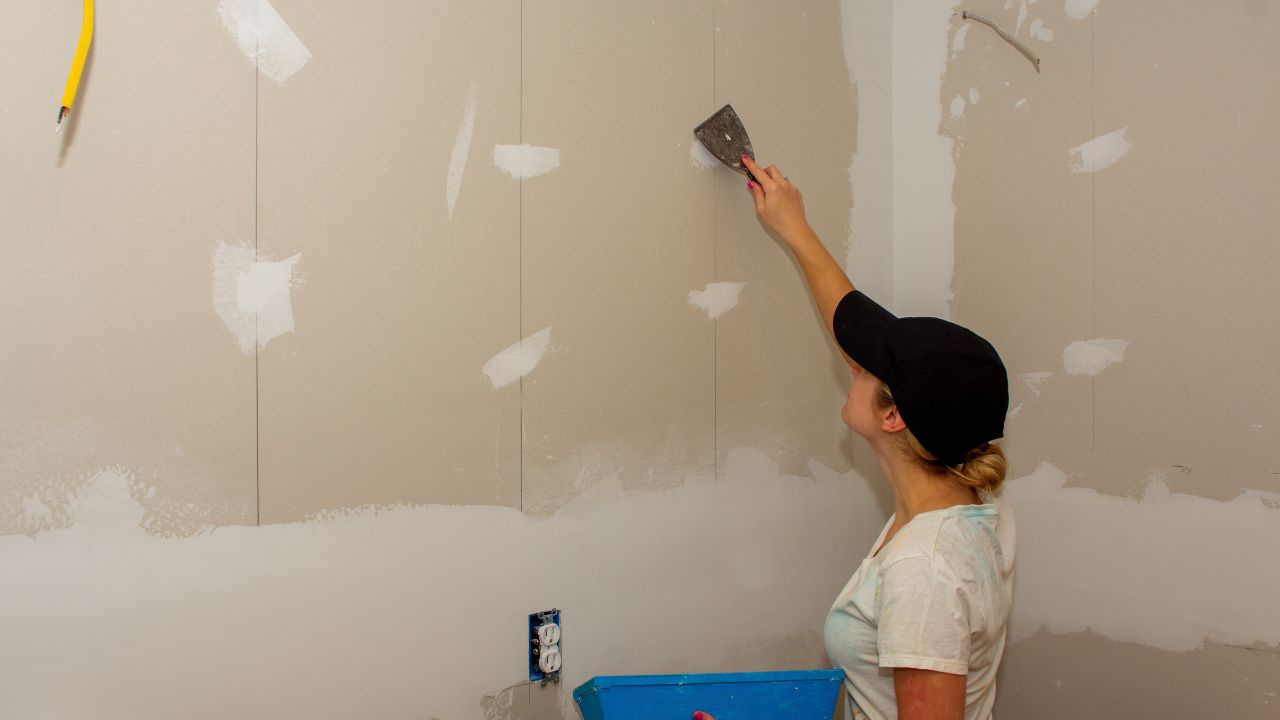
Choosing the right type of joint compound is pivotal to a successful drywall repair project. For minor imperfections like scratches or small dents, less than half an inch in diameter, opt for a thin layer of joint compound, commonly referred to as drywall mud. Utilize a putty knife specifically designed for drywall repairs—measuring between 3 and 4 inches—rather than a narrow utility knife suitable for wood putty. Smooth out the filler so it aligns perfectly with the wall surface. When dealing with cracks or holes larger than half an inch, it’s advisable to reinforce the area with mesh before applying spackle. Applying joint compound directly to large gouges is a short-term solution that may backfire, as house settling and drying can cause the compound to crumble and the damage to resurface.
Embrace Efficient Repair Solutions
Time is a valuable resource, so consider using pre-manufactured products designed to make the repair process more efficient. For larger holes, use patching kits with reinforced center panels, and for smaller ones, opt for self-adhesive tape. Products that combine drywall compound and primer, such as the all-in-one 3M Patch Plus Primer, offer a ready-to-paint surface, saving you a step in the repair process.
Prioritize a Neat Finish
Precision plays a crucial role in the quality of your drywall repair. Before applying the joint compound, take time to clean up the repair area. A sharp blade like a box cutter will help eliminate any loose strands of drywall tape or frayed edges of the wallboard paper surrounding holes or cracks. A tidy workspace ensures that your finished product is smooth and free from unsightly bumps or blemishes.
Exercise Caution with Hidden Hazards
Safety should be your top priority when undertaking drywall repair. Before cutting into a wall, ensure there are no hidden electrical cords or plumbing lines running through the space behind the hole or crack. Even for smaller holes, it’s advisable to shine a flashlight inside to inspect what lies behind the wall. If you need to enlarge the hole, cut cautiously in a horizontal direction using a drywall saw, but refrain from penetrating deeper than an inch. Always assume that hot electrical wires could be present near an electrical outlet. Never take for granted that previous homebuilders or renovators have followed all the electrical and plumbing codes. Unanticipated wires and pipes are more common than you might think.
The Art of Applying Joint Compound
When it comes to applying joint compound, the principle of ‘less is more’ often holds true. A thin coat of joint compound is not only easier to sand but also minimizes the risk of sanding away too much material, thereby exposing the patch. To ensure that the joint compound blends seamlessly with the existing wall, employ the technique of ‘feathering.’ Hold your knife at a 70-degree angle to the wall and apply greater pressure on the outer edges as you move away from the center of the application area.
The Importance of Thorough Sanding
Never underestimate the value of meticulous sanding when repairing drywall holes. Cutting corners on this step will make the repaired area stand out like a sore thumb. Once the first layer of joint compound is dry, use fine-grit sandpaper, preferably 100 or 120, to sand the area gently. Following the initial round of sanding, apply a second layer of joint compound, extending approximately 2 inches beyond the boundaries of the first layer. Allow it to dry, and then re-sand the area to achieve a flawless finish.
Empowering Renters and Homeowners: The Value of Drywall Repair Skills
Having the capability to patch drywall damage, regardless of its size, is an invaluable skill for both renters and homeowners. It empowers you to make affordable repairs on your own, effectively saving money that would otherwise be spent on professional services.
Navigating the Toolkit: Identifying Essential Tools and Materials
In case you find yourself puzzled over which tools or materials are best suited for your drywall repair, rest assured that there are resources to guide you. Utilize mobile applications that offer image search features for quick and efficient identification. Simply capture a photo of an item that catches your eye, and these applications can instantly display similar products, streamlining your shopping process.
In conclusion, acquiring the skill to repair drywall is not just a matter of home maintenance, but also financial prudence. It enables you to be self-sufficient in maintaining your living space, while also providing an avenue to make cost-effective choices. Apps that assist in identifying the right tools and materials further ease this process, making drywall repair a more accessible task for all.