Last Updated on October 10, 2023 by Pro Handyman Australia – Editorial Team
Embarking on a painting project can be both exciting and daunting. One of the most crucial yet often overlooked steps is prepping the walls for a new coat of color. Sanding your walls before painting not only ensures a smooth application but also enhances the longevity and finish of the paint job. In this guide, we’ll delve into the art and science of sanding, providing you with expert tips and tricks to get that professional touch. Whether you’re a DIY enthusiast or just looking to refresh a room, understanding how to properly sand walls before painting is the cornerstone to achieving impeccable results. Dive in, and let’s lay the groundwork for your next masterpiece!
Preparing Walls for a Pristine Paint Job
1. Cleaning Your Walls
For an impeccable paint application, it’s imperative to begin with clean walls. It’s not just about the dust; it’s the subtle grime and residue that can hinder a smooth finish. To achieve this:
- Use a powerful detergent to rid the walls of dirt, dust, and grease.
- Pay close attention to high-traffic and high-residue areas such as kitchen walls prone to grease, bathroom walls exposed to sprays, and walls where pets frequent.
- Also, be mindful of areas with fingerprints, traces of smoke, or any other deposits.
2. Detecting and Marking Flaws
A meticulous eye can make all the difference. To identify areas requiring repair:
- Shine a light along the wall’s surface. This will help in highlighting dents, holes, and other imperfections.
- Once spotted, mark these sections either with tape or lightly circle them with a pencil for later attention.
3. Addressing Popped Nails
Over time, nails used in drywall can become dislodged due to natural material expansion and contraction. To handle this:
- Instead of merely resetting the nail, use a 1 1/4-inch drywall screw and fix it approximately 2 inches from the popped nail.
- Subsequently, carefully remove the popped nail, employing a putty knife beneath to prevent any damage to the wall. If any drywall fragments protrude, lightly tap them inwards with the putty knife handle.
4. Patching Holes
Smooth walls are essential for a polished painting outcome. Addressing nail holes or minor dings can make a significant difference:
- Using a ready-to-use spackling formula, cover small holes by spreading a layer over them.
- Once the spackling dries, it can either be dry-sanded using sandpaper or wet-sanded with a damp drywall sponge. Ensure the area is dry post wet-sanding before moving on to the priming or painting phase.
- For larger holes, employ a self-adhesive metal drywall patch to offer foundational support before applying the spackling. Again, wet-sand upon drying.
5. Mending Cracks
Whether they’re minor or somewhat extensive, cracks need careful attention:
- For smaller, stable cracks, spackling is sufficient.
- For more prominent cracks, it’s advisable to lay fiber mesh tape over the crack as a first step, followed by the spackling. Once dried, a wet-sand with a drywall sponge ensures a smooth surface.
6. Fixing Torn Drywall
Torn drywall can pose a particular challenge, but with patience, it can be seamlessly mended:
- Start by trimming any loose drywall paper.
- Apply a primer, which ensures the exposed drywall won’t absorb excess moisture from either the spackling or the paint.
- Once the primer dries, sand any rugged paper edges. Subsequently, apply the spackling. As with previous steps, wet-sanding post drying is recommended.
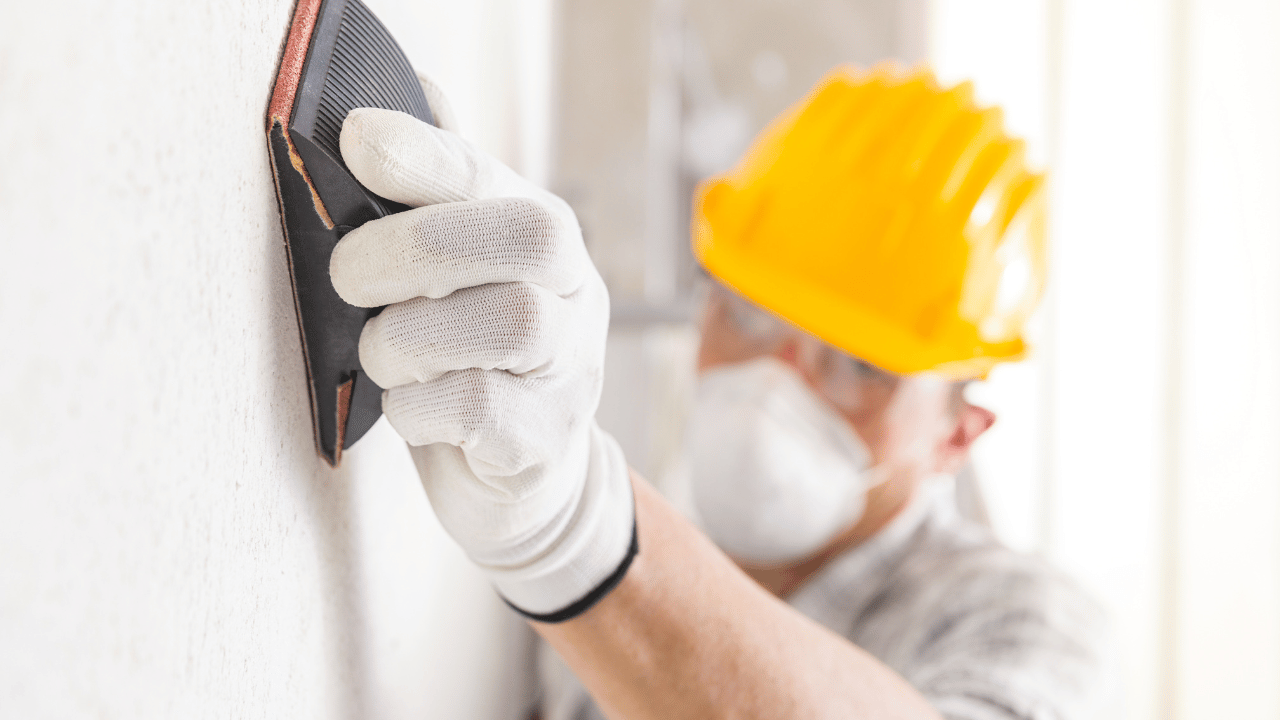
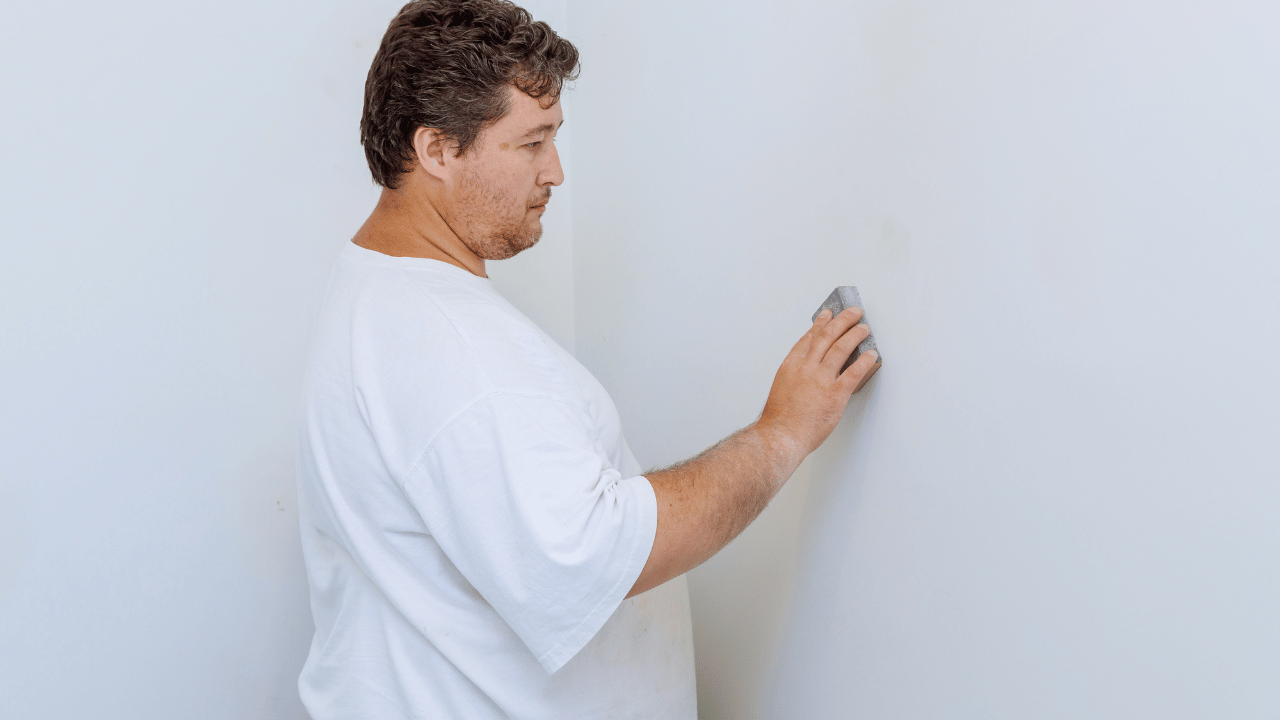
7. Comprehensive Wall Sanding
While it’s feasible to sand only the patched areas, a light sanding over the entire wall results in a more refined appearance post-painting. The aim is to smooth out minor imperfections without eliminating the texture created by rollers. For this process:
- Opt for a sanding sponge equipped with 100-grit sandpaper. For those seeking a faster approach, a pole sander is an efficient alternative.
- Following the sanding, cleanse the walls using a damp cloth. Ensure they are thoroughly dried before moving on to the subsequent steps.
8. Targeted Priming for Optimal Results
The porous nature of patches necessitates priming to ensure an even paint application. Here’s how to achieve a seamless finish:
- Apply a quality primer, like a water-based primer-sealer, to effectively seal any patches. This not only covers any potential water stains or marks but also ensures they won’t peek through your paint.
- The advantage of this particular primer is its quick drying capability, mildew and mold resistance, and its low-odor formulation, allowing you to embark on the painting process within an hour.
Preparation of Walls for Optimal Painting
1. Cleaning Walls: The Essential First Step
Properly cleaning the walls sets the foundation for a successful paint job. It’s advisable to clean most walls with a sponge and lukewarm water. For walls subjected to oil or grime, such as those in a kitchen, it’s effective to use a mixture of water and a grease-cutting detergent. Afterward, rinse with clean water to ensure no residue remains. It’s crucial to complete this step by wiping the walls with a damp cloth and allowing them to dry thoroughly. Painting or priming damp walls can lead to problems, such as blistering.
2. Tackling Mildew: The Crucial Pre-Paint Step
Before you dive into painting any room, it’s paramount to address the presence of mildew. Painting over mildew is ill-advised, as it will merely resurface over the fresh paint, complicating future cleaning and maintenance. To tackle mildew, mix three to four parts water with one part bleach. Apply this solution to the affected area, let it sit for a few minutes, then scrub with a soft brush. Rinse with clean water and allow ample drying time. Ensure you wear protective gloves and goggles throughout this process.
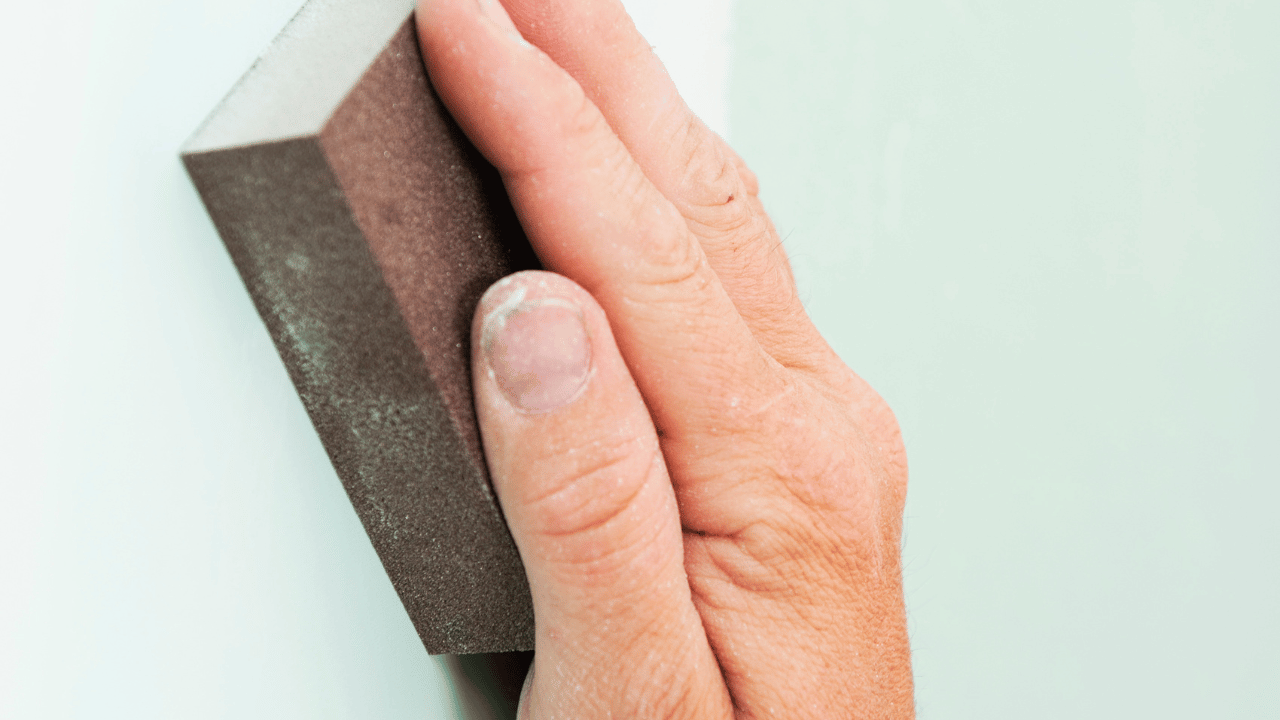
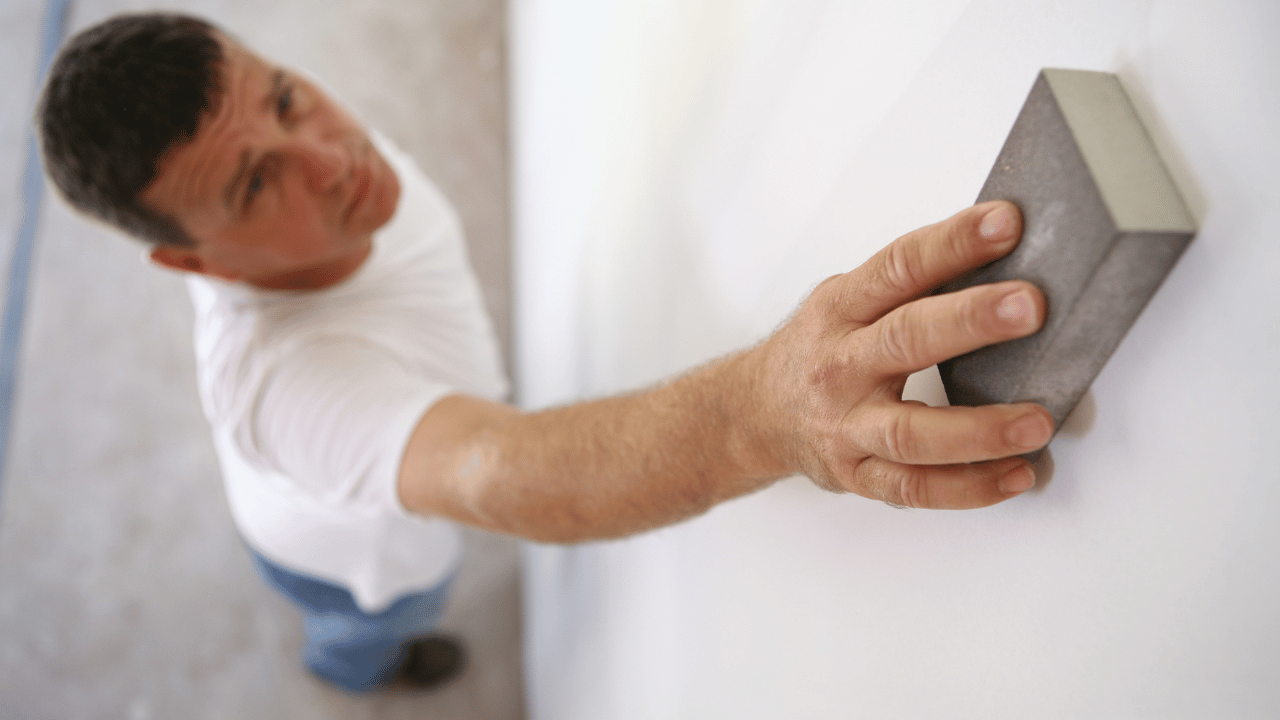
3. Sanding: Achieving the Perfect Surface
While not every paint job requires sanding, addressing rough patches ensures a smooth paint application. It’s beneficial to use sandpaper or a sanding block to even out any irregularities, followed by wiping away the residual dust with a damp cloth. This is particularly necessary for walls previously painted with gloss or high-gloss finishes. For walls with a water-based paint history, fine-grit sandpaper is ideal. Conversely, for walls with a history of oil-based paint, medium-grit sandpaper (ranging from 100- to 150-grit) is recommended. It’s essential to allow the sanded surface to dry completely.
Furthermore, any cracking or flaking of paint on older surfaces needs attention. The cracking often results from inadequate surface preparation before painting. Painting over such surfaces without addressing the cracks is not a best practice. It’s recommended to sand or scrape away any paint flakes before repainting.
4. Priming: Laying the Foundation for Paint
A primer is akin to a home’s foundation when paint represents the house and its color. Using a primer optimizes the paint’s performance, ensuring a more consistent and vibrant finish. This is especially true for porous walls or walls with noticeable surface blemishes. The benefits of a primer are manifold: it masks imperfections, creates a receptive surface for the paint to adhere to, and guarantees a uniform appearance.
For every painting project, there is a suitable primer tailored to the specific surface and desired outcome. Premium interior primers, for instance, are adept at delivering outstanding coverage on almost any surface, even if there’s a significant shift in color.
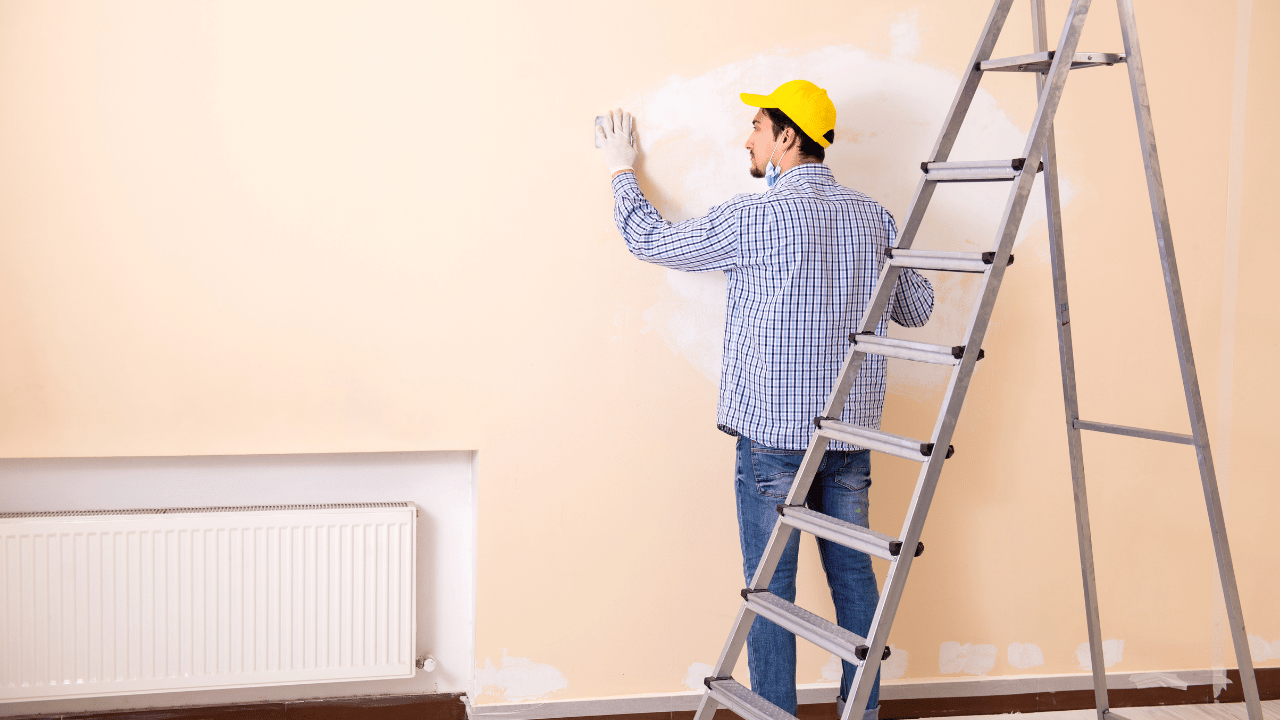
The Importance of Sanding Walls Before Painting
When preparing to give a room a fresh coat of paint, many people skip directly to choosing paint colors and applying the first coat. However, there’s a crucial step that is often overlooked, but can make a tremendous difference in the outcome: sanding your walls. But why is this step so essential?
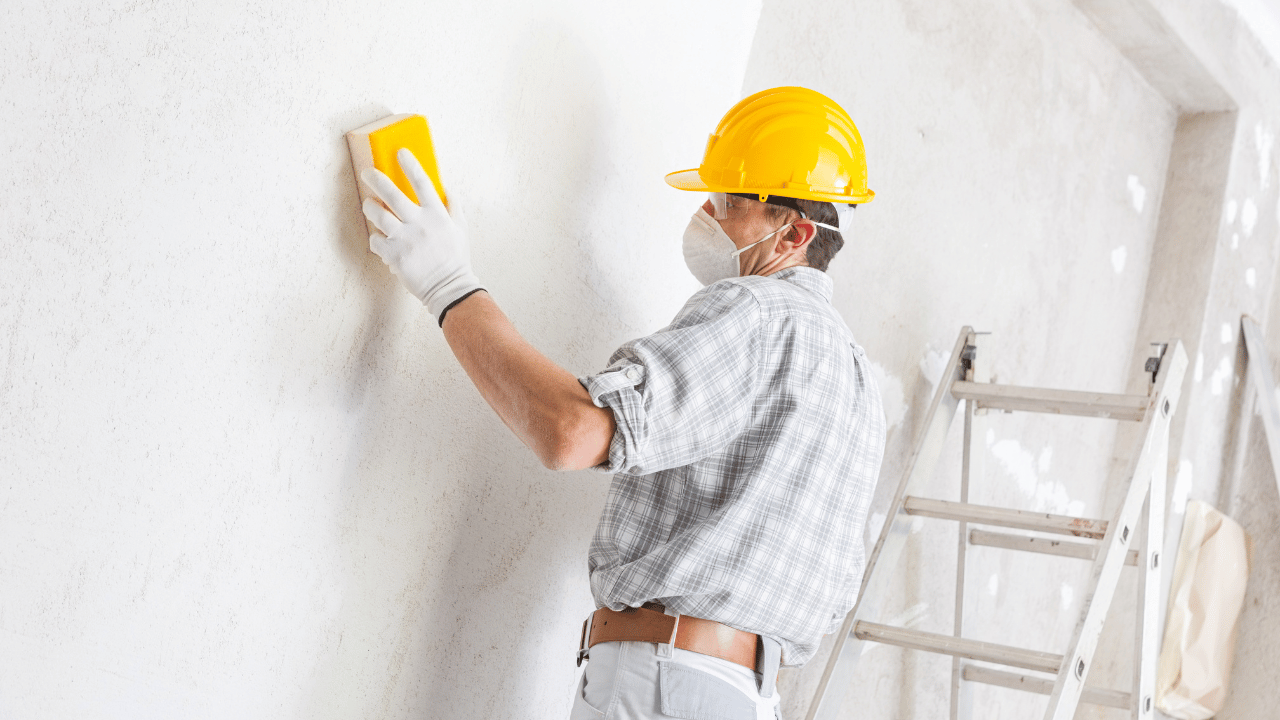
1. Achieving a Smooth Surface
Walls, whether old or new, often have imperfections. These can be anything from tiny dents, nail pops, small holes, to rough textures. Painting directly over such inconsistencies will only magnify them. Sanding the walls smoothens these imperfections, ensuring that the paint adheres evenly and looks polished upon completion.
2. Improved Paint Adhesion
A smoother surface means better paint adhesion. Sanding creates tiny grooves and scratches on the wall, which might be invisible to the naked eye but provide an excellent “grip” for the paint. The end result? Paint that sticks to the wall more effectively and for a longer time.
3. Eliminating Previous Coats and Stains
Over time, walls can gather stains, marks, or even layers of old, chipping paint. Sanding helps in reducing or eliminating these, ensuring the new paint isn’t applied over a compromised surface. This is especially crucial for walls with glossy paint finishes, as new paint struggles to stick to such surfaces.
4. Promotes Uniformity
If you’re painting over spackled areas or patches, those spots will absorb paint differently than the rest of the wall. Sanding evens out these inconsistencies, ensuring the entire wall absorbs the paint uniformly. This means no blotchy spots or differences in paint shades.

5. Enhanced Endurance
A wall that has been properly sanded and prepared can better withstand external factors. This includes everything from scrubbing and cleaning to the everyday wear and tear. The paint is less likely to peel or chip away prematurely.
6. Professional Finish
Ask any professional painter about the secrets behind a high-quality paint job, and they’ll invariably point to thorough prep work, with sanding being paramount. If you’ve ever wondered how professionals achieve that smooth, flawless finish, a big part of the answer is diligent sanding.
Tips for Choosing your Paint: Addressing the Wallpaper Dilemma
While it might seem tempting to paint directly over wallpaper, experts advise against this, especially if the wallpaper is glossy or heavily textured. The most meticulous and high-quality paint application won’t conceal wallpaper seams effectively. The ideal approach is to engage a painting contractor proficient in wallpaper removal. However, if you’re determined to undertake this task yourself, there are comprehensive guides available on wallpaper removal techniques.
Laying the Foundation: Wall Preparation Before Painting
The art of painting can often seem deceptively straightforward. However, the real intricacies only become apparent once you’re immersed in the task. To help navigate these intricacies, we’re providing insights and tips to make wall preparation seamless and efficient.
Choosing the Perfect Paintbrush
Starting with the right brush can make a world of difference. The bristle type is crucial and should be chosen based on the paint you intend to use and the specific painting task at hand.
- Synthetic Bristles: These are durable and can last considerably longer than their natural counterparts. Their resilience to water absorption ensures they retain their shape without causing unwanted streaks or tramlines in the paint. This makes them ideal for use with water-based paints, delivering a smooth finish.
- Natural Bristles: These brushes possess a unique structure that facilitates paint retention. Their split ends enable a refined finish, especially with traditional solvent paints. However, they aren’t recommended for water-based paints, as the results can be less than ideal.
Size does matter when selecting a brush. The rule of thumb is: the larger the area you’re painting, the bigger the brush should be. For detailed work such as cutting in on walls, a 2” or 3” brush is recommended. Conversely, when painting more intricate areas like doors or skirting boards, a 1” or 2” brush offers greater precision.
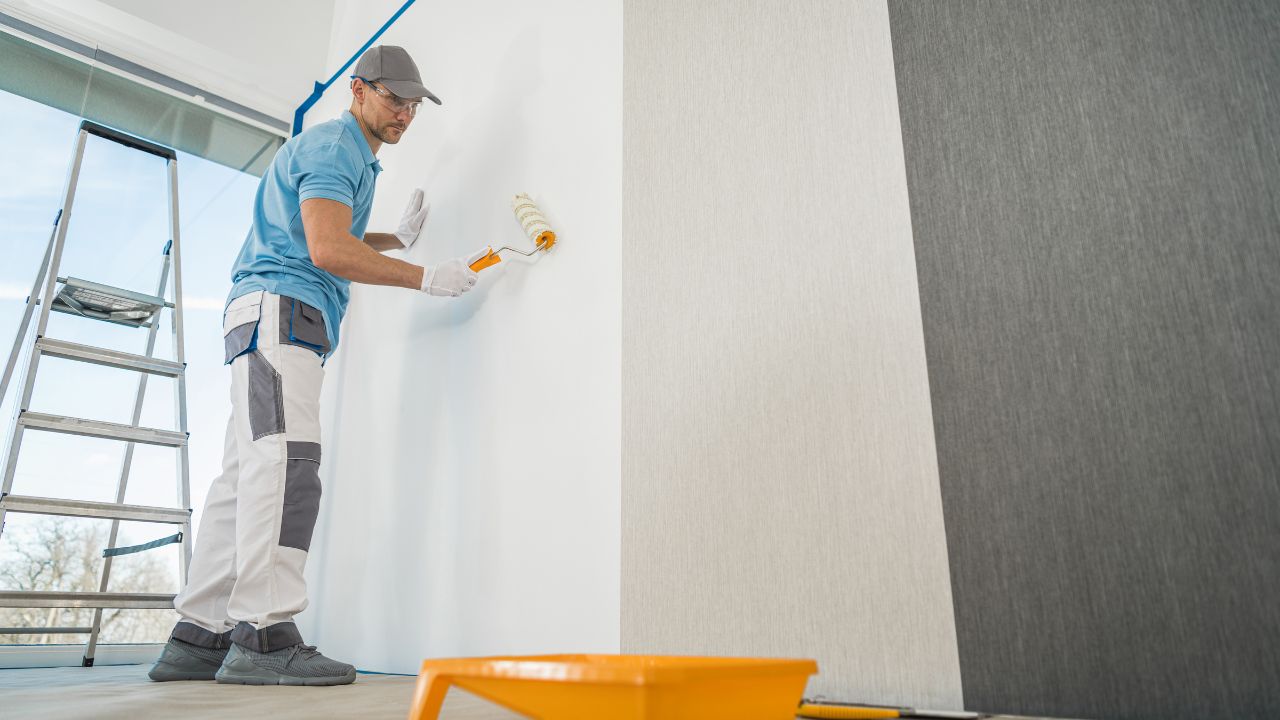
Navigating Paint Roller Selection
Rollers are a painter’s best friend, especially when working on expansive surfaces like ceilings or vast walls. They offer speed and efficiency. Similar to brushes, it’s paramount to select a roller compatible with your chosen paint. Rollers can be categorized based on their material, such as foam, mohair, and sheepskin, and by their pile length, which varies from short to long.
For instance, if you’re applying silk emulsion, a short-pile mohair roller is apt. On the other hand, a medium-pile sheepskin roller is ideal for matt emulsion. Short-pile designs are favored for ultra-smooth or level surfaces. However, if using standard emulsion paints, avoid spongy foam rollers as they may introduce air bubbles into the paint layer. Remember to rinse your roller with soapy water prior to use to remove any potential fluff.
Mastering the Art of Paint Selection
Selecting the appropriate paint type hinges on both the desired outcome and the surface you’re working with. For a finish that masks blemishes, consider using a matt emulsion. Satin and silk variants offer a slightly polished mid-sheen look that moderately reflects light. Eggshell strikes a balance between the two, offering a surface reminiscent of an actual eggshell. Those seeking a luminous and reflective finish can opt for gloss paints.
When considering specific room requirements, select paints tailored to the environment. For instance, paints designed for bathrooms should resist moisture, steam, and mold. Likewise, kitchen paints should be capable of withstanding common culinary stains, making them easy to clean. Some paints are also designed to repel liquid spills, making them robust choices for rooms like children’s play areas.
Filling in the Details: Choosing the Right Filler
Preparing walls for paint often necessitates the use of fillers, especially if there are cracks or gaps to address. Depending on the size and location of the imperfection, different fillers might be appropriate. For areas around skirting, windows, and door frames, a flexible filler is recommended.
For those seeking rapid results, Quick Drying fillers work wonders on both walls and woodwork. A Multi-Purpose variant is a versatile choice suitable for all household surfaces. There are also specialized fillers available for minute cracks, screw holes, and other unique challenges.
Spotlight on Advanced Filling Solutions

The high-performance Advanced Filler offers users an effortless and prompt solution. Its quick-dry technology ensures a swift application, and its lightweight composition is ideal for addressing wall and ceiling imperfections. The filler is engineered to prevent sagging and slumping. Notably, it eliminates the need for post-application sanding due to its smooth consistency.
Additionally, its unique formulation allows for filling gaps as deep as 50mm in a single go without any shrinkage or sagging. Those interested can find this product on the official website.
Expertise-Backed Guidance for Painting Preparation
One key piece of advice for those embarking on a painting project is to allocate a dedicated chunk of time, perhaps half a day, just for preparation. This preliminary investment ensures the actual painting phase proceeds smoothly and efficiently, potentially saving you time and resources by getting things right from the onset.
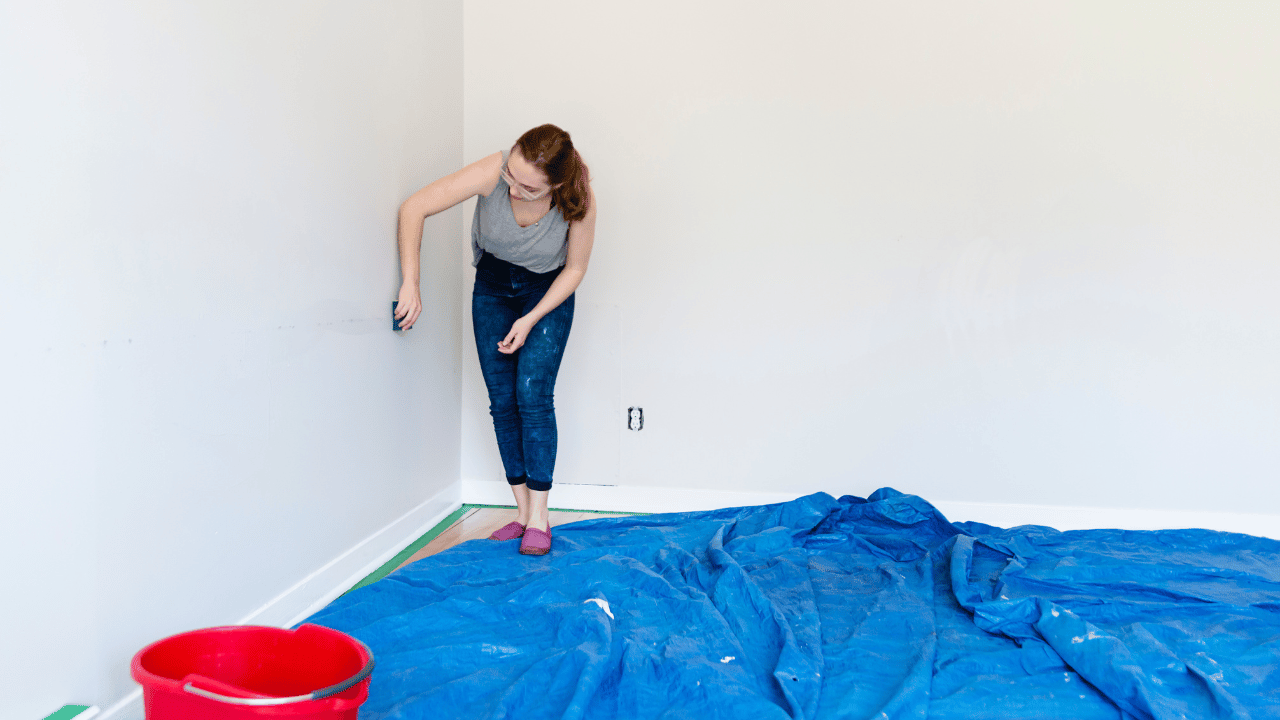
Organizing Your Space for Optimal Efficiency
Embarking on a painting task in an organized, clutter-free environment not only eases the process but also protects your belongings. Here are some steps to create the perfect workspace:
- Begin by removing all accessories, furniture, curtains, and blinds from the area.
- For electrical outlets and switches, either loosen the cover plates or secure them with tape.
- Protect hardware on windows and doors, like locks and knobs, by either unscrewing or masking them.
- To shield the floor and any furniture that cannot be moved, spread plastic dust sheets.
Prepping the Surface for the Best Finish
Before the painting begins, it’s essential to ensure that all surfaces are immaculate and even. Here’s a breakdown of the process:
1. Cleaning and Repair: A fundamental step is to clean the walls. Gently wipe surfaces with a damp sponge to remove dirt or dust. To deep clean, scrub the walls with sugar soap, followed by a thorough rinse to eliminate any lingering residue. Inspect for any cracks or holes. If you spot any imperfections on your walls, ceilings, or woodwork, patch them using the appropriate filler and a scraper. If dealing with particularly deep holes (over 10mm), apply the filler in layers. After drying (typically 1-2 hours), sand the area for smoothness and dust off any residues.
2. Sanding and Masking: Sanding is pivotal before painting, ensuring the new paint adheres well. Sand any areas you’ve patched, along with woodwork elements like door frames or skirting. After sanding, wipe the surfaces to eliminate dust. To protect areas you don’t intend to paint, use masking tape along skirting boards, around outlets, switches, or any edge where precision is desired. Once masked, your space is set for the paint application.
An Added Insight for Superior Results When working with a fresh surface that’s yet to see paint, consider using a multi-surface primer and undercoat. This foundational layer not only guarantees paint sticks well but also means you’ll need fewer coats. This not only cuts down your painting time but also ensures your painted surface benefits from prolonged durability.
Conclusion
Sanding might seem like an additional, labor-intensive step, especially when you’re eager to see a new color on your walls. But it’s this very step that can be the difference between a paint job that looks amateurish and one that looks professional and lasts for years. So, before you dip that paintbrush or roller, make sure your walls are sanded and primed for the best possible results.